Einleitung
The shutter switch is the button which is to be pressed when the user wants to capture an image. If for some reason this switch needs to be replaced, this guide will be showing how to remove the shutter switch.
Was du brauchst
-
-
Begin by opening the top of the camera (flash assembly) to a slight angle.
-
Next, angle the flash assembly slightly upward and pry off the connections carefully.
-
-
-
Slide the action button, on the bottom of the camera, to open the bottom.
-
-
-
-
Insert the blue plastic opening tool between the rear case and the plastic tabs directly under the shelf, and pry it loose.
-
Pull off the face plate.
-
-
-
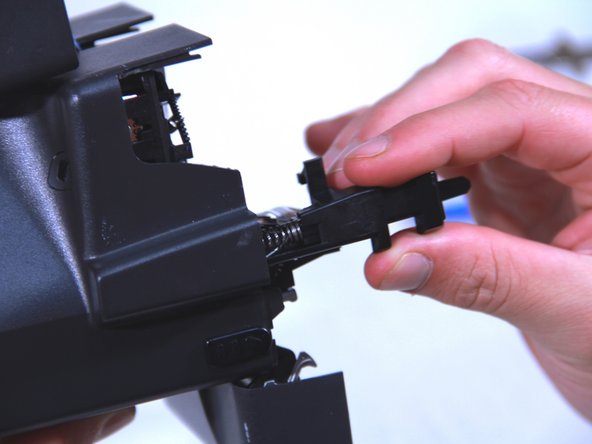
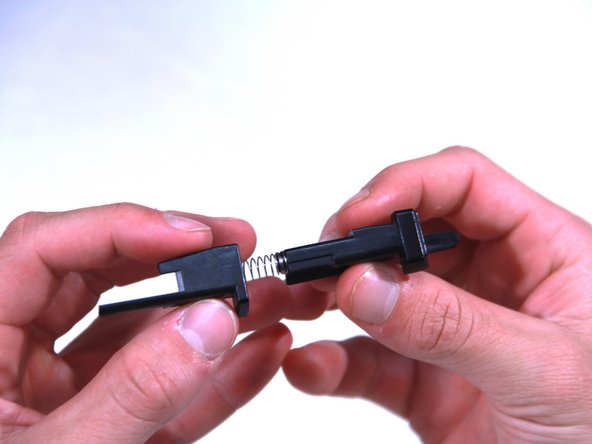
After the face plate is off, the shutter switch should slide out easily.
-


To reassemble your device, follow these instructions in reverse order.
To reassemble your device, follow these instructions in reverse order.
Rückgängig: Ich habe diese Anleitung nicht absolviert.
3 weitere Nutzer:innen haben diese Anleitung absolviert.
Team

USF Tampa, Team 3-5, Brown Fall 2014 Mitglied von USF Tampa, Team 3-5, Brown Fall 2014
USFT-BROWN-F14S3G5
3 Mitglieder
6 Anleitungen geschrieben
2 Kommentare
where did you get the replacement parts for this?
I’d love to find a new shutter piece..
Lens Replacement Guide - Steps 5 through 8 need titles
Step 6 - remove first bullet
Step 2 - 3 need titles
Add titles to all steps of all guides
Primary lens replacement guide
Step 4 is not a step review titles for all steps.
hani - Antwort
Proofread your guides carefully.
Dan Brown - Antwort