Diese Version enthält möglicherweise inkorrekte Änderungen. Wechsle zur letzten geprüften Version.
Was du brauchst
-
Dieser Schritt ist noch nicht übersetzt. Hilf mit, ihn zu übersetzen!
-
Begin by opening the top of the camera (flash assembly) to a slight angle.
-
Next, angle the flash assembly slightly upward and pry off the connections carefully.
-
-
Dieser Schritt ist noch nicht übersetzt. Hilf mit, ihn zu übersetzen!
-
Slide the action button, on the bottom of the camera, to open the bottom.
-
-
-
Dieser Schritt ist noch nicht übersetzt. Hilf mit, ihn zu übersetzen!
-
Insert the blue plastic opening tool between the rear case and the plastic tabs directly under the shelf, and pry it loose.
-
Pull off the face plate.
-
-
Dieser Schritt ist noch nicht übersetzt. Hilf mit, ihn zu übersetzen!
-
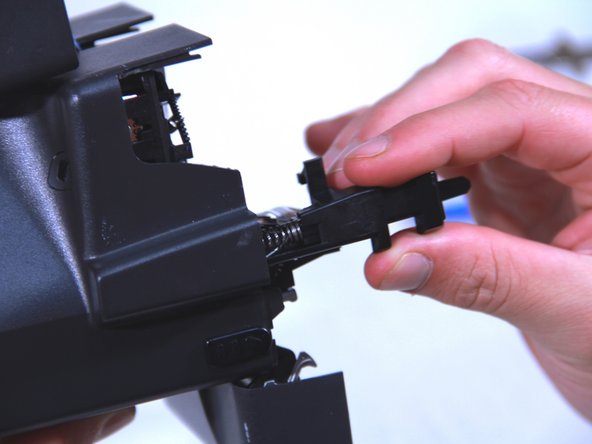
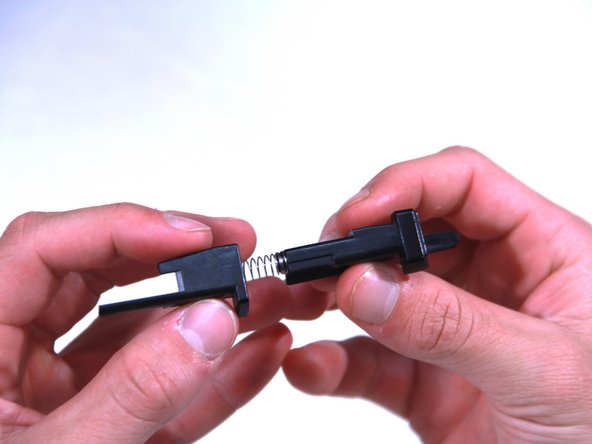
After the face plate is off, the shutter switch should slide out easily.
-


Rückgängig: Ich habe diese Anleitung nicht absolviert.
3 weitere Nutzer:innen haben diese Anleitung absolviert.
Team

USF Tampa, Team 3-5, Brown Fall 2014 Mitglied von USF Tampa, Team 3-5, Brown Fall 2014
USFT-BROWN-F14S3G5
3 Mitglieder
6 Anleitungen geschrieben
2 Kommentare
where did you get the replacement parts for this?
I’d love to find a new shutter piece..