Einleitung
The sink is one of the most overused fixtures in our lives. In this guide, the process of replacing a pop-up stopper in the bathroom sink is useful to plug the drain to fill the sink with water and to also catch any unwanted items disappearing down the drain.
Was du brauchst
-
-
Place bucket directly under the sink below the pop-up assembly. Excess water may leak
-
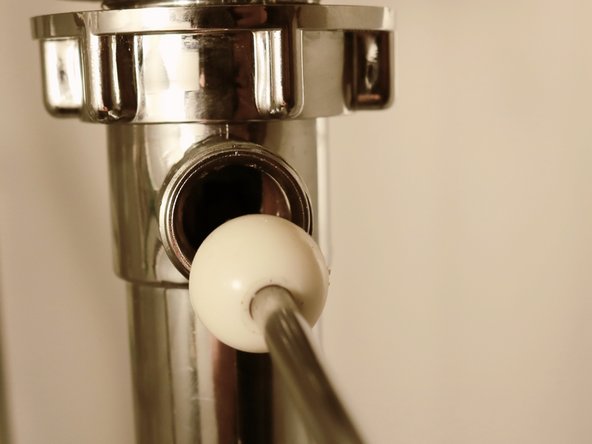
The pivot rod that is inserted within a hole in the pop-up extension bar. Move the pop-up extension bar away from the pivot rod.
-
-
-
-
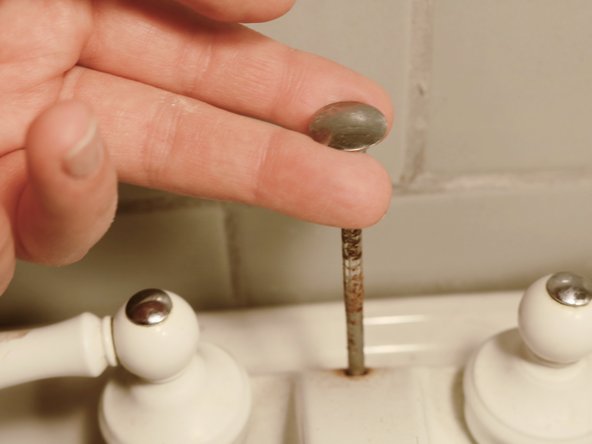
Lift up the center pop-up rod on the faucet until it is detached. The extension rod will pull up with it.
-
-
-
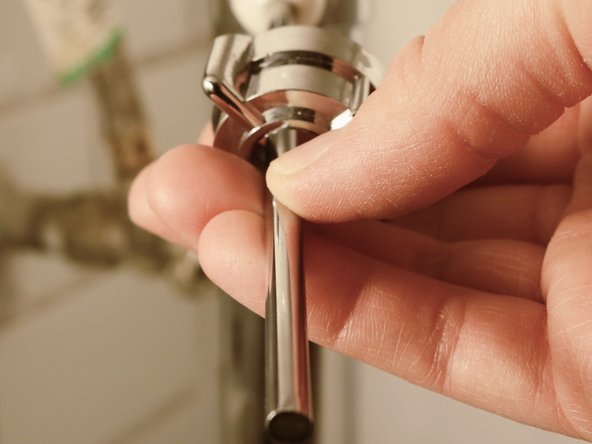
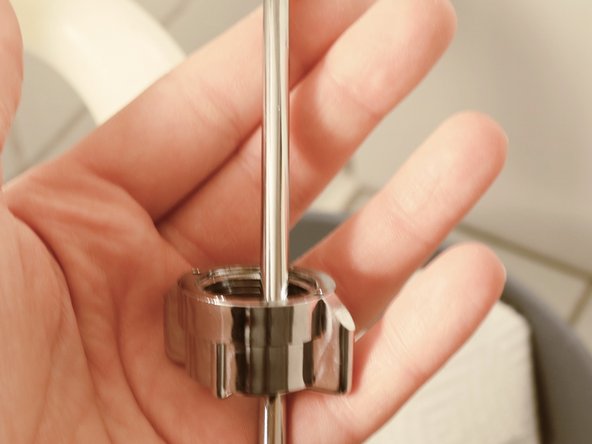
Below the sink is the pivot nut. Turn the pivot nut counterclockwise until it is completely loose and remove from the pivot rod.
-
-
-
In the sink, the pop-up stopper will be loose.
-
Pull up on the pop-up stopper to separate it from the main pop-up assembly.
-


To reassemble your device, follow these instructions in reverse order.
To reassemble your device, follow these instructions in reverse order.
Rückgängig: Ich habe diese Anleitung nicht absolviert.
Ein:e weitere:r Nutzer:in hat diese Anleitung absolviert.

Team

Eastern Washington University, Team S27-G16, Munoz Fall 2019 Mitglied von Eastern Washington University, Team S27-G16, Munoz Fall 2019
EWU-MUNOZ-F19S27G16
1 Mitglied
1 Anleitung geschrieben