Was du brauchst
-
-
When changing the sander pad, be sure to rotate the sander upside down so the pad and three highlighted screws are facing upward toward you.
-
Once the sander is upside down begin by removing your old sandpaper.
-
Once the sandpaper is removed locate the three screws on your sander pad.
-
-
-
Remove the three, (star bolt) screws with the iFixit screw driver with a "T20" head. Be sure to hold the pad of the sander as it will rotate as you try to loosen the screws.
-
Once the screws are removed pull upward toward you and the sander pad will come apart from the device.
-
-
-
-
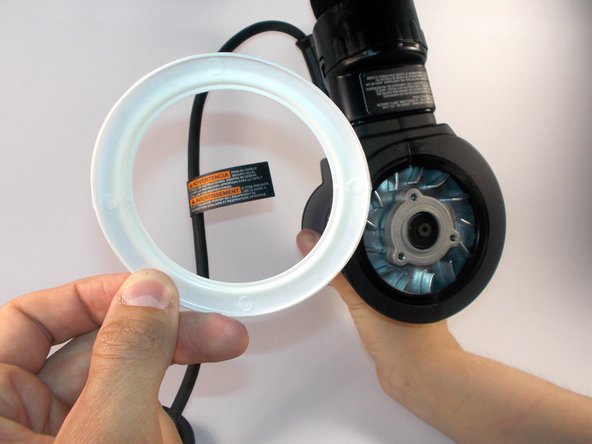
Once the sander pad is removed and the sander is exposed locate the white plastic like circular piece surrounding the outside of the sander.
-
-
-
Once you have located the plastic white ring pull up its outer edge as shown. The lip on the inside will bend and be freed from its secured placement.
-


To reassemble your device, follow these instructions in reverse order.
To reassemble your device, follow these instructions in reverse order.
Team

UMass Dartmouth, Team 8-7, Botvin Spring 2016 Mitglied von UMass Dartmouth, Team 8-7, Botvin Spring 2016
UMASSD-BOTVIN-S16S8G7
3 Mitglieder
4 Anleitungen geschrieben