Einleitung
Often times, a grinder that won't power on is due to a faulty power switch. This mechanical part may fail over time, resulting in the need to replace it. Use this guide to replace the power switch in your Porter-Cable PC60TAG.
Was du brauchst
-
-
Using the Phillips #2 screwdriver, remove the 3/4" Phillips screw on the back cover.
-
-
-
Using the Phillips #2 screwdriver, loosen, but do not remove, the two terminal screws securing the black and white wires from the power cord.
-
-
-
-
From the other side of the device, use the spudger to carefully pry out power switch away from the device.
-
-
-
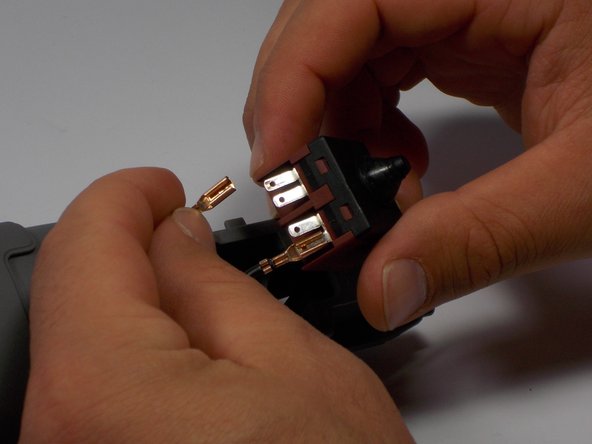
Using your fingers, carefully remove each of the gold terminals from the power switch. You may need to gently wiggle the terminal back and forth in order to remove it.
-


To reassemble your device, follow these instructions in reverse order.
To reassemble your device, follow these instructions in reverse order.
Team

UMass Dartmouth, Team 2-2, Isaacson Spring 2016 Mitglied von UMass Dartmouth, Team 2-2, Isaacson Spring 2016
UMASSD-ISAACSON-S16S2G2
3 Mitglieder
5 Anleitungen geschrieben