Zum Hauptinhalt wechseln

Porter-Cable PCE211 Brush Replacement

Was du brauchst

  1. Porter-Cable PCE211 Brush Replacement, Rear Housing: Schritt 1, Bild 1 von 2 Porter-Cable PCE211 Brush Replacement, Rear Housing: Schritt 1, Bild 2 von 2
    • Remove the four 6 mm screws using a Phillips #2 screwdriver.

    • The screws are tight so you will need to use a bit of arm strength.

  2. Porter-Cable PCE211 Brush Replacement: Schritt 2, Bild 1 von 2 Porter-Cable PCE211 Brush Replacement: Schritt 2, Bild 2 von 2
    • Pull the rear housing off the back of the impact wrench.

    • Be careful when removing the rear case that loose parts don't get damaged.

  3. Porter-Cable PCE211 Brush Replacement, Brush: Schritt 3, Bild 1 von 2 Porter-Cable PCE211 Brush Replacement, Brush: Schritt 3, Bild 2 von 2
    • Remove the brushes connected to the red and black cords.

    • They are not secured so they made drop out naturally.

  4. Porter-Cable PCE211 Brush Replacement: Schritt 4, Bild 1 von 3 Porter-Cable PCE211 Brush Replacement: Schritt 4, Bild 2 von 3 Porter-Cable PCE211 Brush Replacement: Schritt 4, Bild 3 von 3
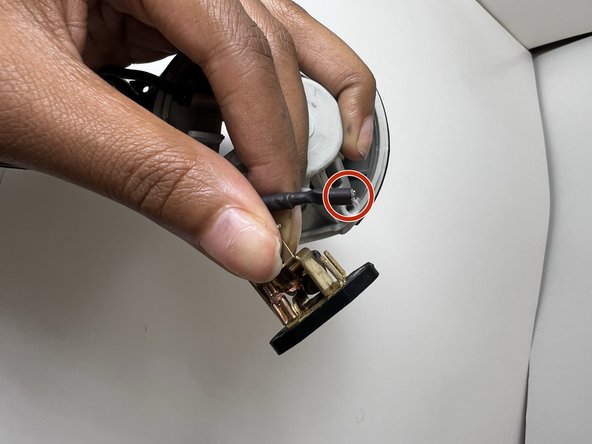
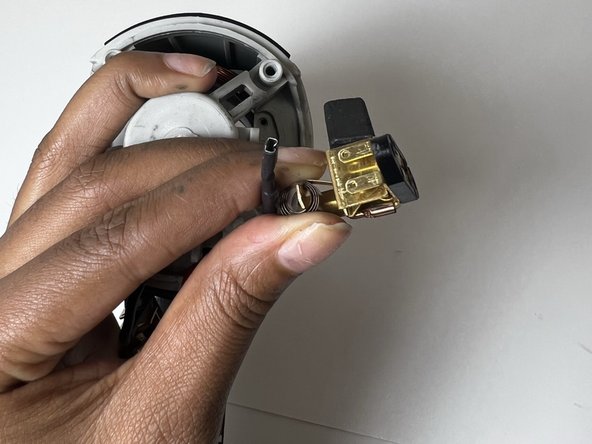
    • Gently pull each brush off the corresponding cable to avoid damaging the cables.

Abschluss

To reassemble your device, follow these instructions in reverse order.

Layla Berry

Mitglied seit: 09/19/22

678 Reputation

7 Anleitungen geschrieben

Team

Austin Community College, Team 13-1, Watkins Fall 2022 Mitglied von Austin Community College, Team 13-1, Watkins Fall 2022

AUSTINCC-WATKINS-F22S13G1

3 Mitglieder

7 Anleitungen geschrieben

0 Kommentare

Kommentar hinzufügen

Seitenaufrufe:

Letzte 24 Stunden: 1

Letzte 7 Tage: 4

Letzte 30 Tage: 14

Insgesamt: 230