Was du brauchst
-
-
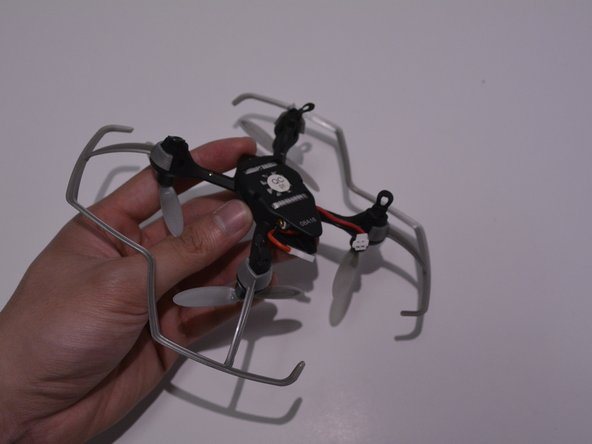
On the bottom of the drone unscrew the screws next to the battery, using the screwdriver provided.
-
The picture shows one of the screws you will be removing, the other screw is directly across from the one being presented.
-
Tip: Removing the screws will loosen the frame of the drone allowing the battery to be removed easier. If you do not want to remove the screws skip to step 2.
-
-
-
-
Pinch the side of the battery that is already exposed and pull until the battery is fully removed from the drone.
-
-
-
With the replacement battery, insert it where you removed the faulty battery until it fully secured within the drone.
-
Replace screws that were removed earlier if you did not skip step 1.
-


To reassemble your device, follow these instructions in reverse order.
To reassemble your device, follow these instructions in reverse order.
Team

UW Tacoma, Team S3-G3, Liner Spring 2017 Mitglied von UW Tacoma, Team S3-G3, Liner Spring 2017
UWT-LINER-S17S3G3
4 Mitglieder
3 Anleitungen geschrieben