Einleitung
In this guide, you will learn how to replace the motherboard on a RCA RCT6272W23.
Was du brauchst
-
-
Use a Phillips #00 screwdriver to remove both 4.1 mm screws at the top of the device which hold it together.
-
-
-
Press the plastic opening tool into the space between the front and back portions of the case.
-
Run it along the perimeter of the device to unhook the plastic tabs.
-
Gently pull both sides apart.
-
-
-
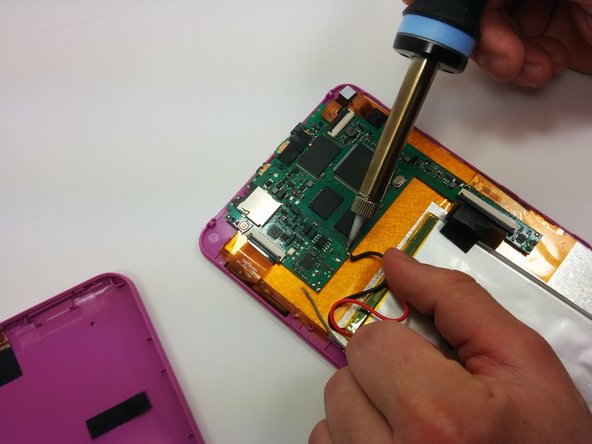
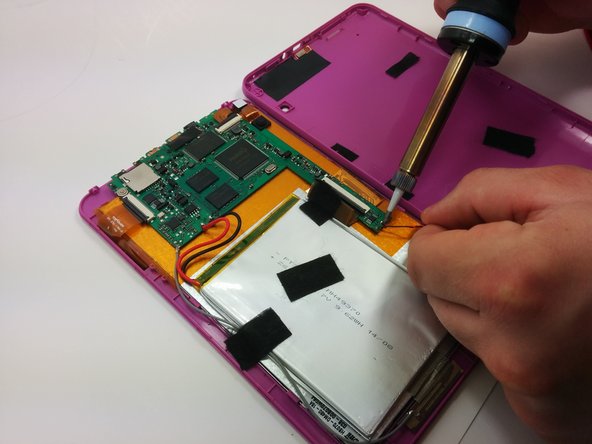
Use a soldering iron to remove the soldered connections on the motherboard
Unsoldering the motherboard is not necessary to replace the display. Once cables are disconnected from the mother board, the motherboard and the battery should remove as one complete piece.
-
-
-
Use a philips #00 screwdriver to unscrew the three 4.064mm screws which attach the motherboard to the front of the device.
-
-
-
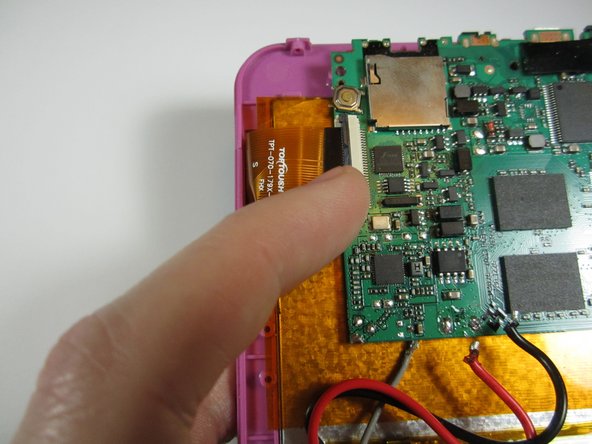
Use your fingers to pop the three black tabs up to release the flat plastic data transfer cables.
-


To reassemble your device, follow these instructions in reverse order.
To reassemble your device, follow these instructions in reverse order.
Rückgängig: Ich habe diese Anleitung nicht absolviert.
3 weitere Nutzer:innen haben diese Anleitung absolviert.

Team

Michigan Tech, Team 1-5, Lauer Spring 2015 Mitglied von Michigan Tech, Team 1-5, Lauer Spring 2015
MTU-LAUER-S15S1G5
2 Mitglieder
12 Anleitungen geschrieben
Ein Kommentar
i need to know everything there is about the motherboard. an tablet. images, info etc