Einleitung
This replacement guide will teach you how to replace a worn speaker. This will ensure the device has quality sound. If the speaker has not fixed the issue there may be an electrical shortage in the device.
Was du brauchst
-
-
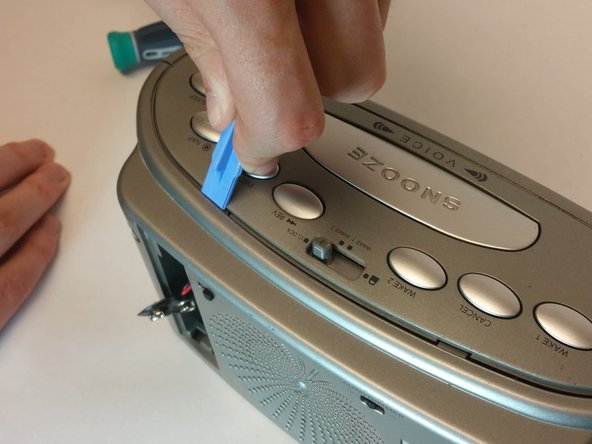
Push down on the clip to release pressure. The pull off the plastic cover.
-
-
-
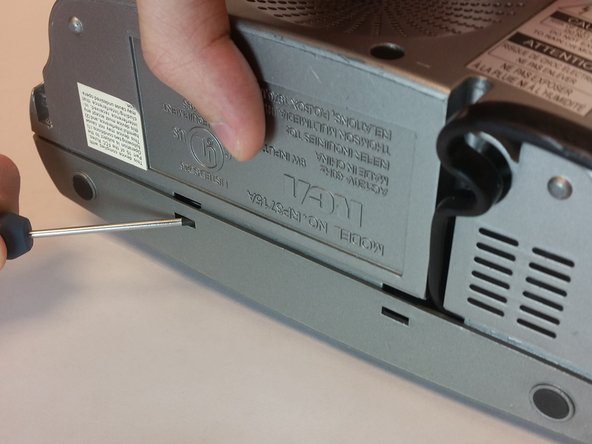
Take out the six screws located on the back of the device.
-
The red screws are 10 mm Phillip's #1. The orange screws are 13 mm Phillips #1.
-
Three screws are located on the back panel. One is located inside the battery carriage.
-
Two screws are located on the on the back panel on the bottom left and right side.
-
-
-
-
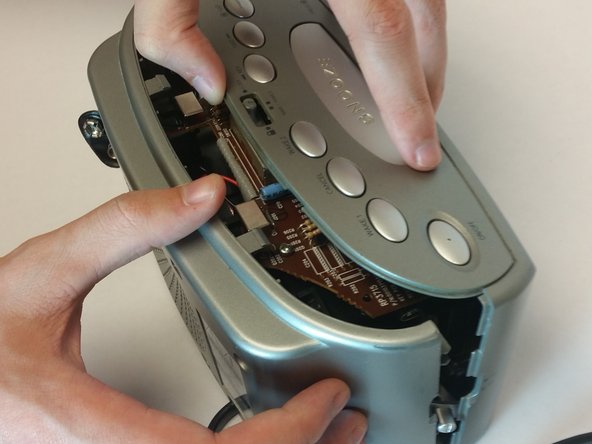
Remove the 10 mm Phillip's #1 screw.
-
Then remove the metal reinforcement.
-
-
-
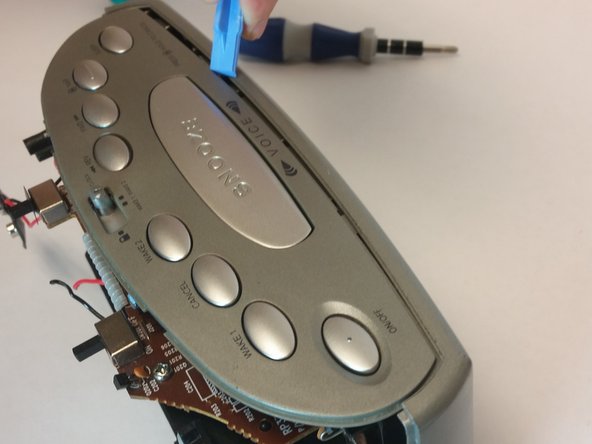
Pry the release tabs with a spudger.
-
Start with back of the device on the topside.
-
-
-
Remove the two 10mm Phillip's #1 screws. Also remove the two reinforcements holding the speaker in place.
-


To reassemble your device, follow these instructions in reverse order.
To reassemble your device, follow these instructions in reverse order.
Rückgängig: Ich habe diese Anleitung nicht absolviert.
Ein:e weitere:r Nutzer:in hat diese Anleitung absolviert.
Team

USF Tampa, Team 10-5, Brown Fall 2014 Mitglied von USF Tampa, Team 10-5, Brown Fall 2014
USFT-BROWN-F14S10G5
3 Mitglieder
5 Anleitungen geschrieben