Einleitung
The RCA ViSYS 25424RE1 phone contains a once piece keypad for dialing phone numbers. This guide can be used to replace the keypad if you're experiencing issues with the buttons. These issues may be caused by using the keypad for a long period of time or by misuse. Using the list of tools and this step-by-step guide, the keypad is easy to replace.
Was du brauchst
-
-
Remove the eight 11mm screws found on the bottom side of the base with a Phillips #00 screwdriver.
-
-
-
-
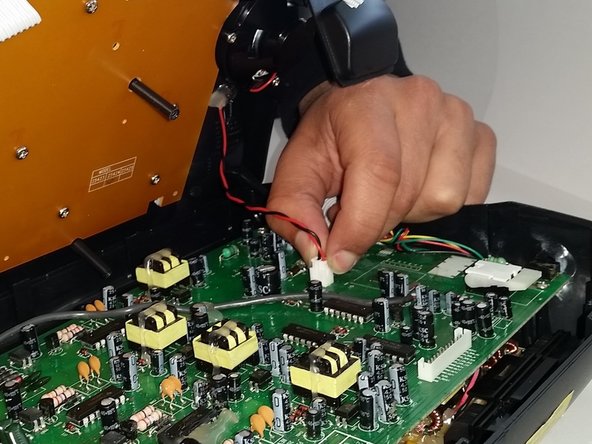
Unclip the wires that connect the front piece to the circuit board on the back piece.
-
-
-
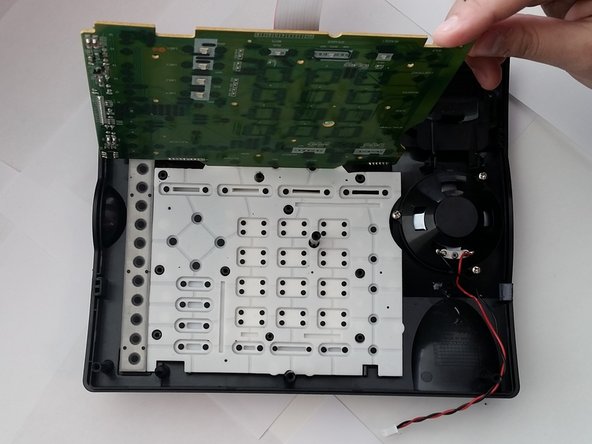
Remove the nine 11mm screws from the board using a Phillips #00 screwdriver, in order to expose the keyboard pressure sensors.
-
-
-
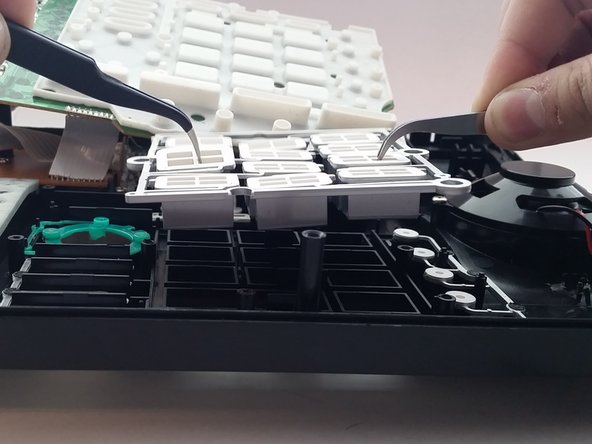
Lift the rubber keypad.
-
Use a pair of tweezers to lift the number pad from both ends at the same time.
-


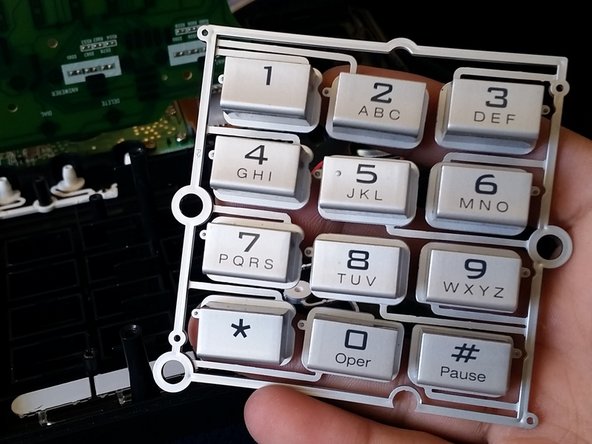
To reassemble your device, follow these instructions in reverse order.
To reassemble your device, follow these instructions in reverse order.

Team

Penn State, Team 1-17, Kaschak Winter 2015 Mitglied von Penn State, Team 1-17, Kaschak Winter 2015
PSU-KASCHAK-W15S1G17
4 Mitglieder
6 Anleitungen geschrieben