Zum Hauptinhalt wechseln

ROG Strix G16 (G614J) M.2 SSD Replacement

Was du brauchst

  1. ROG Strix G16 (G614J) M.2 SSD Replacement, Remote the Backplate Screws: Schritt 1, Bild 1 von 2 ROG Strix G16 (G614J) M.2 SSD Replacement, Remote the Backplate Screws: Schritt 1, Bild 2 von 2
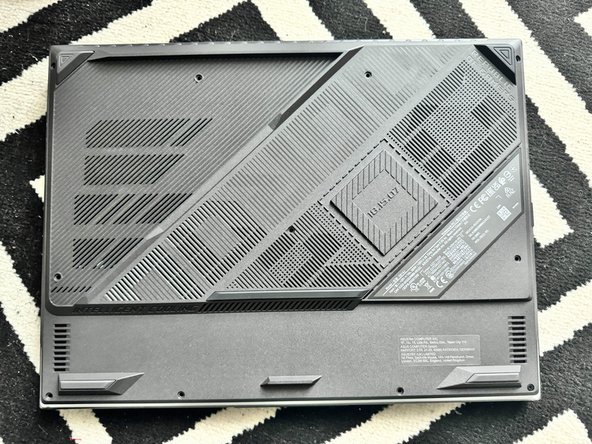
    • Remove the following screws

    • PH0 Screws

    • This one remains captive to the backplate and will not come off.

    • These ones are also PH0 but are longer then the other ones.

  2. ROG Strix G16 (G614J) M.2 SSD Replacement, Opening: Schritt 2, Bild 1 von 2 ROG Strix G16 (G614J) M.2 SSD Replacement, Opening: Schritt 2, Bild 2 von 2
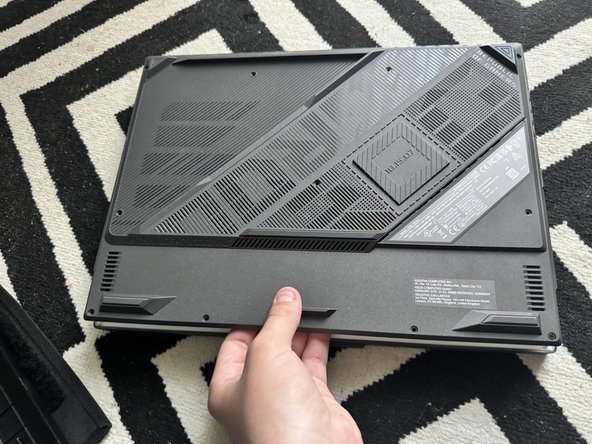
    • Slide an Opening Pick around the edge until you make an opening

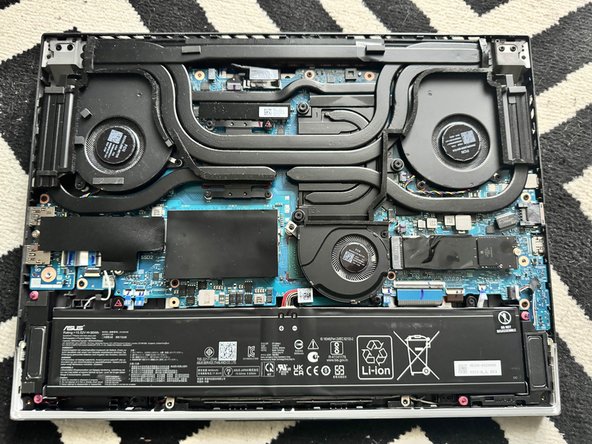
    • Carfully lift the backplate with your hand

  3. ROG Strix G16 (G614J) M.2 SSD Replacement, Locating Slots: Schritt 3, Bild 1 von 1
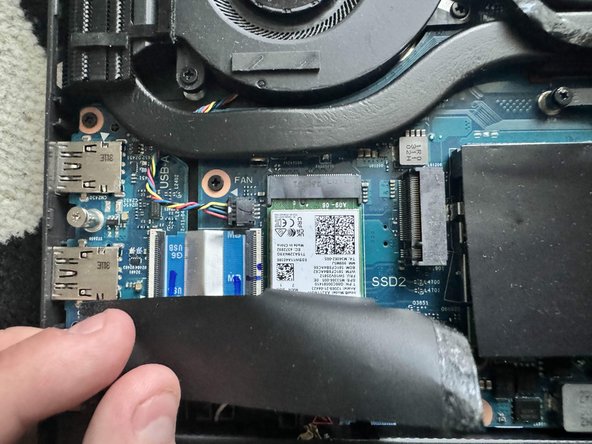
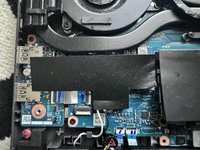
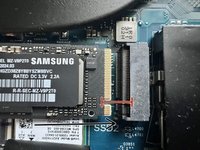
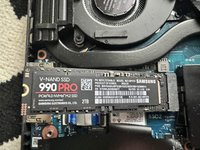
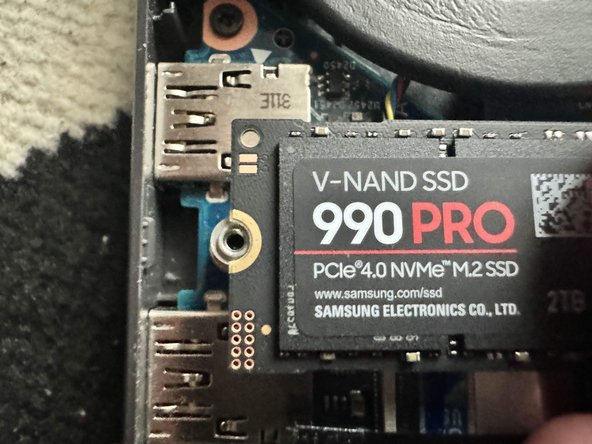
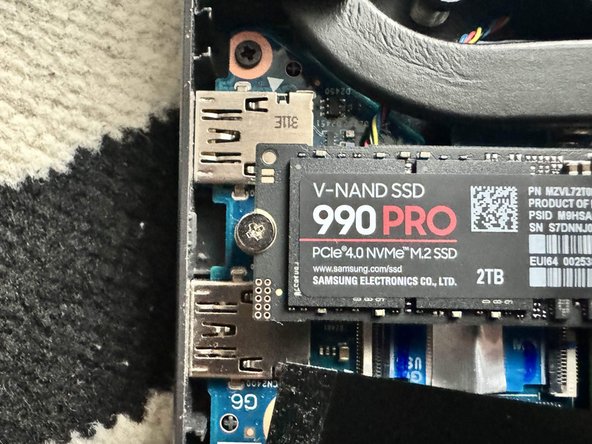
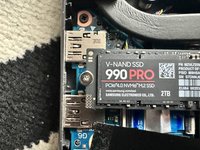
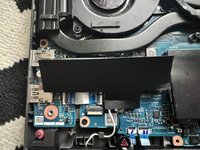
    • There are 2 slots labeled "SSD1" and "SSD2"

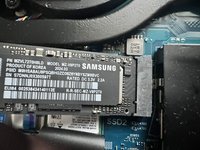
    • The SSD1 slot has a preinstalled SSD by the OEM and has your operating system on it

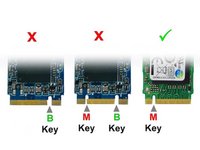
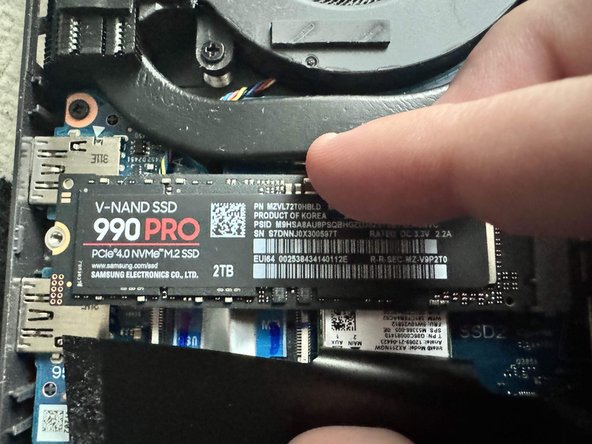
    • The SSD2 slot is free and you can install a M-Key M.2

  4. ROG Strix G16 (G614J) M.2 SSD Replacement, Removing tape: Schritt 4, Bild 1 von 2 ROG Strix G16 (G614J) M.2 SSD Replacement, Removing tape: Schritt 4, Bild 2 von 2
    • Lift/Remove the tape to reveal the slot

    • You may decide if you would like to keep the tape, we will be reapplying it in step 9

  5. ROG Strix G16 (G614J) M.2 SSD Replacement, M.2 Screw: Schritt 5, Bild 1 von 1
    • Remove the PH00 Screw.

  6. ROG Strix G16 (G614J) M.2 SSD Replacement, Inserting the M.2: Schritt 6, Bild 1 von 3 ROG Strix G16 (G614J) M.2 SSD Replacement, Inserting the M.2: Schritt 6, Bild 2 von 3 ROG Strix G16 (G614J) M.2 SSD Replacement, Inserting the M.2: Schritt 6, Bild 3 von 3
    • Carfully slide in the M.2 into the slot

    • Make sure to align the pins properly to avoid damaging them

    • Make sure you are installing a M-Key (5pin) M.2, A B-Key or a B&M-Key is not supported

  7. ROG Strix G16 (G614J) M.2 SSD Replacement, Screwing In 1/2: Schritt 7, Bild 1 von 2 ROG Strix G16 (G614J) M.2 SSD Replacement, Screwing In 1/2: Schritt 7, Bild 2 von 2
    • Press down on the M.2

  8. ROG Strix G16 (G614J) M.2 SSD Replacement, Screwing In 2/2: Schritt 8, Bild 1 von 3 ROG Strix G16 (G614J) M.2 SSD Replacement, Screwing In 2/2: Schritt 8, Bild 2 von 3 ROG Strix G16 (G614J) M.2 SSD Replacement, Screwing In 2/2: Schritt 8, Bild 3 von 3
    • Align the M.2 with the screwdriver hole

    • Screw in the M.2

  9. ROG Strix G16 (G614J) M.2 SSD Replacement, Reapplying the Tape: Schritt 9, Bild 1 von 2 ROG Strix G16 (G614J) M.2 SSD Replacement, Reapplying the Tape: Schritt 9, Bild 2 von 2
    • Reapply the tape

    • If you have removed the tape and you dont want to reapply it you may skip this step

  10. ROG Strix G16 (G614J) M.2 SSD Replacement, Reinstalling the backplate: Schritt 10, Bild 1 von 1
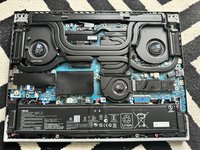
    • Align the backplate and firmly press down on the edges

  11. ROG Strix G16 (G614J) M.2 SSD Replacement, Screwing in: Schritt 11, Bild 1 von 1
    • Screw in all the PH0 Screws

    • Short Screws

    • Long Screws

    • Captive Screw

Abschluss

Enjoy!

4 weitere Personen haben diese Anleitung absolviert.

Artem Ivat

Mitglied seit: 02/05/20

3.290 Reputation

13 Anleitungen geschrieben

Team

Kid fixers Mitglied von Kid fixers

Community

187 Mitglieder

257 Anleitungen geschrieben

0 Kommentare zur Anleitung

Kommentar hinzufügen

Seitenaufrufe:

Letzte 24 Stunden: 9

Letzte 7 Tage: 58

Letzte 30 Tage: 728

Insgesamt: 1,820