Diese Version enthält möglicherweise inkorrekte Änderungen. Wechsle zur letzten geprüften Version.
Was du brauchst
-
Dieser Schritt ist noch nicht übersetzt. Hilf mit, ihn zu übersetzen!
-
Lay down the case so that the power button is on the far top right corner and is facing your right.
-
Remove the top panel by pushing its ridgeline away from you and sliding it off of the case.
-
Remove the side panel facing you by pushing its ridgeline away from you and lifting it off of the case.
-
-
Dieser Schritt ist noch nicht übersetzt. Hilf mit, ihn zu übersetzen!
-
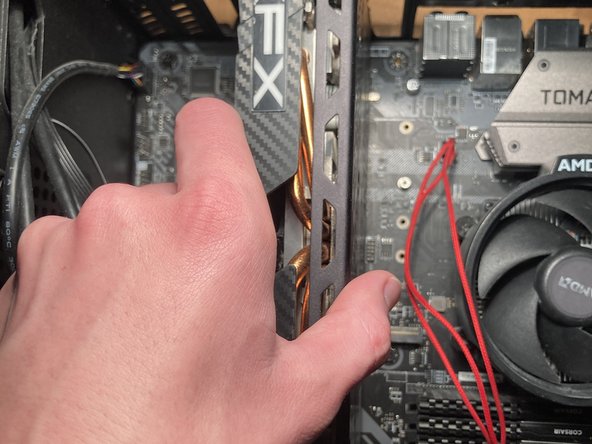
To disconnect the GPU cable, use your thumb and index finger to unlatch the hooking device and pull the cable away.
-
-
-
Dieser Schritt ist noch nicht übersetzt. Hilf mit, ihn zu übersetzen!
-
Gently and carefully press down on the release mechanism on the PCIE slot of the graphics card.
-
-
Dieser Schritt ist noch nicht übersetzt. Hilf mit, ihn zu übersetzen!
-
Remove the graphics card from the motherboard by applying back pressure to the card.
-
-
Dieser Schritt ist noch nicht übersetzt. Hilf mit, ihn zu übersetzen!
-
Remove the six 1.8 mm screws holding both fans in place by using a Phillips #1 screwdriver in-between the fan blades as the screws are located behind the fans.
-
-
Dieser Schritt ist noch nicht übersetzt. Hilf mit, ihn zu übersetzen!
-
Remove the fans by applying back pressure.
-
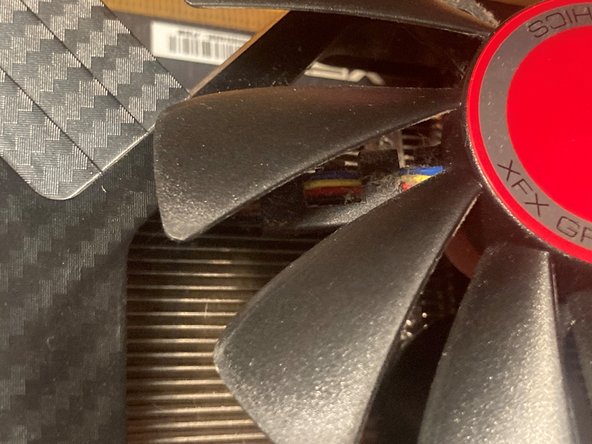
Unplug the individual fans from the graphics card.
-


Rückgängig: Ich habe diese Anleitung nicht absolviert.
Ein:e weitere:r Nutzer:in hat diese Anleitung absolviert.
Team

Embry-Riddle Aeronautical University, Team S7-G21, Rauch Winter 2021 Mitglied von Embry-Riddle Aeronautical University, Team S7-G21, Rauch Winter 2021
ERAU-RAUCH-W21S7G21
1 Mitglied
2 Anleitungen geschrieben
4 Kommentare
This tutorial is not complete, some extra steps are required to unplug the fans power connector.
Indeed, it’s necessary to remove the plastic support above the heat sink (where fans are screwed on) to be able to unplug the fans power connector.
First, the fan support should be removed and the connector should be unplugged before unscrewing the fans from the plastic support.
I have a Gigabyte rx580 ,, is this card easier to unplug than your example .. looks awkward to get to the plug
Görüntü ekrana gelmiyor...onboard olarak takıldığın da görüntü var...teknik servisten birisi bir proğram yüklemeniz gerekli demişti ...nasıl olucak nasıl yapacağız...görüntü yok çünkü