Einleitung
This guide will teach you how to replace the stock speakers that come with the Razer Blade RZ09-0130 2015 laptop. If you are replacing damaged speakers or updating them with newer models, make sure the replacement speakers are compatible before applying this procedure. In addition, run your audio troubleshooter before you open the laptop to ensure that your issue is not software related. The speakers are located along the left and right hand side of the circuitry, each being 1 x 1.75 inches in dimension.
Was du brauchst
-
-
Use a Torx T5 screwdriver to remove the ten 3 mm screws along the edge of the back panel.
-
-
-
-
Using the Phillips #0 screwdriver, remove the two 3mm screws from the right speaker.
-
-
-
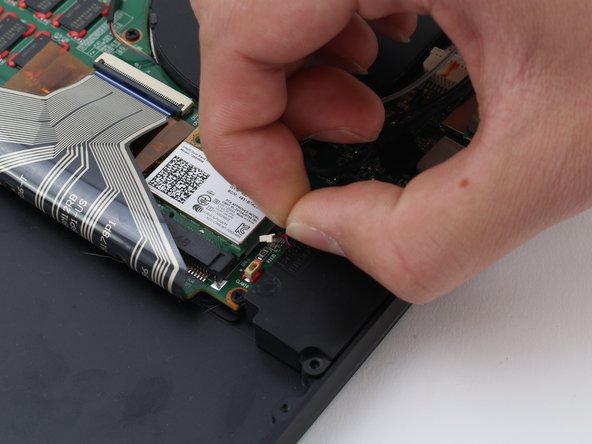
Using your fingers, gently pull on the wire connecting the speaker to the motherboard until it disconnects.
-


To reassemble your device, follow these instructions in reverse order.
To reassemble your device, follow these instructions in reverse order.

Team

Cal Poly, Team S18-G1, White Winter 2020 Mitglied von Cal Poly, Team S18-G1, White Winter 2020
CPSU-WHITE-W20S18G1
4 Mitglieder
6 Anleitungen geschrieben