Zum Hauptinhalt wechseln

Razer Deathadder V3 Pro Skates (Feet) Replacement

Was du brauchst

  1. Razer Deathadder V3 Pro Skates (Feet) Replacement, Turn off the mouse: Schritt 1, Bild 1 von 2 Razer Deathadder V3 Pro Skates (Feet) Replacement, Turn off the mouse: Schritt 1, Bild 2 von 2
    • Turn off the mouse by holding the power button for 3 seconds.

    • The light on top will blink red, indicating its been turned off.

  2. Razer Deathadder V3 Pro Skates (Feet) Replacement, Locate the skates: Schritt 2, Bild 1 von 1
    • The Deathadder V3 Pro has 4 individual skates on it.

  3. Razer Deathadder V3 Pro Skates (Feet) Replacement, Remove skates: Schritt 3, Bild 1 von 3 Razer Deathadder V3 Pro Skates (Feet) Replacement, Remove skates: Schritt 3, Bild 2 von 3 Razer Deathadder V3 Pro Skates (Feet) Replacement, Remove skates: Schritt 3, Bild 3 von 3
    • Slide your fingernail or a pair of tweezers under the skates and pull up.

    • I found using my finger to finish peeling the skates off was easier, but your mileage may vary.

    • Be careful around the sensor as you could potentially damage it and cause unwanted tracking issues.

  4. Razer Deathadder V3 Pro Skates (Feet) Replacement, Remove paper: Schritt 4, Bild 1 von 3 Razer Deathadder V3 Pro Skates (Feet) Replacement, Remove paper: Schritt 4, Bild 2 von 3 Razer Deathadder V3 Pro Skates (Feet) Replacement, Remove paper: Schritt 4, Bild 3 von 3
    • If there is a leftover paper like material, remove it just like you did the skates.

  5. Razer Deathadder V3 Pro Skates (Feet) Replacement, Clean off residue: Schritt 5, Bild 1 von 3 Razer Deathadder V3 Pro Skates (Feet) Replacement, Clean off residue: Schritt 5, Bild 2 von 3 Razer Deathadder V3 Pro Skates (Feet) Replacement, Clean off residue: Schritt 5, Bild 3 von 3
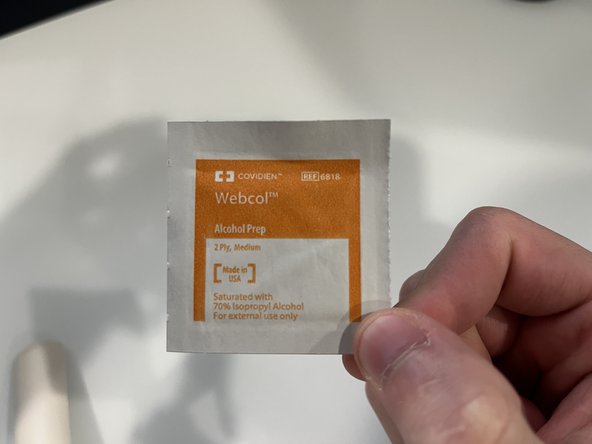
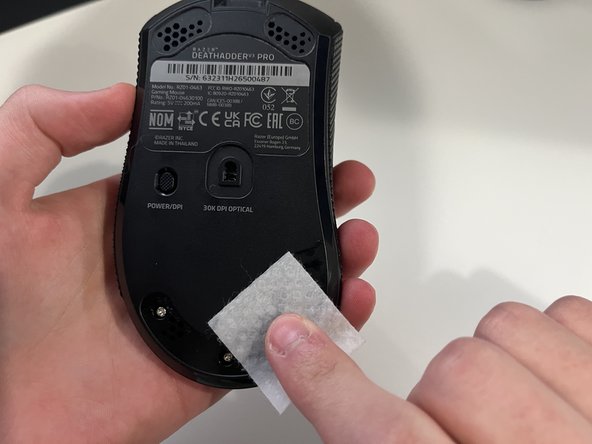
    • Use the included alcohol prep pad, or your own, to remove any leftover residue.

    • You might have to use your finger to remove some stubborn residue.

    • Let the alcohol dry for a little before continuing.

  6. Razer Deathadder V3 Pro Skates (Feet) Replacement, Place skates: Schritt 6, Bild 1 von 3 Razer Deathadder V3 Pro Skates (Feet) Replacement, Place skates: Schritt 6, Bild 2 von 3 Razer Deathadder V3 Pro Skates (Feet) Replacement, Place skates: Schritt 6, Bild 3 von 3
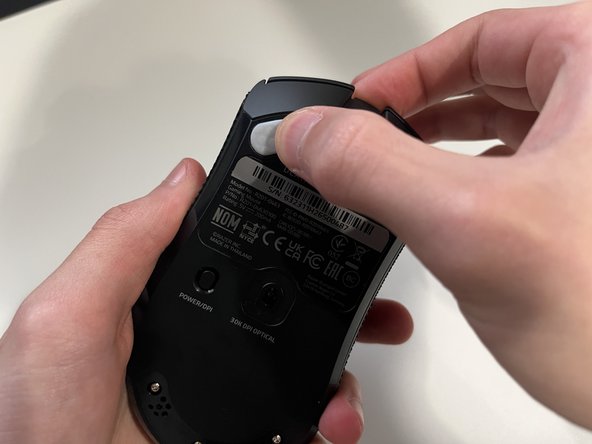
    • Place your new skates in the correct spot.

    • Apply some pressure with your thumb to make sure that the skates stick properly.

    • Do this for all of them except the sensor ring, that one is discussed in the next step.

  7. Razer Deathadder V3 Pro Skates (Feet) Replacement, Remove excess sensor ring: Schritt 7, Bild 1 von 3 Razer Deathadder V3 Pro Skates (Feet) Replacement, Remove excess sensor ring: Schritt 7, Bild 2 von 3 Razer Deathadder V3 Pro Skates (Feet) Replacement, Remove excess sensor ring: Schritt 7, Bild 3 von 3
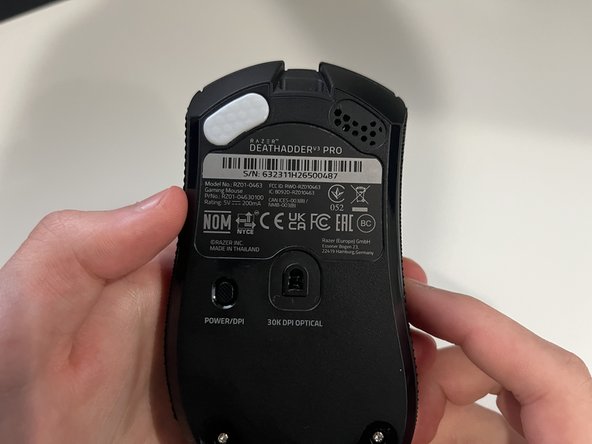
    • Use your tweezers or fingers to pop out the extra piece for the sensor ring.

    • When placing the sensor ring skate, be careful not to damage the actual sensor.

  8. Razer Deathadder V3 Pro Skates (Feet) Replacement, Enjoy!: Schritt 8, Bild 1 von 1
    • Enjoy your new mouse skates!

Ziellinie

Swrlz

Mitglied seit: 02/12/23

157 Reputation

1 Anleitung geschrieben

0 Kommentare

Kommentar hinzufügen

Seitenaufrufe:

Letzte 24 Stunden: 0

Letzte 7 Tage: 7

Letzte 30 Tage: 39

Insgesamt: 263