Einleitung
The Razer Huntsman TE is one of the most widely used keyboards today, and one of the most common problems users encounter is keys getting stuck. The Razer Huntsman TE is a very different keyboard as it uses light instead of mechanical switches to send signals to the computer. This makes it far more sensitive than other keyboards. More caution is advised with each step, so as not to cause any damage to the device.
Was du brauchst
-
-
Insert the keycap puller so that the teeth at the end of the puller sit beneath the keycap.
-
Apply enough upwards force for the keycap to pop out.
-
-
-
-
Apply 91% isopropyl alcohol to microfiber cloth.
-
Wipe around the key.
-
Make sure that there is no residual stickiness on the key.
-
-
-
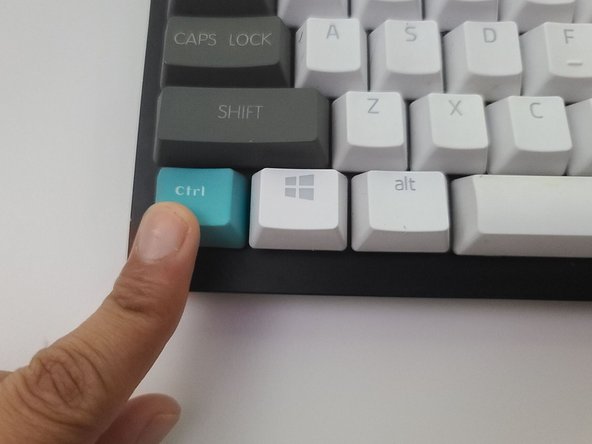
Position the replacement keycap above the keyslot.
-
Using your finger, apply downwards force to the keycap until you hear it snap into place.
-


Use a diagnostic tool such as an online keyboard tester to test the key.
Use a diagnostic tool such as an online keyboard tester to test the key.

Team

University of North Texas, Team S1-G24, Raign Spring 2021 Mitglied von University of North Texas, Team S1-G24, Raign Spring 2021
UNT-RAIGN-S21S1G24
2 Mitglieder
2 Anleitungen geschrieben