Diese Version enthält möglicherweise inkorrekte Änderungen. Wechsle zur letzten geprüften Version.
Was du brauchst
-
Dieser Schritt ist noch nicht übersetzt. Hilf mit, ihn zu übersetzen!
-
Remove the strap by pulling it off of the mounts located on the body and neck.
-
-
Dieser Schritt ist noch nicht übersetzt. Hilf mit, ihn zu übersetzen!
-
Remove the nine 12mm Phillips #1 screws around the perimeter of the case with a screwdriver.
-
Remove the two 15mm Phillips #1 screws connecting the body panel to the neck panel with a screwdriver.
-
Pull off the rear case.
-
-
Dieser Schritt ist noch nicht übersetzt. Hilf mit, ihn zu übersetzen!
-
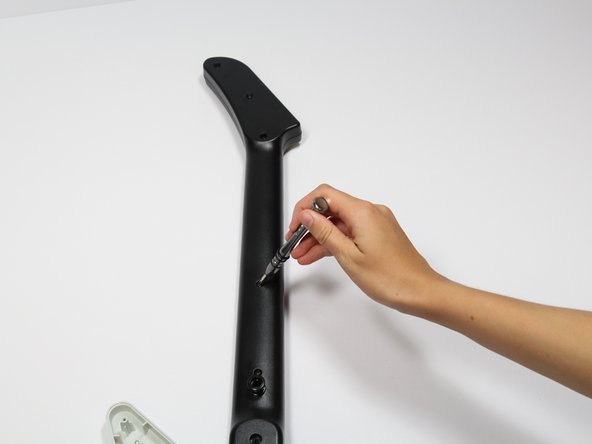
Remove the five 12mm Phillips #1 screws along the neck with a screwdriver.
-
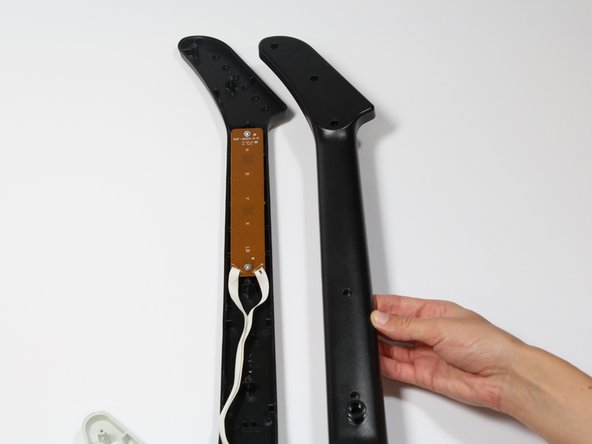
Pull off the top shell of the neck to expose the internal features.
-
-
Dieser Schritt ist noch nicht übersetzt. Hilf mit, ihn zu übersetzen!
-
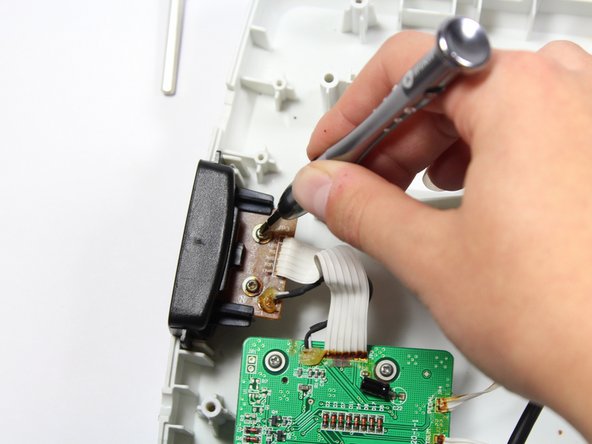
Remove the two 10mm Phillips #1 screws from the auxiliary port board using a screwdriver.
-
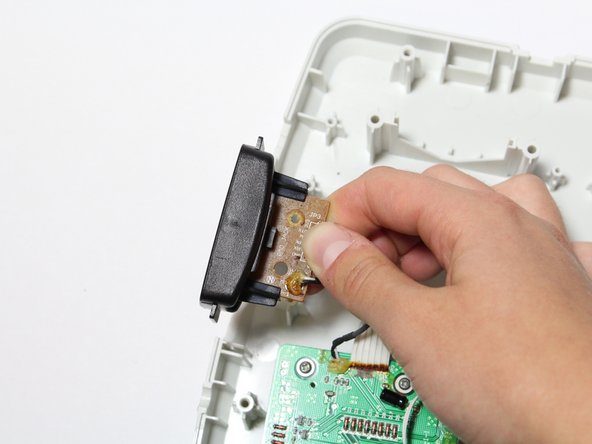
Gently lift up on the auxiliary port to remove it from the case.
-
-
Dieser Schritt ist noch nicht übersetzt. Hilf mit, ihn zu übersetzen!
-
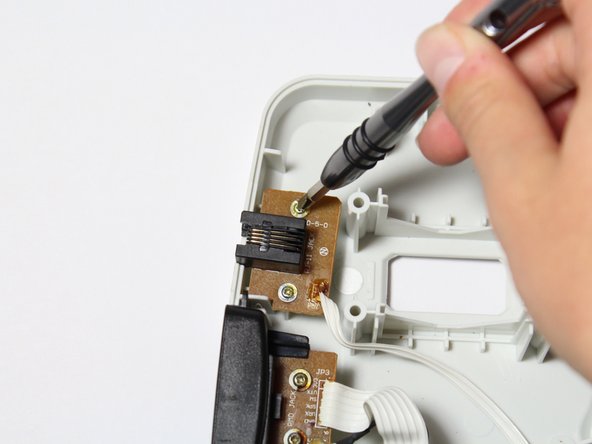
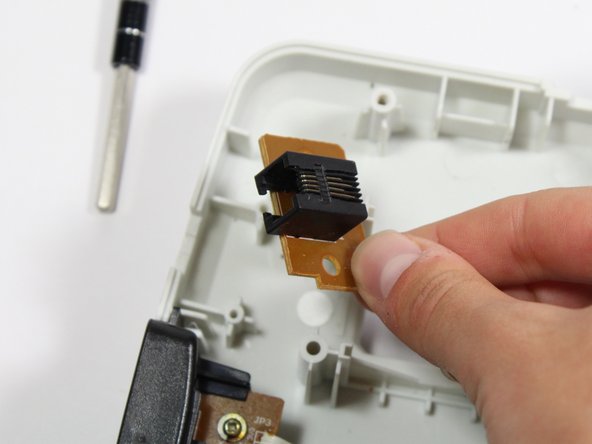
Remove the two 10mm Phillips #1 screws from the RJ-14 connector board.
-
Lift the RJ-14 connector to remove it from the case.
-
-
-
Dieser Schritt ist noch nicht übersetzt. Hilf mit, ihn zu übersetzen!
-
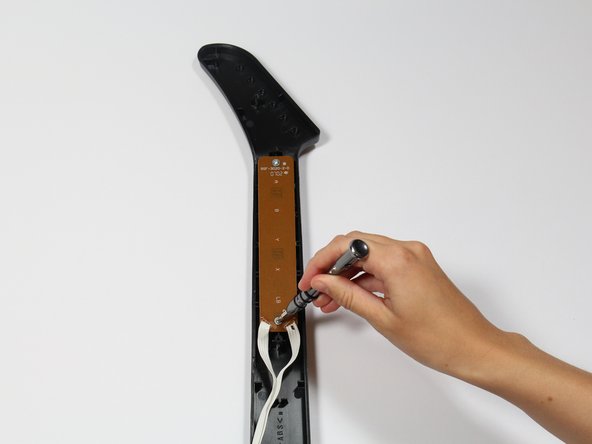
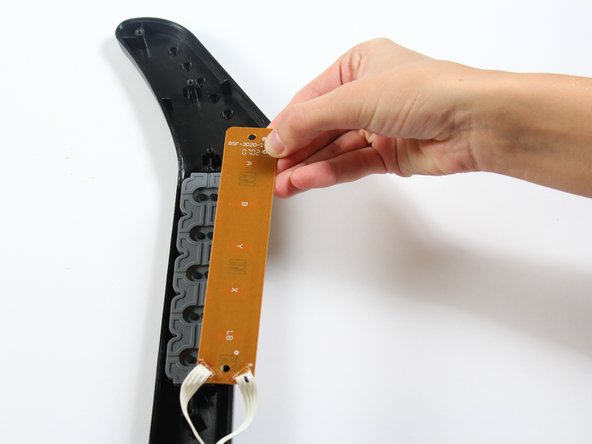
Use a screwdriver to remove the 10 mm Phillips #1 screws from the key sensor board.
-
Lift up on the key sensor board to remove it from the guitar neck.
-
-
Dieser Schritt ist noch nicht übersetzt. Hilf mit, ihn zu übersetzen!
-
Using your fingers, remove the rubber pad to expose the colored keys.
-
-
Dieser Schritt ist noch nicht übersetzt. Hilf mit, ihn zu übersetzen!
-
Reach one finger under the guitar to push the key out of the casing.
-
Repeat this step for the four remaining keys.
-
-
Dieser Schritt ist noch nicht übersetzt. Hilf mit, ihn zu übersetzen!
-
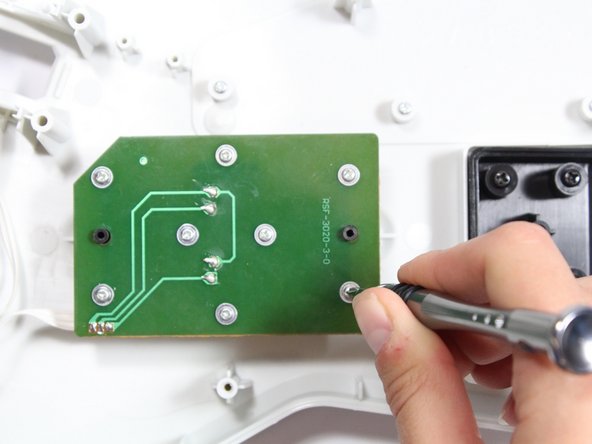
Use a screwdriver to remove the four 14mm Phillips #1 screws around the perimeter of the strum bar sensor board.
-
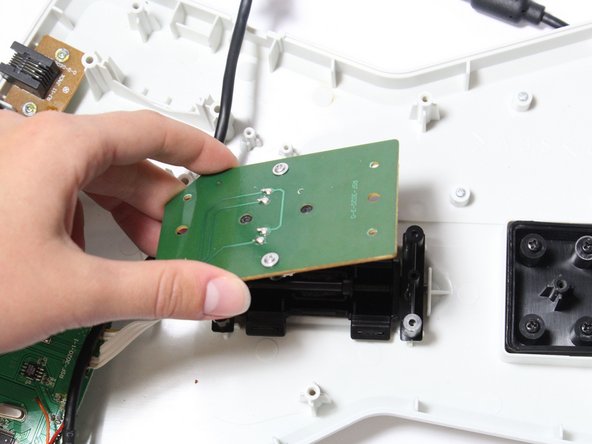
Lift up on the strum bar sensor board to remove it from the case.
-
-
Dieser Schritt ist noch nicht übersetzt. Hilf mit, ihn zu übersetzen!
-
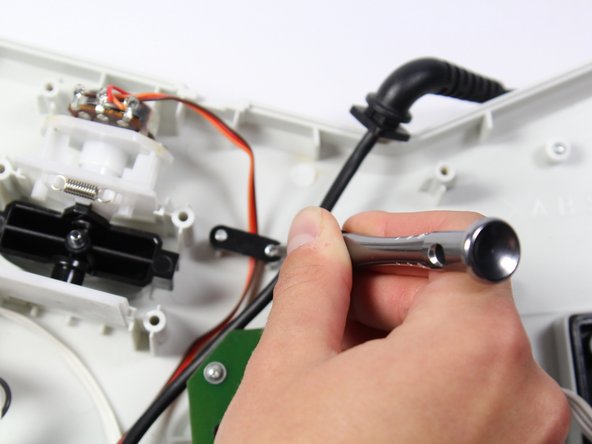
Remove the two 7mm Phillips #0 screws.
-
Using your fingers, remove the black wire retainer.
-
-
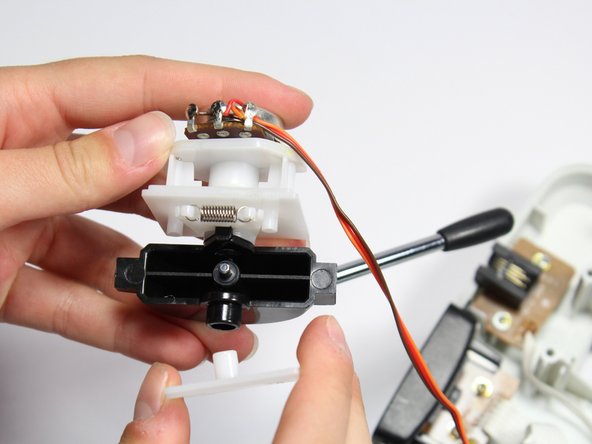
Dieser Schritt ist noch nicht übersetzt. Hilf mit, ihn zu übersetzen!
-
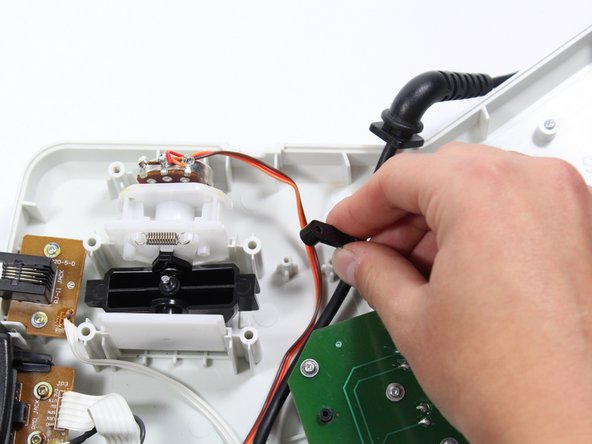
Using one hand, remove the whammy bar and its attached components from the case.
-
-
Dieser Schritt ist noch nicht übersetzt. Hilf mit, ihn zu übersetzen!
-
Using two hands, remove the whammy bar sensor.
-
-
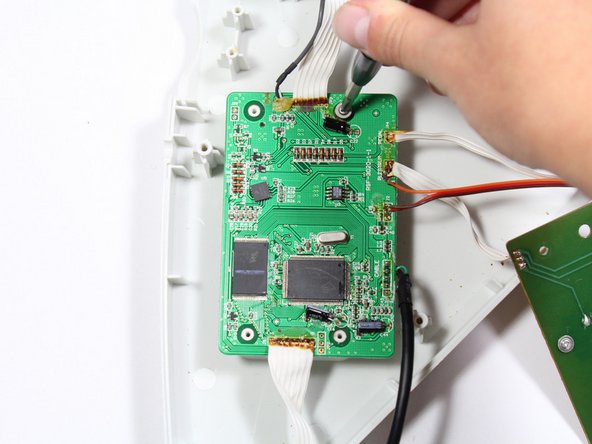
Dieser Schritt ist noch nicht übersetzt. Hilf mit, ihn zu übersetzen!
-
Remove the four 10mm Phillips #1 screws around the perimeter of the motherboard with a screwdriver.
-
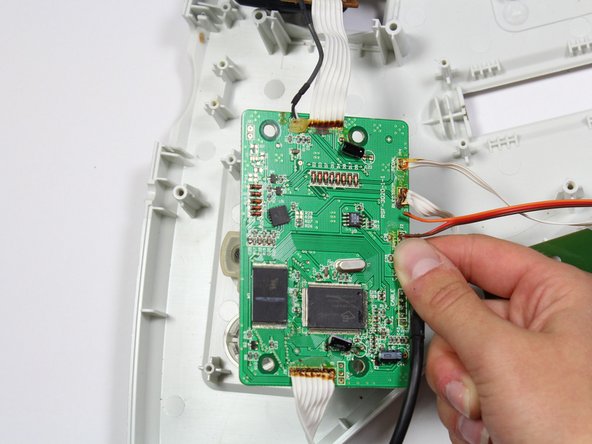
Lift the motherboard to remove it from the case.
-


Rückgängig: Ich habe diese Anleitung nicht absolviert.
Ein:e weitere:r Nutzer:in hat diese Anleitung absolviert.
Team

Cal Poly, Team S17-G1, Livingston Spring 2018 Mitglied von Cal Poly, Team S17-G1, Livingston Spring 2018
CPSU-LIVINGSTON-S18S17G1
3 Mitglieder
9 Anleitungen geschrieben