Diese Version enthält möglicherweise inkorrekte Änderungen. Wechsle zur letzten geprüften Version.
Was du brauchst
-
Dieser Schritt ist noch nicht übersetzt. Hilf mit, ihn zu übersetzen!
-
Remove the strap by pulling it off of the mounts located on the body and neck.
-
-
Dieser Schritt ist noch nicht übersetzt. Hilf mit, ihn zu übersetzen!
-
Remove the nine 12mm Phillips #1 screws around the perimeter of the case with a screwdriver.
-
Remove the two 15mm Phillips #1 screws connecting the body panel to the neck panel with a screwdriver.
-
Pull off the rear case.
-
-
-
Dieser Schritt ist noch nicht übersetzt. Hilf mit, ihn zu übersetzen!
-
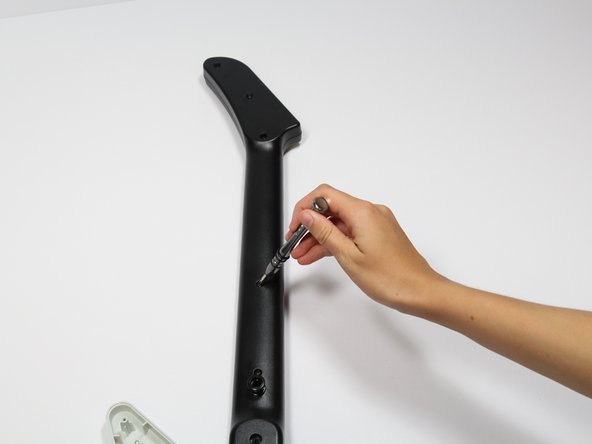
Remove the five 12mm Phillips #1 screws along the neck with a screwdriver.
-
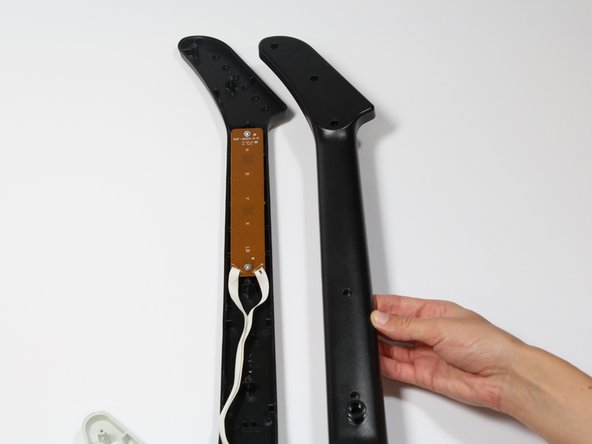
Pull off the top shell of the neck to expose the internal features.
-
-
Dieser Schritt ist noch nicht übersetzt. Hilf mit, ihn zu übersetzen!
-
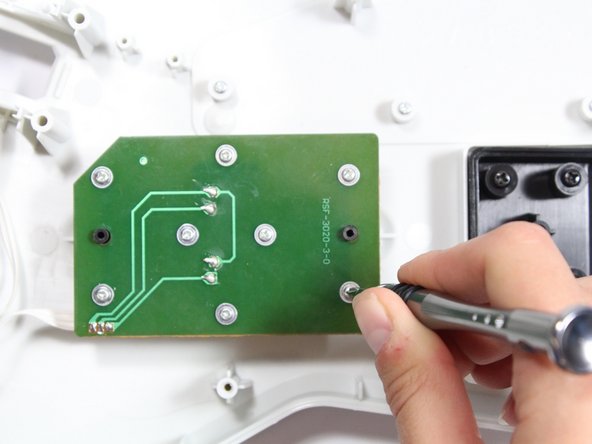
Use a screwdriver to remove the four 14mm Phillips #1 screws around the perimeter of the strum bar sensor board.
-
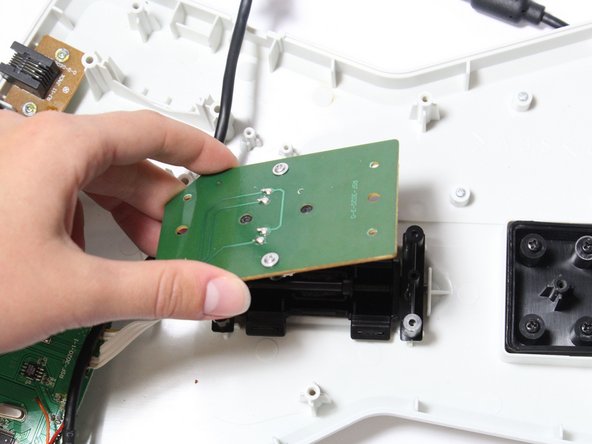
Lift up on the strum bar sensor board to remove it from the case.
-
Rückgängig: Ich habe diese Anleitung nicht absolviert.
Ein:e weitere:r Nutzer:in hat diese Anleitung absolviert.


