Einleitung
Vous devez ouvrir ou remplacer votre panneau arrière de votre Dell XPS 13 9380, ce guide est alors fait pour vous !
Was du brauchst
-
-
Dévisser les huit vis (Torx M2x3) qui fixent le panneau arrière.
-
Retournez l’ordinateur, puis ouvrez-le en l’inclinant.
-
À l'aide d'un Spudger, faites levier sur le panneau arrière.
-
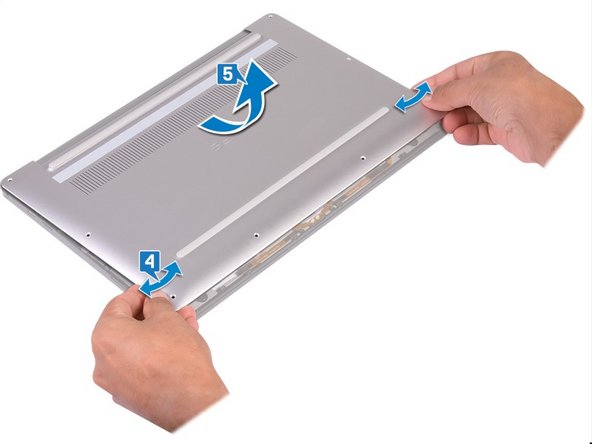
En faisant glisser le panneau arrière de gauche à droite, libérez les clips qui le fixent. Vous pouvez ainsi le retirer.
-
-


Pour réassembler votre appareil, suivez les instructions dans l'ordre inverse.
Pour réassembler votre appareil, suivez les instructions dans l'ordre inverse.
Rückgängig: Ich habe diese Anleitung nicht absolviert.
Ein:e weitere:r Nutzer:in hat diese Anleitung absolviert.

Team

You should be careful when removing the back panel as there also two clips on its back where the air ducts lie. If you are quick to remove it you may tear the air ducts which are quite (unreasonably) fragile given the fact they are plastic. I was unfortunate and I broke two of them so I had to use some duct tape as a minor gap would be visible between the back panel and the plastically covered air ducts. Other than that, it’s a pain to remove the back panel but not as difficult as it sounds.
Iraklis - Antwort