Was du brauchst
Einführungsvideo
-
-
Press the power button. The MacBook won’t turn on.
-
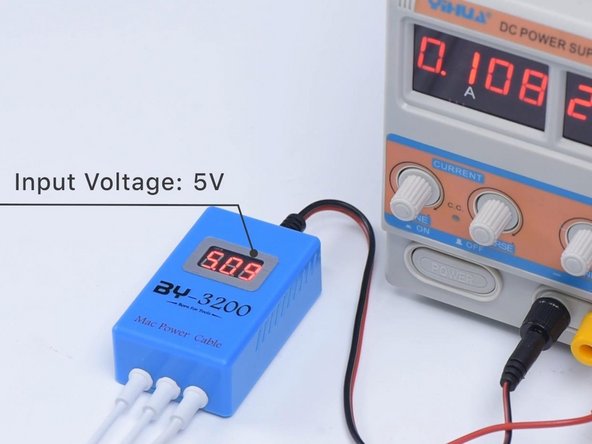
Plug in the BY-3200 power cable and the input voltage is 20V.
-
The current reading on the DC Power Supply stays at 0.047A.
-
-
-
Unplug the power cable. Next, we need to disassemble the MacBook and test.
-
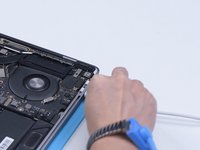
Remove the screws and disconnect the battery connector flex cable.
-
-
-
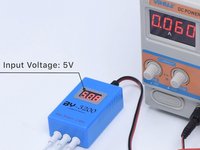
Plug in the BY-3200 and the input voltage is 5V.
-
The current reading on the DC Power Supply stays at 0.059A.
-
The power supply of the motherboard is only 5V, which is abnormal.
-
-
-
The motherboard number is 820-00850-07.
-
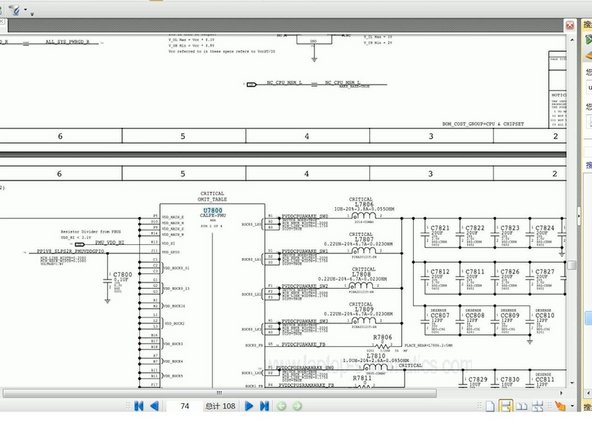
Open the schematic diagram and bitmap.
-
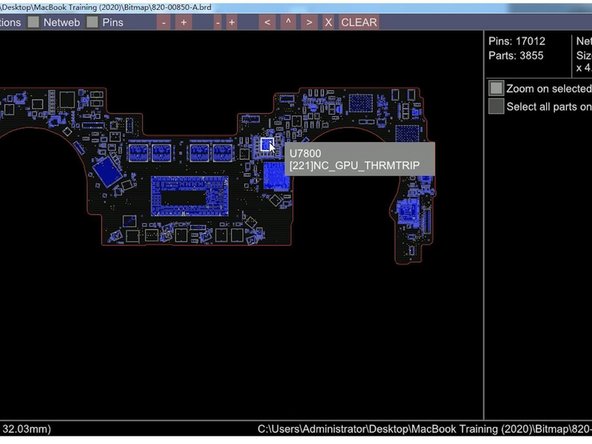
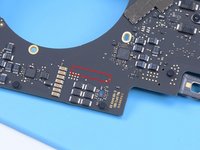
U3900 is the T2 chip. U7800 is the power chip.
-
-
-
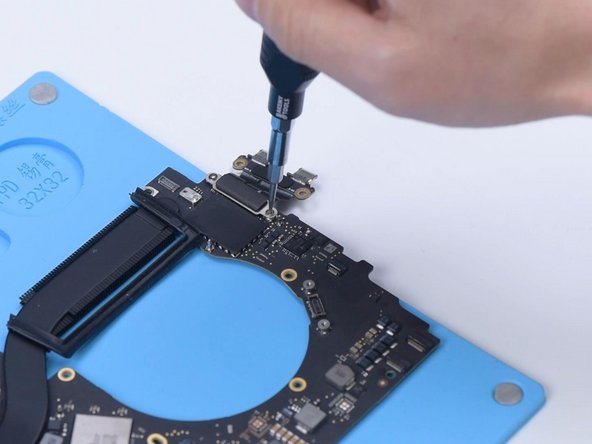
Measure the standby voltage of the T2 chip, which is supplied by the U7800. Find U7800 on the schematic diagram.
-
-
-
-
Pug in the power cable.
-
The motherboard current stops at 0.06A and the input voltage is only 5V.
-
-
-
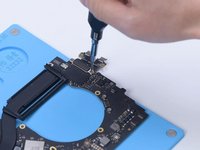
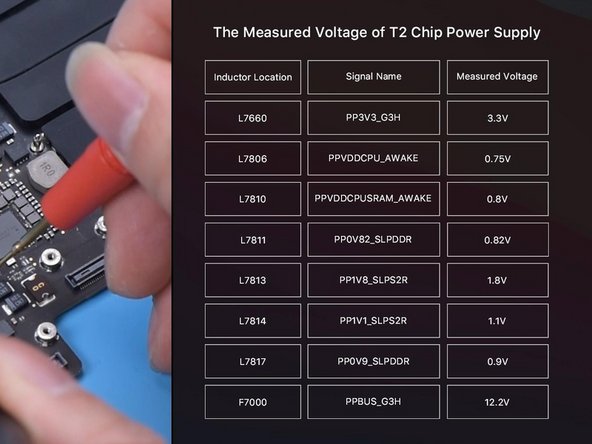
Measure the power supply of the motherboard.
-
The measured voltage values are normal. It can be judged that the power supply circuit of the motherboard is good.
-
Next, we need to decide if the fault (voltage failing to increase) is caused by T2 chip data problems.
-
-
-
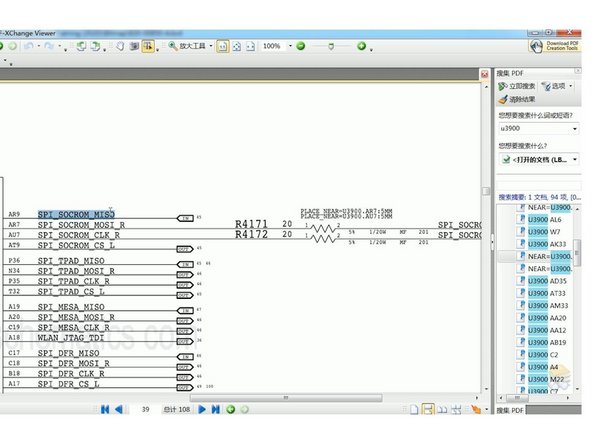
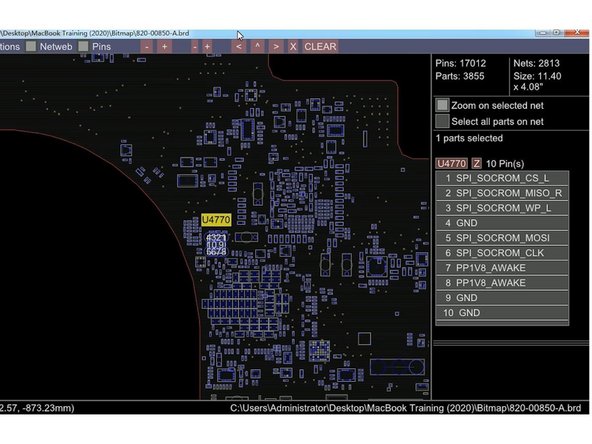
Find T2 chip on the bitmap and the location name is U3900. Search U3900 on the diagram and find the ROM chip for T2.
-
Copy signal SPI_SOCROM_MISO. Find SoC ROM and the location name is U4770. Find U4770 on bitmap.
-
-
-
Find SoC ROM (U4770) on the motherboard. Remove SoC ROM chip with Hot Air Gun at 430℃.
-
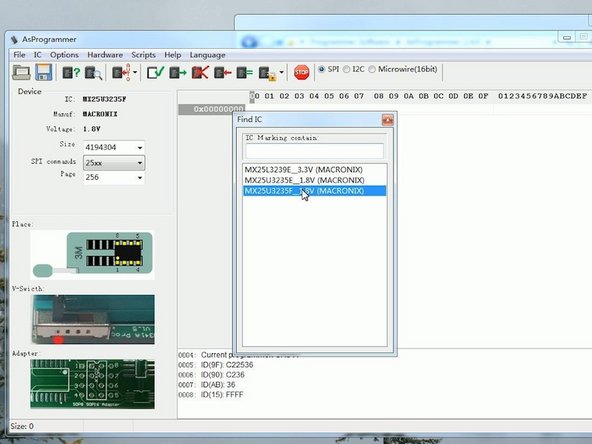
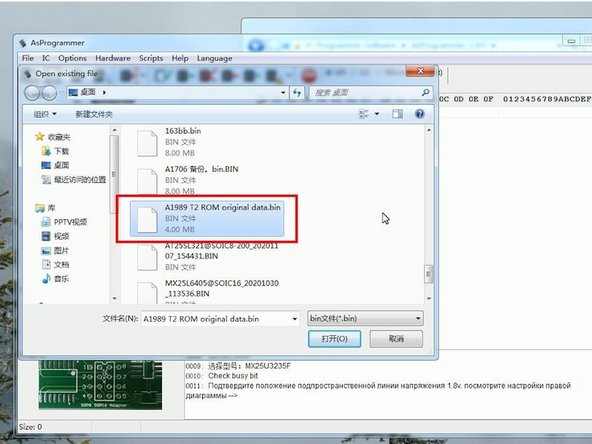
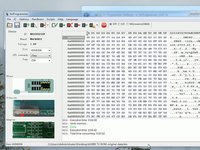
Get the BY-T200 and write the new SoC ROM data. Attach the chip to the seat of BY-T200. Pin 1 of the chip must align with the red dot on the tool.
-
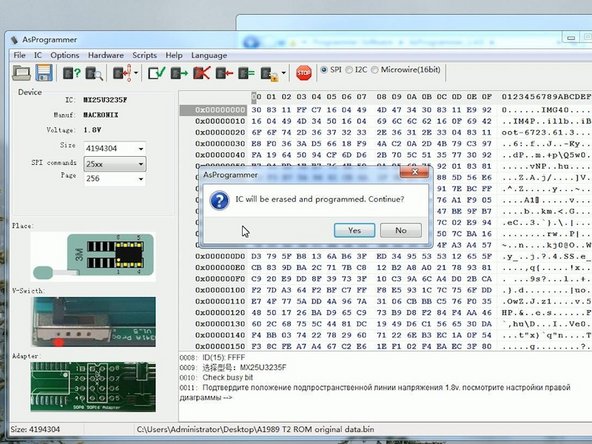
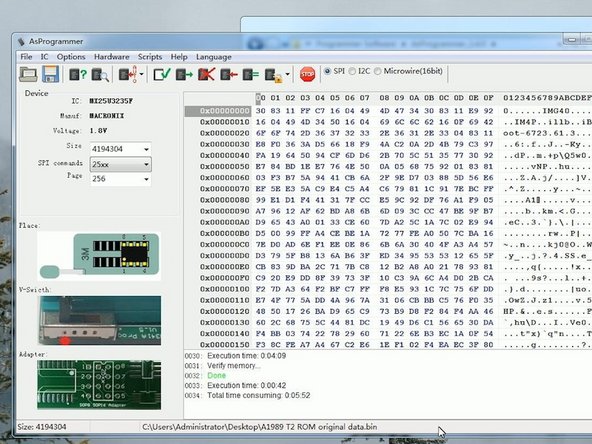
Then connect BY-T200 with the computer.
-
-
-
Unplug BY-T200. Solder the chip back to the motherboard.
-
Plug in the power cable. The BY-3200 shows an increase in input voltage from 5V to 20V.
-
The current jump on the DC power supply is normal, which indicates that the motherboard is turned on.
-
-
-
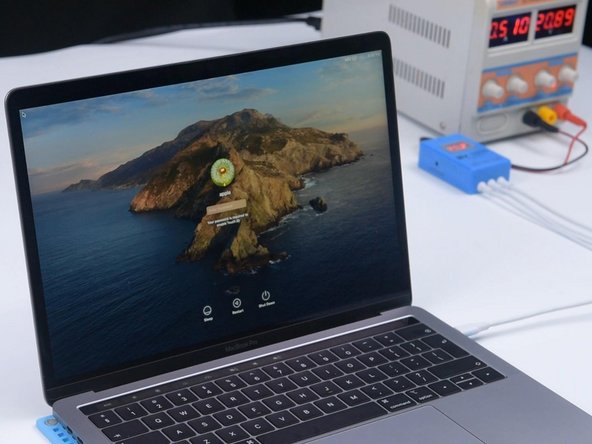
Disconnect the power cable and install the motherboard. Plug in the power cable.
-
The MacBook is turned on and can enter the system.
-
-
-
Lastly, assemeble the MacBook.
-
Connect the battery flex cable and put the back cover on.
-
Plug in the power cable and press the power button. The MacBook is turned on and can enter the system. The fault has been cleared.
-


In the first place, we used MacBook BY-3200 power cable to observe the change of boot voltage and current. The voltage values related to the boot circuit on the motherboard were found to be normal after measuring. To determine whether the fault was caused by data problems, BY-T200 Data Assistant was used to read and write the data of T2 chip ROM. After rewriting the ROM data of T2 chip, the MacBook could turn on and enter the system. The no power fault has been cleared.
In the first place, we used MacBook BY-3200 power cable to observe the change of boot voltage and current. The voltage values related to the boot circuit on the motherboard were found to be normal after measuring. To determine whether the fault was caused by data problems, BY-T200 Data Assistant was used to read and write the data of T2 chip ROM. After rewriting the ROM data of T2 chip, the MacBook could turn on and enter the system. The no power fault has been cleared.
Rückgängig: Ich habe diese Anleitung nicht absolviert.
2 weitere Personen haben diese Anleitung absolviert.

3 Kommentare
Whre can I buy T2 rom original file ?
I have chunky fingers for female & not as strong as I use to be, will try. That iMac was hard enough as it was!
Where can we find this "A1989 T2 ROM original data.bin"?