Einleitung
Long skirts are often prone to tearing, especially ruffle skirts that may come apart at the ruffled hems due to accidentally stepping on the bottom or some other such mistake. Rather than discard a skirt with a rip, this guide will show you how to repair that tear and make your skirt wearable again.
Step 3 uses sewing pins, so you should be careful not to poke yourself. Attention to your work should prevent any danger of being poked.
Similarly, Steps 7-8 require a sewing needle. Similar attention to your work should prevent you from being poked by the needle.
Repairing your clothes is a great way to decrease the amount of waste we throw out, and hopefully this guide will be helpful in preserving your skirts a little longer.
Was du brauchst
-
-
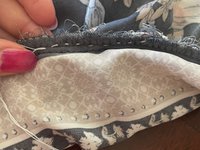
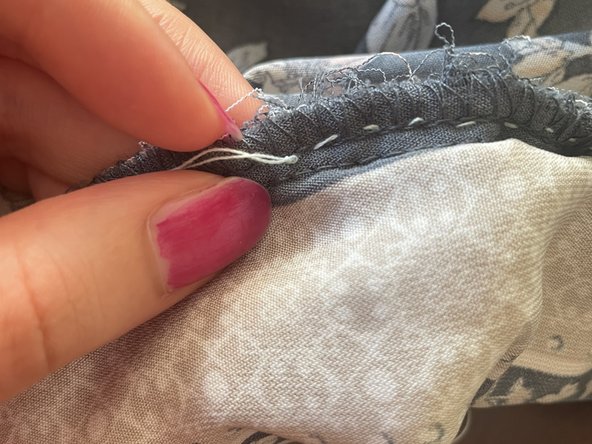
Fold the skirt so the ripped part is facing inside and is not visible from the outside.
-
-
-
-
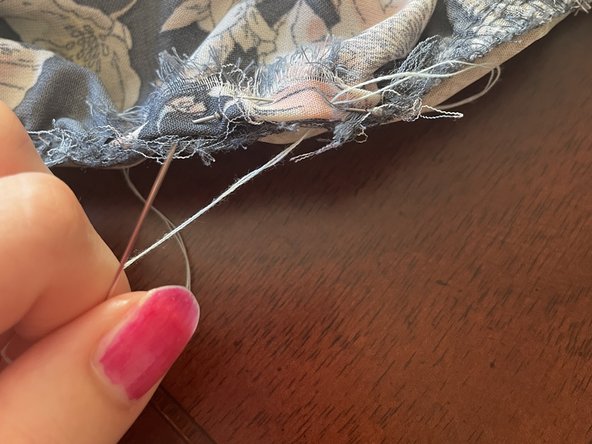
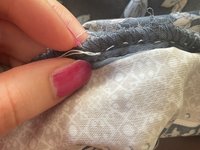
Thread your sewing needle, holding your needle straight up and pushing the thread through.
-
-
-
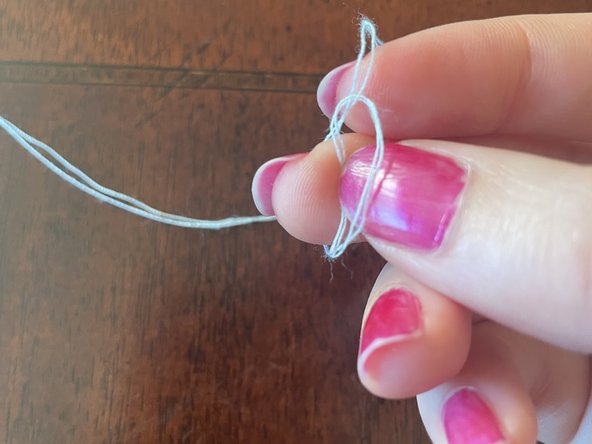
Cut the thread to the desired length.
-
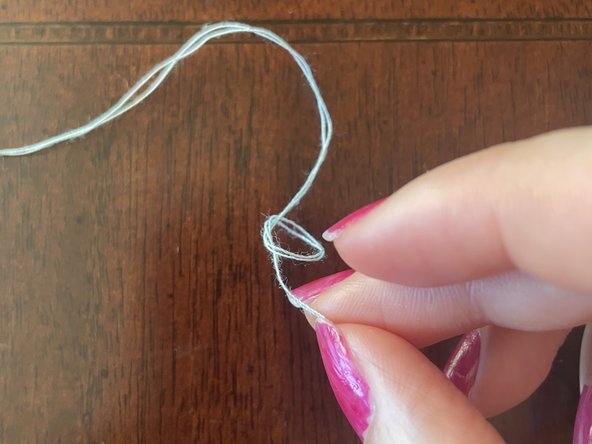
Tie a knot at the end of the cut thread to secure your stitches.
-
-
-
Push your needle in one side of fabric and draw it out on other side to make the first stitch.
-
-
-
When you reach the end of your thread, tie your thread in a knot in order to secure the stitches.
-


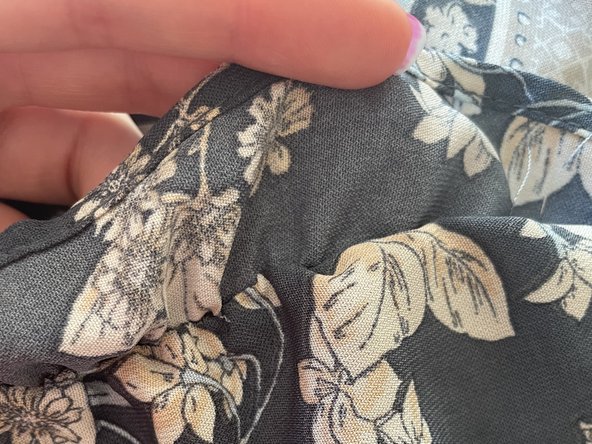


To reassemble your device, follow these instructions in reverse order.

Team

CSU Sacramento, Team 1-13, Laflen Fall 2024 Mitglied von CSU Sacramento, Team 1-13, Laflen Fall 2024
CSUSAC-LAFLEN-F24S1G13
1 Mitglied
2 Anleitungen geschrieben