Einleitung
This guide will help you easily and quickly fix a tear in a winter coat. This technique requires very basic sewing tools, like a needle and thread, but also uses a product to prevent any further fraying on the coat from the rip.
Was du brauchst
-
-
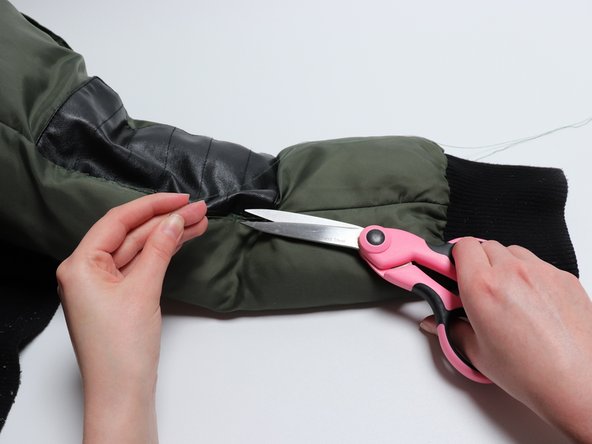
Carefully cut off any long frays from the tear.
-
-
-
Apply a fray sealer to the edge of the tear to help prevent any further fraying.
-
Let the product dry before continuing to the next step.
-
-
-
-
Push the needle from the inside of the edge closest to you.
-
Push the needle into the other side, joining the two edges together.
-
Push the needle back through the edge closest to you, pulling the needle and thread tightly.
-
Continue this motion across the rest of the tear, keeping the stitches tight and close together.
-


Rückgängig: Ich habe diese Anleitung nicht absolviert.
Ein:e weitere:r Nutzer:in hat diese Anleitung absolviert.
Team

Missouri Western, Team S1-G5, Cools Stephens Spring 2019 Mitglied von Missouri Western, Team S1-G5, Cools Stephens Spring 2019
MWSU-COOLS STEPHENS-S19S1G5
1 Mitglied
1 Anleitung geschrieben