Einleitung
I've rebuilt the carburator on my Homelite trimmer once already. This spring, the prime bulb ruptured, and rather than rebuild/replace the single part, I thought I'd try one of the carb kits. These kits typically come with new spark plugs, fuel filters, gaskets, and a whole new carburetor for the same price as the rebuild kit.
Although you can wait until step 7, it's a good idea to drain the fuel at the start.
Was du brauchst
-
-
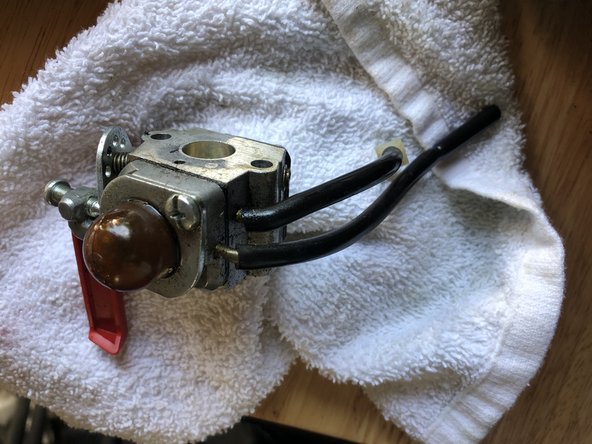
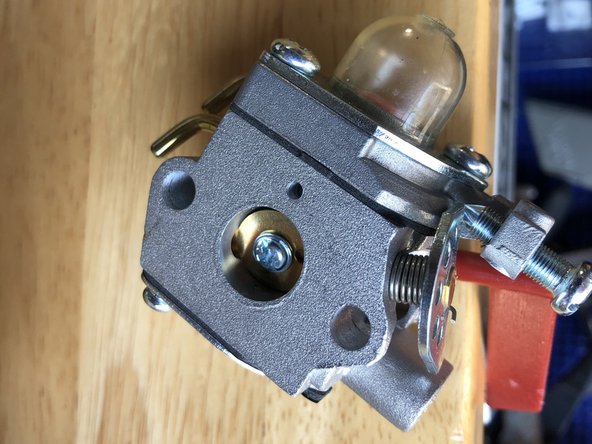
This image shows the carburetor. There's a tab on you need to press to reveal the airfilter.
-
Remove the green air filter as well
-
-
-
Behind the air filter are two 3/8" nuts that secure the air filter box to the carburetor, to the cylinder. Remove the nuts.
-
Pull the black air filter box off the trimmer. It will still be connected by a wire (addressed in next step).
-
-
-
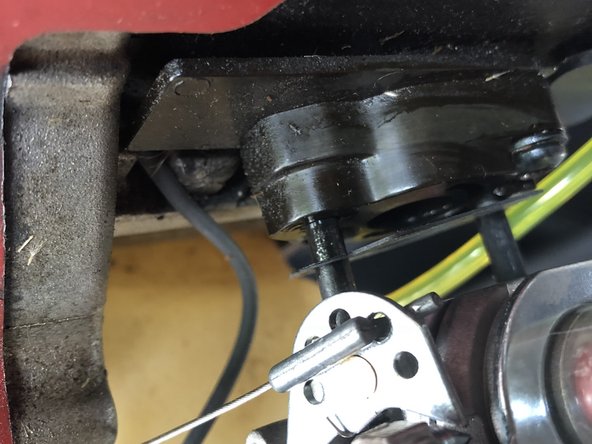
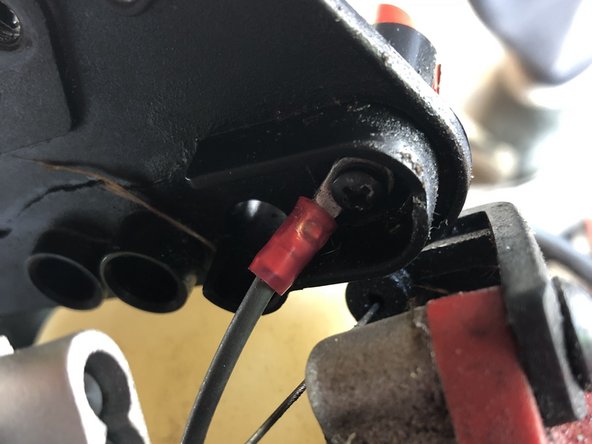
This wire is screwed into the Red kill switch. Unscrew it with a Philips head.
-
Be careful to keep track of the button, spring, and screw.
-
-
-
Pull the carburetor off the trimmer. There's a gasket between it and the cylinder head - just don't lose it.
-
You can leave the carburetor connected to the fuel tank. We'll make that disconnection in the next step.
-
Also, you will have to disconnect the throttle cable from the carburetor. Notice which hole it's attached to (take a photo).
-
-
-
-
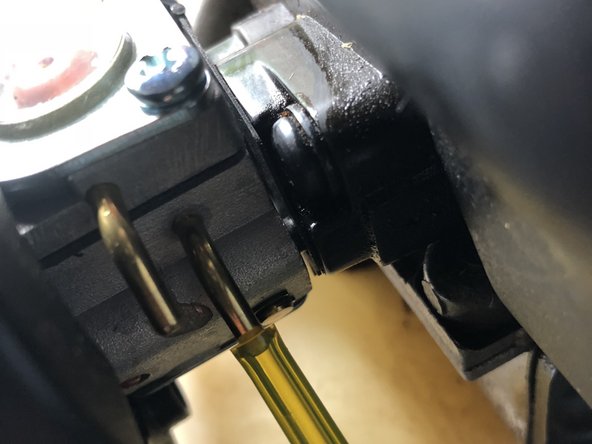
In this step, you will remove the fuel lines that run between the carburetor and the fuel tank.
-
Pull the line closer to the wall of the gas tank straight out.
-
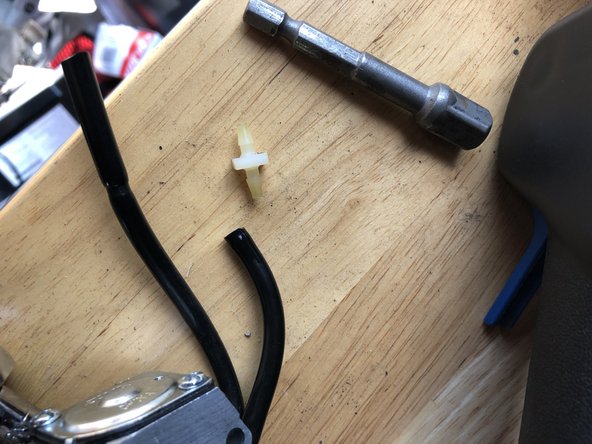
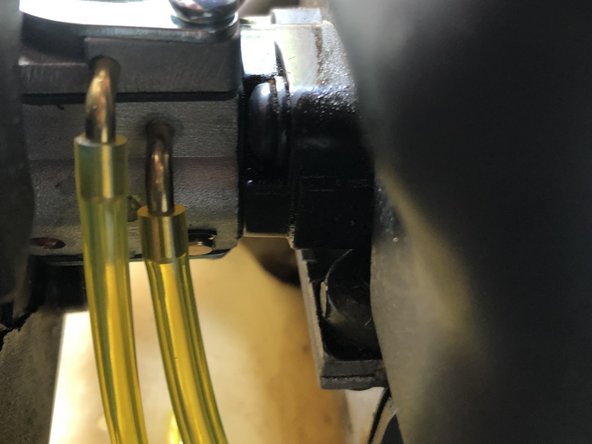
The 2nd line may have a barb fitting - just pull out one side so that the carburetor may be pulled away (see 2nd picture of fitting)
-
-
-
At this point the old carb should be removed and the fuel tank should have no fuel lines running into it.
-
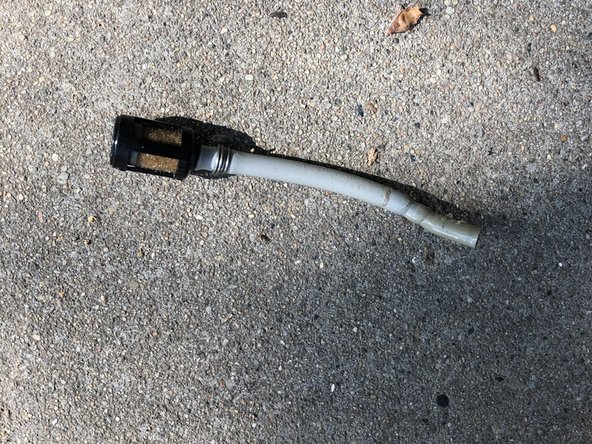
Pull the old fuel line and filter out of the fuel tank too. (picture show's old, removed fuel line and filter).
-
-
-
Insert the new fuel line into the hole toward the center of the tank. (it should be pretty tight, but not too hard to push through)
-
Keep pushing the fule line until it comes out through the gas cap. I used a needle nose pliers to pull it through.
-
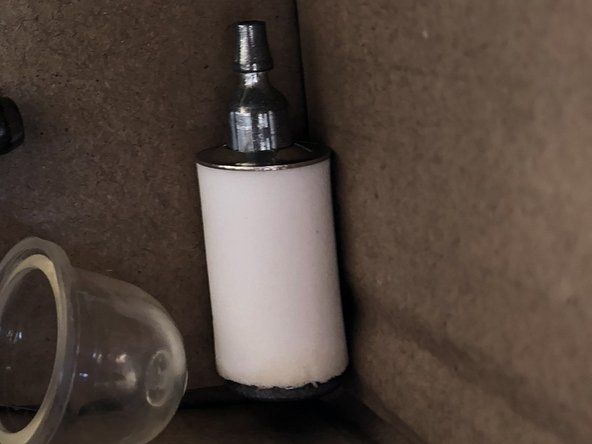
press a fuel filter on the end of the fuel line (see picture with white cylinder)
-
pull the fuel line back out through the hole so that the filter is setting mid-way on the bottom of the tank.
-
Make sure you are using the fuel line that fits through the two openings tightly so that if the trimmer is tipped, no fuel leaks out.
-
-
-
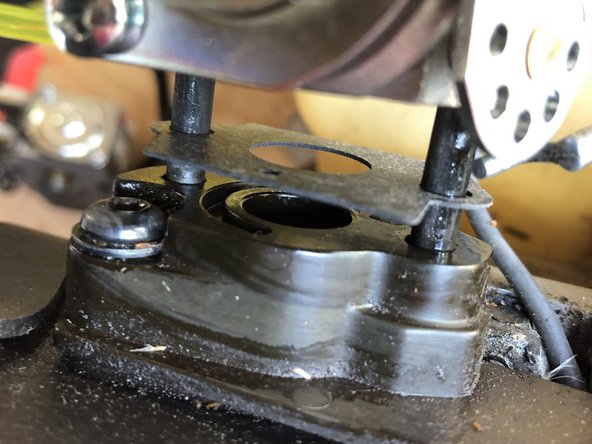
There's a small hole on the primer-bulb side of the carburetor. This hole needs to line up with the new (or old gasket), and mate to the channel on the engine side.
-
After you find the right orientation, put the gasket over the bolts, followed by the carburetor, and push everything together.
-
As you push the carburetor on, reattach the throttle cable on the hole you originally removed it from.
-
-
-
Push the kill switch and spring back on the air filter box and bring close to the trimmer.
-
You will have to hold the kill switch through the air filter box, and screw the lug back on the button with the assembly relatively close to the trimmer.
-
Slide the air filter box back onto the trimmer.
-
-
-
Screw in the air filter box, effectively putting everything back together.
-
I'd tighten the bolts until the are snug - not too tight.
-
-
-
With the fuel filter in place midway in the fuel tank and the remainder of the line sticking out of the tank, cut the fuel line to give you an inch or so of slack for reconnecting to the tank.
-
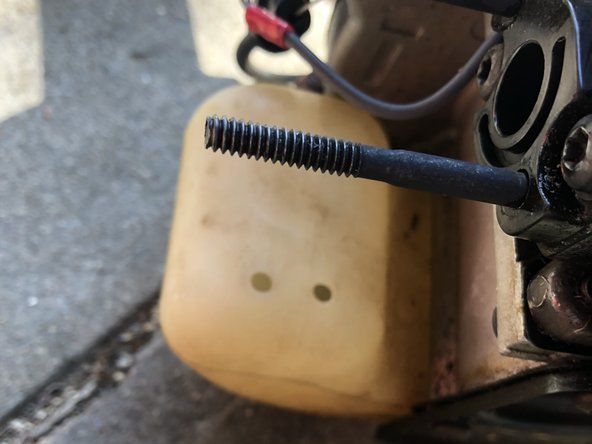
Push the other end onto the carburator - the nipple that's closer to the cylinder. You should push it in to closer to the bend - further than my photo shows.
-
Push the remainder of the fuel line into the outer hole in the gas tank - try to use the old return line to determine the length. I think it should hit the side opposite of the hole.
-
Cut the fuel line to be submersed in the fuel, have a little slack out of the tank, and connect to the return line (on left in picture) of the carburetor.
-
-
-
That's pretty much it.
-
Put the air filter back and close up the air filter box.
-
Refill with fuel, prime the bulb according to the manual, set the choke correctly, and start the unit up.
-


To reassemble your device, follow these instructions in reverse order.
To reassemble your device, follow these instructions in reverse order.