Zum Hauptinhalt wechseln

Replace a Passage Doorknob with a Privacy Doorknob

Was du brauchst

  1. Replace a Passage Doorknob with a Privacy Doorknob, Privacy Doorknob: Schritt 1, Bild 1 von 2 Replace a Passage Doorknob with a Privacy Doorknob, Privacy Doorknob: Schritt 1, Bild 2 von 2
    • Hold both sides of the current doorknob with a hand to prevent it from falling out in the removal process.

  2. Replace a Passage Doorknob with a Privacy Doorknob: Schritt 2, Bild 1 von 2 Replace a Passage Doorknob with a Privacy Doorknob: Schritt 2, Bild 2 von 2
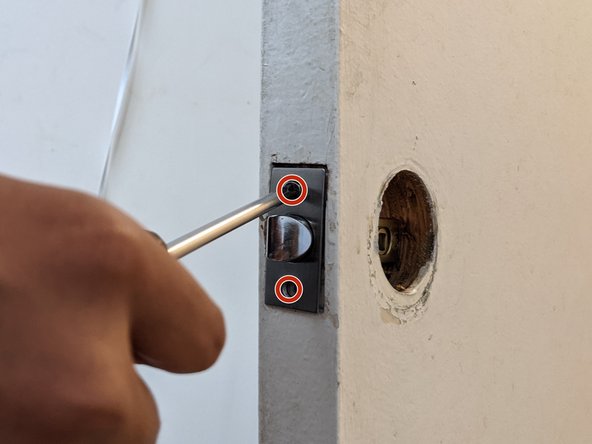
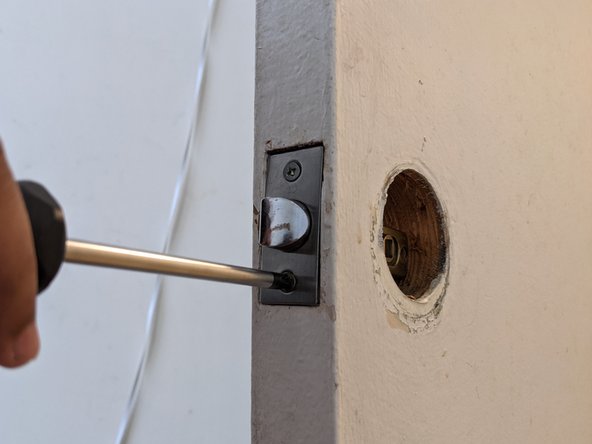
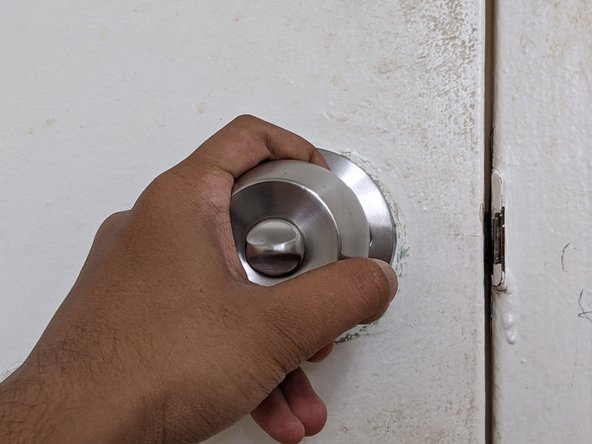
    • Using a Phillips #2 screwdriver, remove the two screws from the passage doorknob.

    • Make sure to rotate the screwdriver counter clockwise when removing screws.

  3. Replace a Passage Doorknob with a Privacy Doorknob: Schritt 3, Bild 1 von 2 Replace a Passage Doorknob with a Privacy Doorknob: Schritt 3, Bild 2 von 2
    • Once the screws are off, safely pull out the doorknob from both sides.

  4. Replace a Passage Doorknob with a Privacy Doorknob: Schritt 4, Bild 1 von 2 Replace a Passage Doorknob with a Privacy Doorknob: Schritt 4, Bild 2 von 2
    • Remove the screws off the existing latch that comes with the passage doorknob.

    • These screws are located on the plate of the latch.

  5. Replace a Passage Doorknob with a Privacy Doorknob: Schritt 5, Bild 1 von 1
    • Pull the latch out of the hole it is secured in.

  6. Replace a Passage Doorknob with a Privacy Doorknob: Schritt 6, Bild 1 von 1
    • Grab the new latch that comes with the privacy doorknob set and ensure the flat side is facing away from the closing direction of the door.

  7. Replace a Passage Doorknob with a Privacy Doorknob: Schritt 7, Bild 1 von 1
    • Insert the new latch into the designated latch hole after figuring out the correct way to face it.

  8. Replace a Passage Doorknob with a Privacy Doorknob: Schritt 8, Bild 1 von 2 Replace a Passage Doorknob with a Privacy Doorknob: Schritt 8, Bild 2 von 2
    • Begin tightening the 19.05 mm flat head screws that come with the privacy doorknob set to secure the latch mechanism in place.

    • These are the short screws that come with the set.

    • Rotate the screwdriver clockwise to tighten.

  9. Replace a Passage Doorknob with a Privacy Doorknob: Schritt 9, Bild 1 von 3 Replace a Passage Doorknob with a Privacy Doorknob: Schritt 9, Bild 2 von 3 Replace a Passage Doorknob with a Privacy Doorknob: Schritt 9, Bild 3 von 3
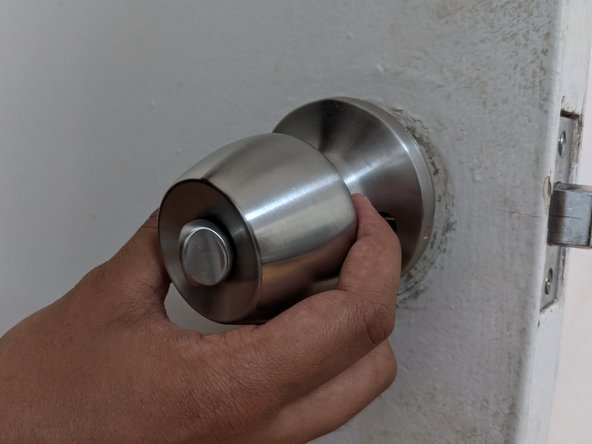
    • Grab the exterior knob and align it with the holes of the latch and push it in from the side of the door that is outside your room.

    • Make sure it is being secured with one hand to prevent it from falling.

  10. Replace a Passage Doorknob with a Privacy Doorknob: Schritt 10, Bild 1 von 3 Replace a Passage Doorknob with a Privacy Doorknob: Schritt 10, Bild 2 von 3 Replace a Passage Doorknob with a Privacy Doorknob: Schritt 10, Bild 3 von 3
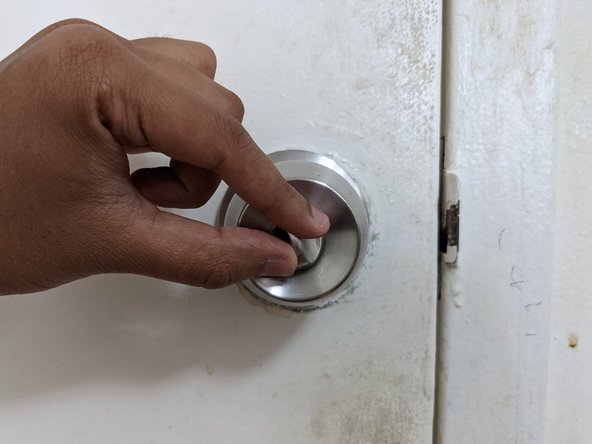
    • Align the holes of the interior knob with the spindle as shown in the second image.

    • Ensure the lock and and spindle are in a vertical position.

    • Push the interior knob in until both sides of the knob connect.

  11. Replace a Passage Doorknob with a Privacy Doorknob: Schritt 11, Bild 1 von 3 Replace a Passage Doorknob with a Privacy Doorknob: Schritt 11, Bild 2 von 3 Replace a Passage Doorknob with a Privacy Doorknob: Schritt 11, Bild 3 von 3
    • Insert the 38.1mm flat head machine screws through the two holes of the interior knob and tighten until the doorknob is secured.

    • These are the long screws that come with the doorknob set.

  12. Replace a Passage Doorknob with a Privacy Doorknob: Schritt 12, Bild 1 von 3 Replace a Passage Doorknob with a Privacy Doorknob: Schritt 12, Bild 2 von 3 Replace a Passage Doorknob with a Privacy Doorknob: Schritt 12, Bild 3 von 3
    • Test if the lock has been installed correctly.

    • After the lock clicks, try to rotate the knob.

    • If the knob does not rotate, then the installation of the privacy doorknob is successful.

Abschluss

If you would like to revert to the passage doorknob, use the same steps as the ones provided to do so.

[deleted]

Mitglied seit: 06/30/21

51 Reputation

1 Anleitung geschrieben

0 Kommentare

Kommentar hinzufügen

Seitenaufrufe:

Letzte 24 Stunden: 4

Letzte 7 Tage: 20

Letzte 30 Tage: 87

Insgesamt: 874