Diese Version enthält möglicherweise inkorrekte Änderungen. Wechsle zur letzten geprüften Version.
Was du brauchst
-
Dieser Schritt ist noch nicht übersetzt. Hilf mit, ihn zu übersetzen!
-
Using the Phillips-head #2 screwdriver, unscrew the three 1cm Phillips-head screws on the plastic base of the toaster to separate the outer metal shell from the plastic base.
-
-
Dieser Schritt ist noch nicht übersetzt. Hilf mit, ihn zu übersetzen!
-
Push the plastic push-down handle down and pull the plastic handle straight from metal arm.
-
-
Dieser Schritt ist noch nicht übersetzt. Hilf mit, ihn zu übersetzen!
-
Loosen the outer metal shell from the plastic base by holding the plastic base while pulling up on the metal shell.
-
-
Dieser Schritt ist noch nicht übersetzt. Hilf mit, ihn zu übersetzen!
-
Disconnect the cable clips from the circuit board using the tweezers to free the outer metal shell from the plastic base.
-
-
-
Dieser Schritt ist noch nicht übersetzt. Hilf mit, ihn zu übersetzen!
-
Lift the top outer metal shell.
-
-
Dieser Schritt ist noch nicht übersetzt. Hilf mit, ihn zu übersetzen!
-
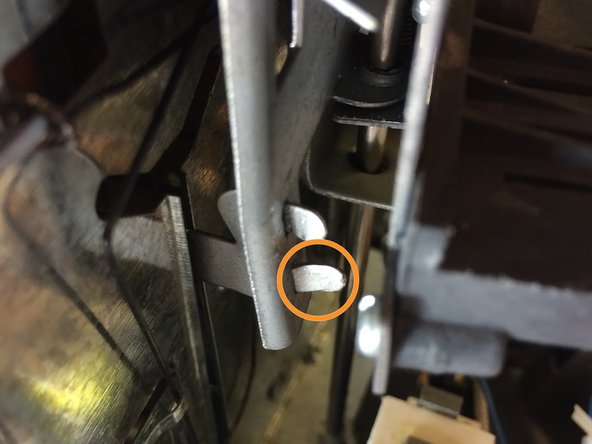
Use a flat-head screwdriver to separate the metal flap from the metal plate.
-
-
Dieser Schritt ist noch nicht übersetzt. Hilf mit, ihn zu übersetzen!
-
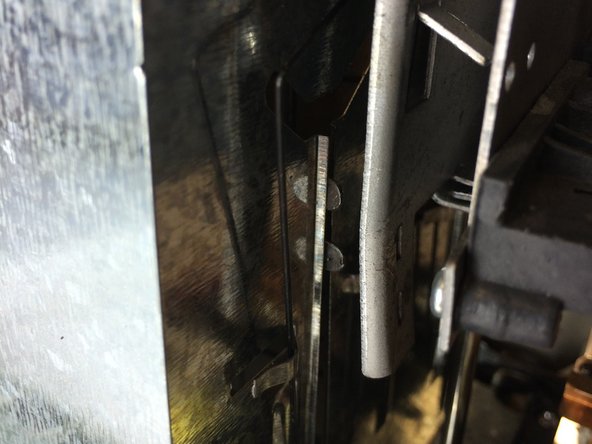
Grasp the metal flap with the large needle nose pliers.
-
Unbend metal flap until at a 90 degree angle from the metal plate.
-
Repeat these steps for the second metal flap.
-
-
Dieser Schritt ist noch nicht übersetzt. Hilf mit, ihn zu übersetzen!
-
Use the large need nose pliers to grab the metal panel.
-
Pull the metal panel away from the body of the toaster to dislodge the flaps.
-
-
Dieser Schritt ist noch nicht übersetzt. Hilf mit, ihn zu übersetzen!
-
Push the metal flaps towards the body of the toaster to access the bread lift shelf.
-
-
Dieser Schritt ist noch nicht übersetzt. Hilf mit, ihn zu übersetzen!
-
Push down on the opposite side of the bread lift shelf to expose the metal flaps.
-
-
Dieser Schritt ist noch nicht übersetzt. Hilf mit, ihn zu übersetzen!
-
Pull up on the bread lift shelf to remove from the toaster.
-


Team

Cal Poly, Team 13-15, Regan Winter 2014 Mitglied von Cal Poly, Team 13-15, Regan Winter 2014
CPSU-REGAN-W14S13G15
5 Mitglieder
6 Anleitungen geschrieben