Zum Hauptinhalt wechseln
Gemeinsam reparieren - Jetzt registrieren

Replacing a Bissell POWERforce Helix Vacuum Hose

Was du brauchst

    1. Replacing a Bissell POWERforce Helix Vacuum Hose, Vacuum Hose: Schritt 1, Bild 1 von 1
      • Remove the single 4 mm Phillips screw that attaches the lower hose to the machine.

      Frag FixBot

      Kommentar hinzufügen

    2. Replacing a Bissell POWERforce Helix Vacuum Hose: Schritt 2, Bild 1 von 2 Replacing a Bissell POWERforce Helix Vacuum Hose: Schritt 2, Bild 2 von 2
      • Set the machine on its side to view the access plate and roller assembly.

      Frag FixBot

      Kommentar hinzufügen

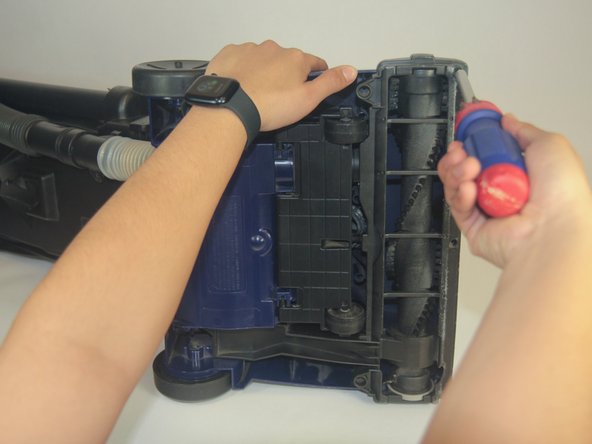
    3. Replacing a Bissell POWERforce Helix Vacuum Hose: Schritt 3, Bild 1 von 2 Replacing a Bissell POWERforce Helix Vacuum Hose: Schritt 3, Bild 2 von 2
      • Remove the six 4 mm Phillips screws that secure the access plate.

      Frag FixBot

      Kommentar hinzufügen

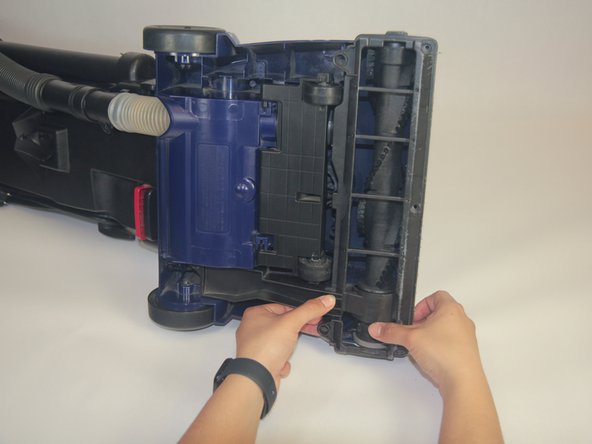
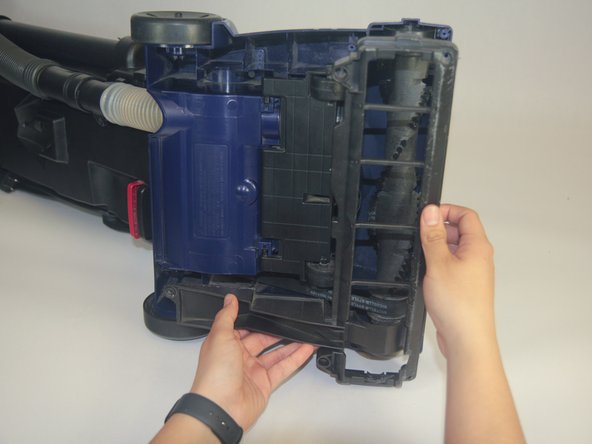
    4. Replacing a Bissell POWERforce Helix Vacuum Hose: Schritt 4, Bild 1 von 3 Replacing a Bissell POWERforce Helix Vacuum Hose: Schritt 4, Bild 2 von 3 Replacing a Bissell POWERforce Helix Vacuum Hose: Schritt 4, Bild 3 von 3
      • Unclip the access plate from the top and bottom.

      • Remove the access plate.

      Frag FixBot

      Kommentar hinzufügen

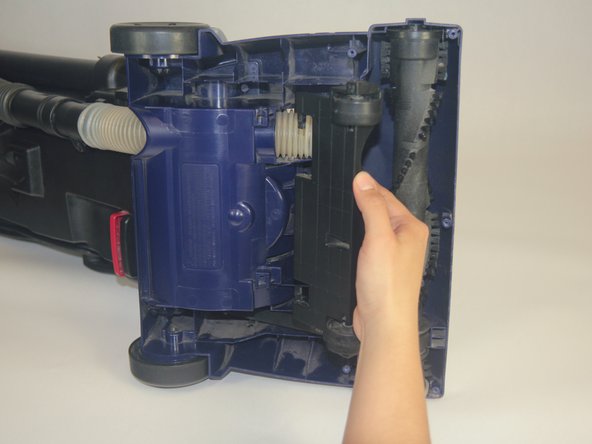
    5. Replacing a Bissell POWERforce Helix Vacuum Hose: Schritt 5, Bild 1 von 2 Replacing a Bissell POWERforce Helix Vacuum Hose: Schritt 5, Bild 2 von 2
      • Lift up the roller assembly and pull it out towards you.

      Frag FixBot

      Kommentar hinzufügen

    6. Replacing a Bissell POWERforce Helix Vacuum Hose: Schritt 6, Bild 1 von 2 Replacing a Bissell POWERforce Helix Vacuum Hose: Schritt 6, Bild 2 von 2
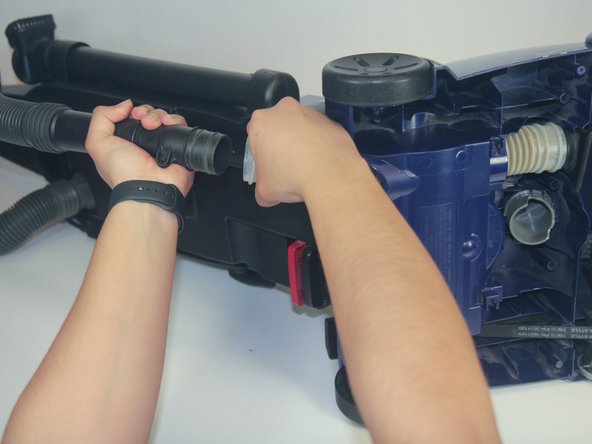
      • Detach the black upper hose from the clear lower hose.

      Frag FixBot

      Kommentar hinzufügen

    7. Replacing a Bissell POWERforce Helix Vacuum Hose: Schritt 7, Bild 1 von 3 Replacing a Bissell POWERforce Helix Vacuum Hose: Schritt 7, Bild 2 von 3 Replacing a Bissell POWERforce Helix Vacuum Hose: Schritt 7, Bild 3 von 3
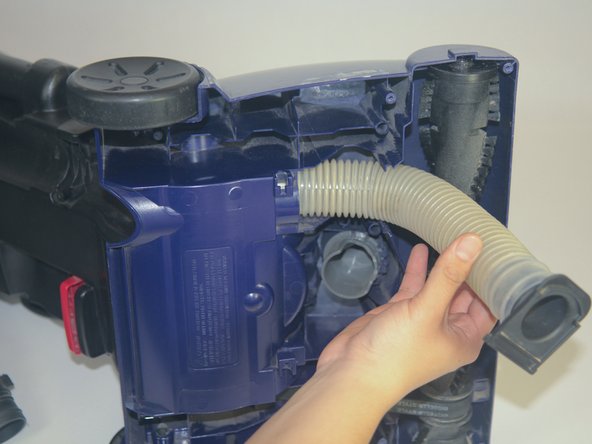
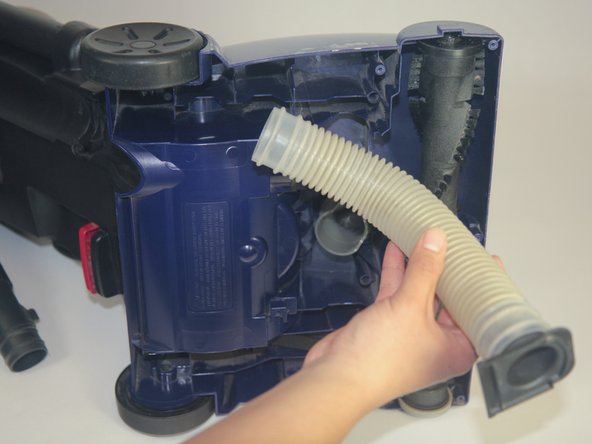
      • Remove the lower hose.

      Frag FixBot

      Kommentar hinzufügen

    8. Replacing a Bissell POWERforce Helix Vacuum Hose: Schritt 8, Bild 1 von 3 Replacing a Bissell POWERforce Helix Vacuum Hose: Schritt 8, Bild 2 von 3 Replacing a Bissell POWERforce Helix Vacuum Hose: Schritt 8, Bild 3 von 3
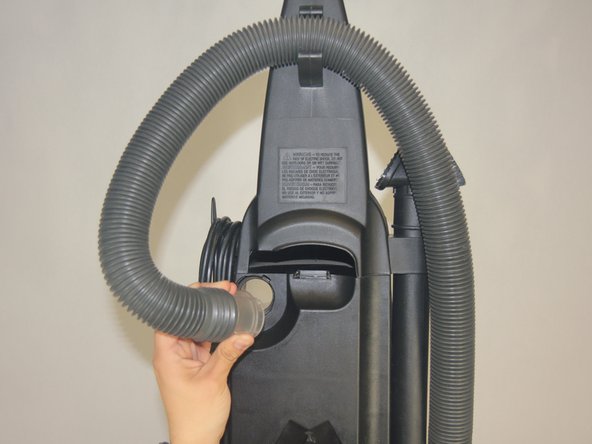
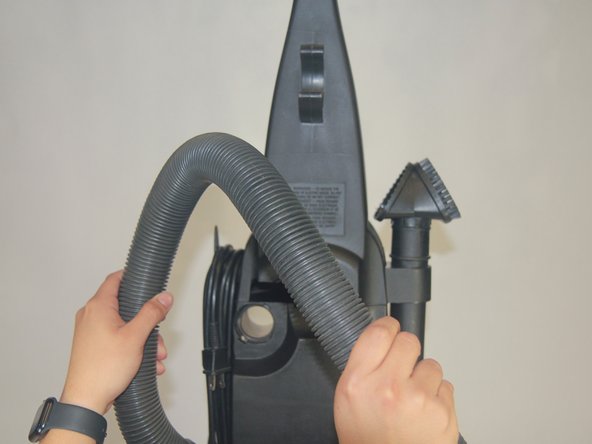
      • Detach the upper hose from the machine.

      Frag FixBot

      Kommentar hinzufügen

Abschluss

To reassemble your device, follow these instructions in reverse order.

Rückgängig: Ich habe diese Anleitung nicht absolviert.

Aidan Hatch

Mitglied seit: 02/01/24

157 Reputation

1 Anleitung geschrieben

Team

UC Davis, Team 2-9, Andersen Winter 2024 Mitglied von UC Davis, Team 2-9, Andersen Winter 2024

UCD-ANDERSEN-W24S2G9

2 Mitglieder

6 Anleitungen geschrieben

0 Kommentare zur Anleitung

Kommentar hinzufügen

Seitenaufrufe:

Letzte 24 Stunden: 2

Letzte 7 Tage: 12

Letzte 30 Tage: 51

Insgesamt: 944