Einleitung
In this guide, we will demonstrate how to solder a new output jack on a Hofner Bass Guitar. This will require the use of a soldering iron. It is recommended that you review a guide to basic soldering before proceeding, as the step-by-step soldering procedure in this guide is not all-inclusive.
Was du brauchst
-
-
Using a Phillips #1 screwdriver, remove the jack plate from the bottom corner of the guitar.
-
Place the components in your container in order to keep track of them.
-
-
-
Using a Phillips #1 screwdriver, remove the four screws attaching the control panel to the instrument.
-
-
-
Locate the jack if it has fallen inside the guitar.
-
Pull the jack and attached wire through the jack hole.
-
-
-
-
Using your soldering iron, melt the solder connecting the ground wire to the old jack.
-
-
-
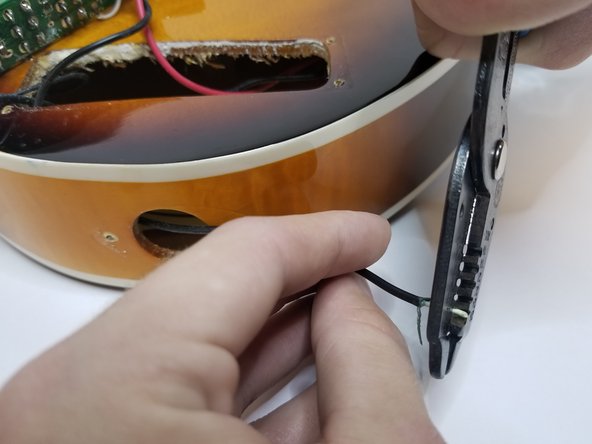
Using your wire stripper tool, cut the end of the wire off.
-
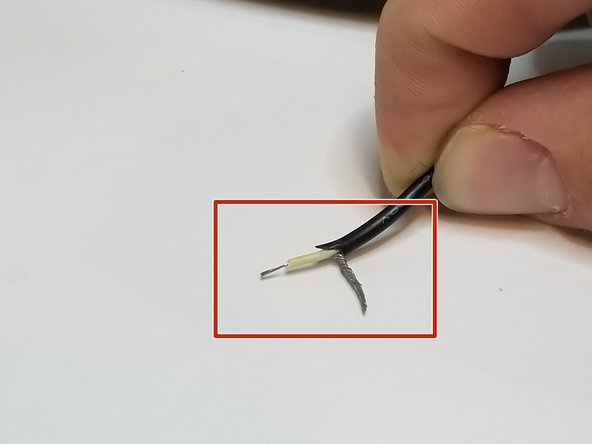
Then, strip the wire so it looks similar to the wire in the red box.
-
-
-
Now we will prep the wire for soldering.
-
Secure the wire using the helping hands tool.
-
Heat one of the conductors with the soldering iron.
-
Maintaining contact between the iron and wire, carefully apply solder to the conductor.
-
Repeat this process for the other conductor.
-
-
-
Next, prep the jack for soldering.
-
Secure the jack using the helping hands tool.
-
Apply the iron to the first conductor tab to heat it.
-
Now apply the solder to the heated tab.
-
Repeat this process for the second conductor tab.
-
-
-
Now we will proceed to solder the components.
-
Touch the hot wire to the hot conductor tab and heat with the soldering iron until they melt together.
-
Repeat this process, connecting the ground wire to the ground conductor tab.
-
-
-
Put the first nut on the output jack shaft.
-
Place the jack plate on the shaft.
-
Put the second nut on the shaft, tightening with a crescent wrench.
-


Rückgängig: Ich habe diese Anleitung nicht absolviert.
3 weitere Nutzer:innen haben diese Anleitung absolviert.
Ein Kommentar
What size guitar nut do you use? i need to find just the nut on its own