Diese Version enthält möglicherweise inkorrekte Änderungen. Wechsle zur letzten geprüften Version.
Was du brauchst
-
Dieser Schritt ist noch nicht übersetzt. Hilf mit, ihn zu übersetzen!
-
Using a Phillips #3 screwdriver, remove the single 25 mm Phillips head screw in the handle by turning it counterclockwise.
-
-
Dieser Schritt ist noch nicht übersetzt. Hilf mit, ihn zu übersetzen!
-
Using a medium flathead screwdriver or better yet iFixit plastic opening tools, gently pry apart the handle from the power cord.
-
-
-
Dieser Schritt ist noch nicht übersetzt. Hilf mit, ihn zu übersetzen!
-
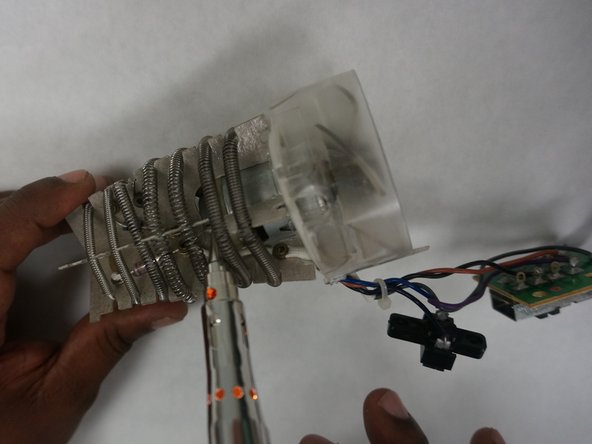
After pulling apart the housing, all internals will be free to remove.
-
-
Dieser Schritt ist noch nicht übersetzt. Hilf mit, ihn zu übersetzen!
-
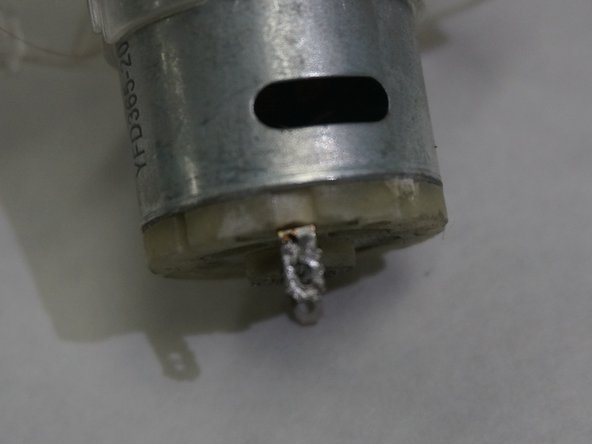
The fan/motor assembly is connected to the heating element assembly at two points need to be desoldered. After pulling the attached wires through the holes the fan/motor assembly will be free from the heating element assembly. Congratulations you have now completely removed the fan/motor assembly from this hair dryer!
-


Team

IUPUI, Team S2-G2, Wilson Summer 2018 Mitglied von IUPUI, Team S2-G2, Wilson Summer 2018
IUPUI-WILSON-SU18S2G2
4 Mitglieder
2 Anleitungen geschrieben