Einleitung
This process involves removing the back cover and the front cover of the camera. After, the lens can be removed from the camera body.
Was du brauchst
-
-
Use the screwdriver to unscrew the indicated screws from the left, right, bottom, and back sides of the camera.
-
-
-
Loosen the back cover from both the left and the right sides of the camera. Take off the back cover.
-
-
-
Open the film compartment.
-
Press your finger on top of the grey latch on the left side of the camera.
-
-
-
-
Use a thin object like a toothpick or a small screwdriver to push down on the metal pin holding the film compartment door in place.
-
Use your fingers to completely remove the metal pin.
-
Remove the film compartment door.
-
-
-
Use a thin shaft screwdriver and unscrew the two indicated screws within the film compartment.
-
-
-
Loosen the front cover from the left and right sides of the camera.
-
Take off the front cover.
-
-
-
Unscrew three screws from the outermost plastic plate covering the lens.
-
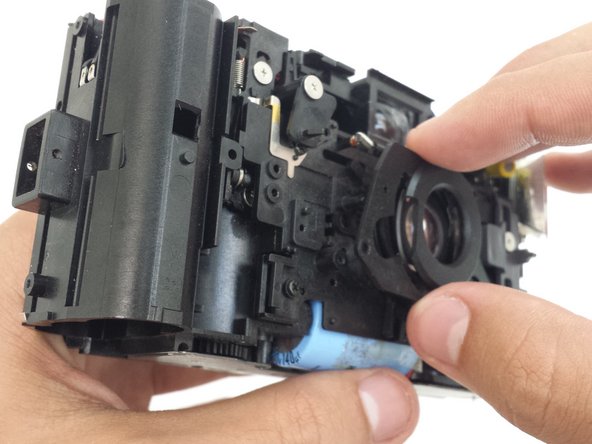
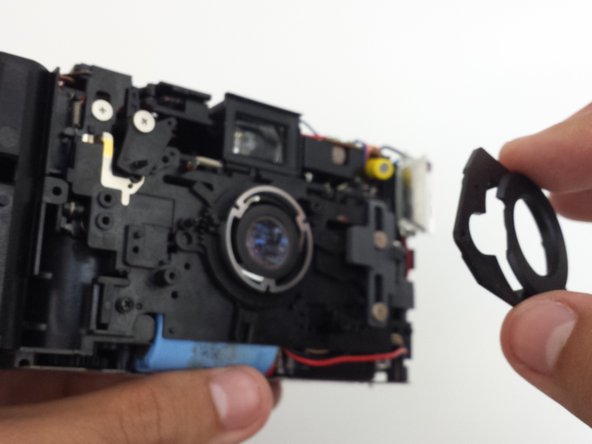
After the screws are removed, the outermost plate can be removed.
-
-
-
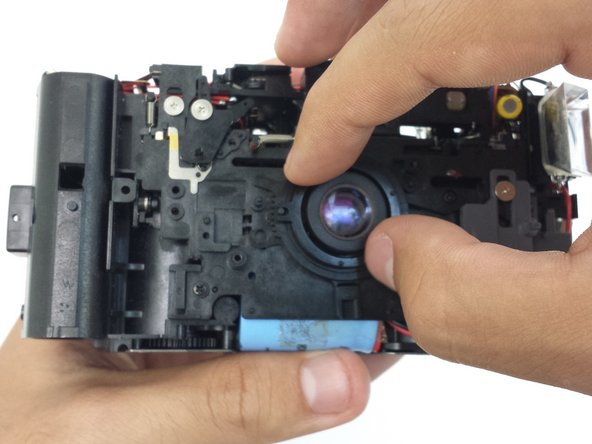
Remove the ring shaped metal brace.
-
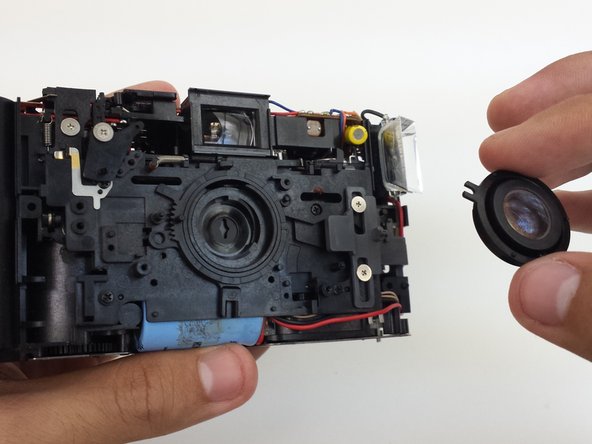
Using fingers or tweezers, remove the lens from the camera.
-
To reassemble your device, follow these instructions in reverse order.
To reassemble your device, follow these instructions in reverse order.


