Diese Anleitung enthält neuere Änderungen. Wechsel zur neuesten unüberprüften Version.
Einleitung
If you blow a fuse in the impact driver you only have to open up the device and replace the broken fuse with a new one.
Was du brauchst
-
-
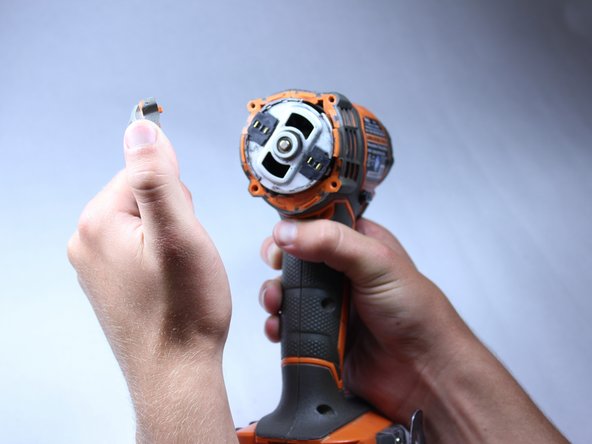
Use the flat side of a metal spudger to peel the black rubber cover off of the casing.
-
-
-
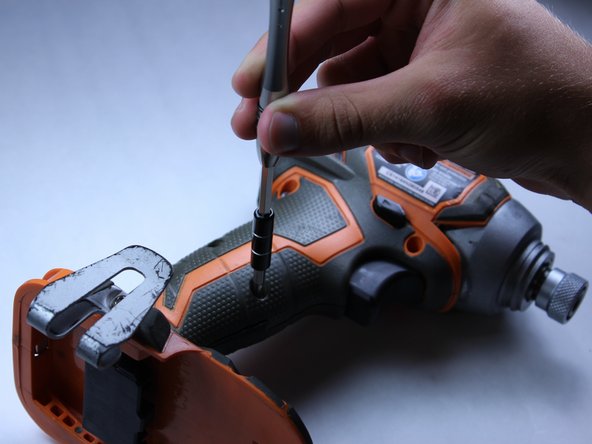
Unscrew the four 16 mm long screws from the back panel with a T10 Torx Screwdriver.
-
Use a firm grip to peel off the back panel. It is sealed tight and requires a good amount of force to remove.
-
-
-
-
Pry apart the two halves of the housing at the back side of the driver using the metal spudger.
-
-
-
Pull out all electrical components from housing by hand.
-
Lift out the motor.
-
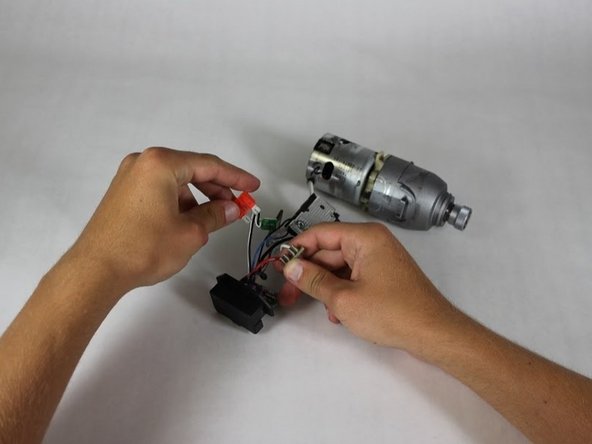
Follow the wires.
-
-
-
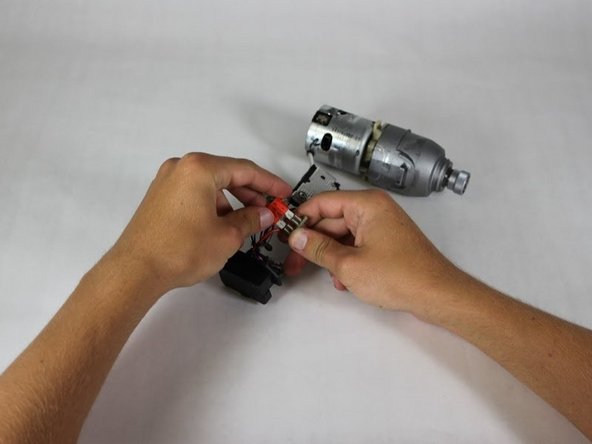
Identify the translucent orange fuse cartridge connected by a thick red wire and a thick white wire.
-


To reassemble your device, follow these instructions in reverse order.
To reassemble your device, follow these instructions in reverse order.

Team

Cal Poly, Team 15-5, Amido Spring 2015 Mitglied von Cal Poly, Team 15-5, Amido Spring 2015
CPSU-AMIDO-S15S15G5
4 Mitglieder
12 Anleitungen geschrieben