Was du brauchst
-
-
Use a Torx T20 screwdriver to remove the nine 16.5 mm screws around the trigger assembly.
-
-
-
-
Use a Torx T20 bit or screwdriver to remove the six 19 mm screws securing the gear case cover.
-
-
-
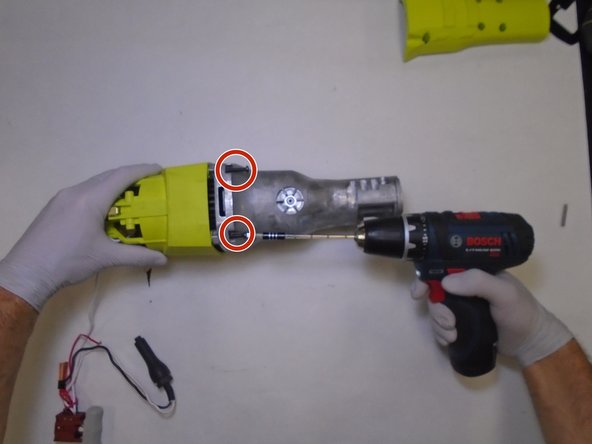
Use a Phillips #2 bit or screwdriver to remove the four 37 mm screws from the top and the bottom of the gear case.
-


Fast fertig!
To reassemble your device, follow these instructions in reverse order.
Abschluss
To reassemble your device, follow these instructions in reverse order.

Team

The Citadel Military College of South Carolina, Team 1-3, Eggleston Spring 2022 Mitglied von The Citadel Military College of South Carolina, Team 1-3, Eggleston Spring 2022
CMCSC-EGGLESTON-S22S1G3
3 Mitglieder
2 Anleitungen geschrieben