Zum Hauptinhalt wechseln

SHARP EL-546XT Battery Replacement

Was du brauchst

  1. SHARP EL-546XT Battery Replacement, Battery: Schritt 1, Bild 1 von 2 SHARP EL-546XT Battery Replacement, Battery: Schritt 1, Bild 2 von 2
    • Place the calculator on a clean workspace with the back facing up.

  2. SHARP EL-546XT Battery Replacement: Schritt 2, Bild 1 von 3 SHARP EL-546XT Battery Replacement: Schritt 2, Bild 2 von 3 SHARP EL-546XT Battery Replacement: Schritt 2, Bild 3 von 3
    • Remove the calculator cover if you had it on.

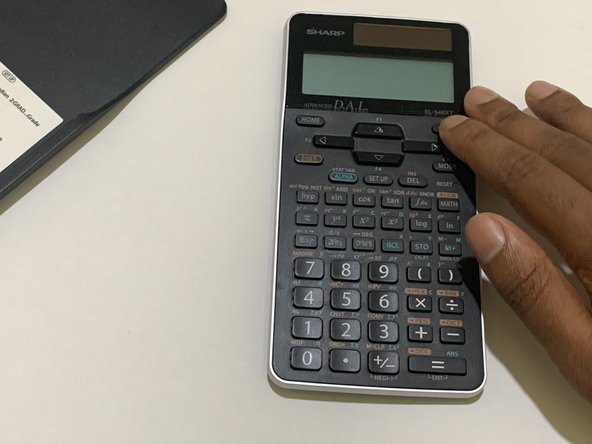
    • Turn off the calculator using the 2nd F button then clicking the ON button.

  3. SHARP EL-546XT Battery Replacement: Schritt 3, Bild 1 von 3 SHARP EL-546XT Battery Replacement: Schritt 3, Bild 2 von 3 SHARP EL-546XT Battery Replacement: Schritt 3, Bild 3 von 3
    • Put the calculator cover back on to ensure you don't accidentally press any buttons.

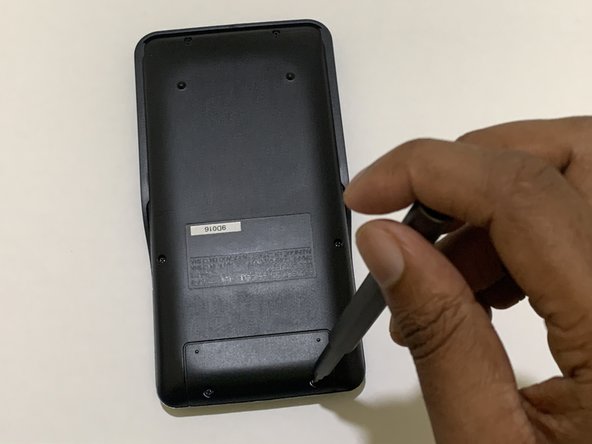
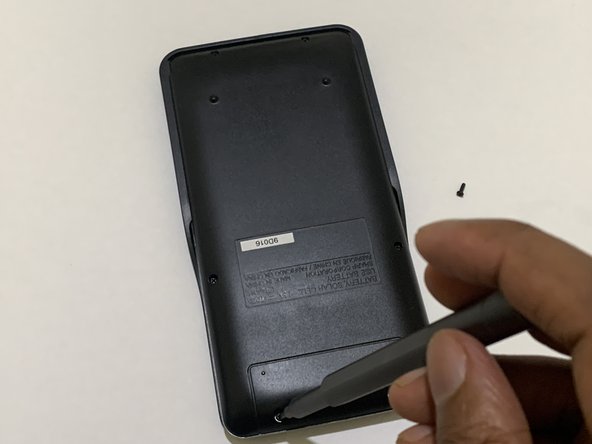
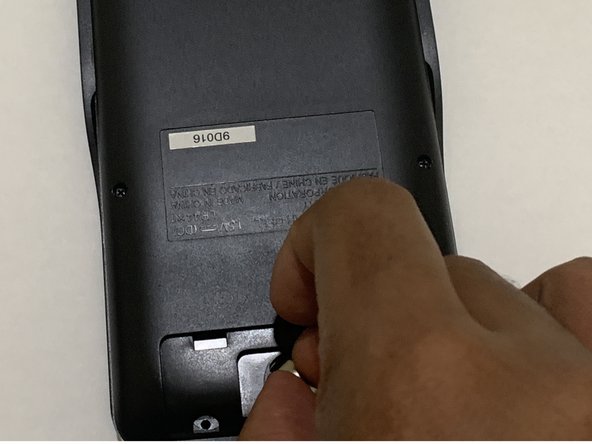
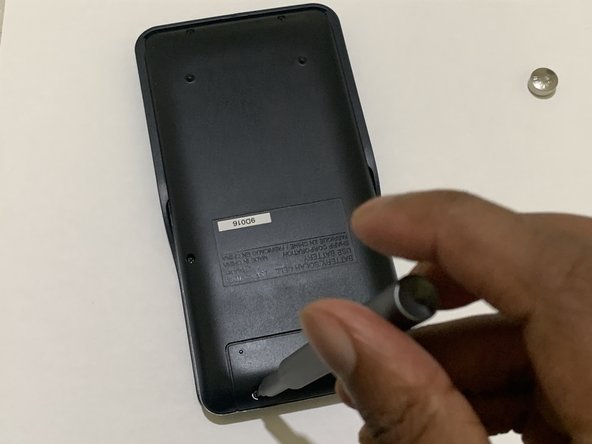
    • Remove the screws from the battery door.

    • Do not remove the other screws as they are not for the battery compartment.

  4. SHARP EL-546XT Battery Replacement: Schritt 4, Bild 1 von 2 SHARP EL-546XT Battery Replacement: Schritt 4, Bild 2 von 2
    • Remove the battery door from the calculator.

  5. SHARP EL-546XT Battery Replacement: Schritt 5, Bild 1 von 3 SHARP EL-546XT Battery Replacement: Schritt 5, Bild 2 von 3 SHARP EL-546XT Battery Replacement: Schritt 5, Bild 3 von 3
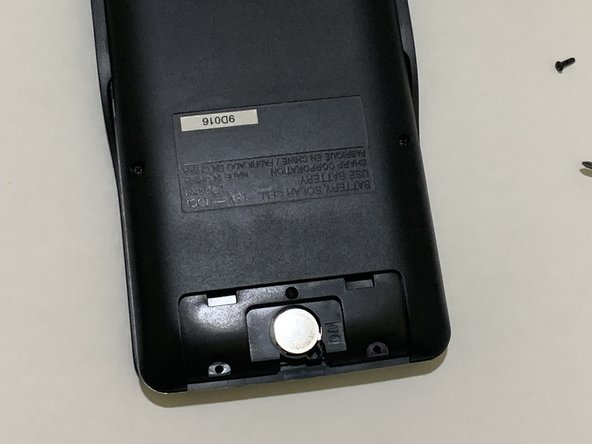
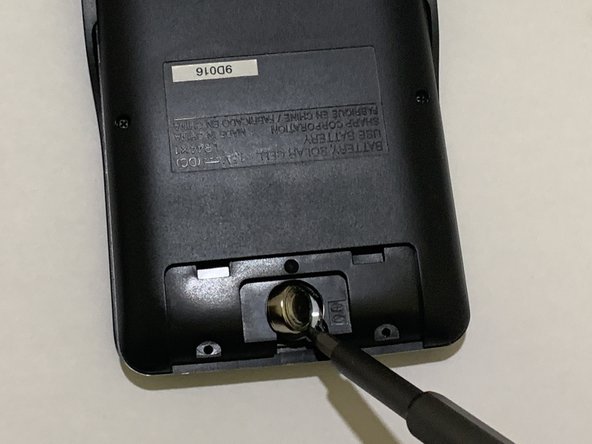
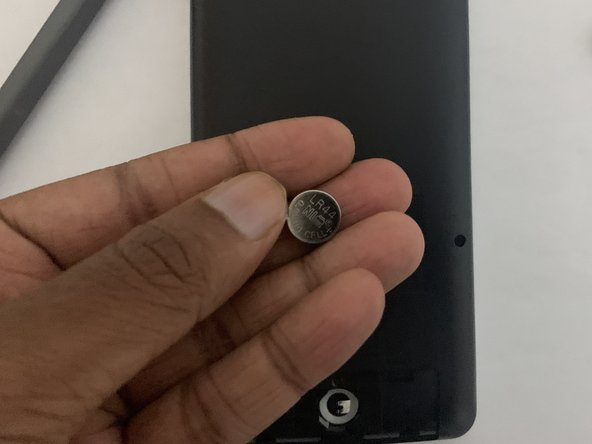
    • Use a spudger to gently push the coin battery out through the small hole located below the battery.

    • Be careful not to apply too much force when pushing the old battery out to avoid damaging the calculator or the battery compartment.

  6. SHARP EL-546XT Battery Replacement: Schritt 6, Bild 1 von 3 SHARP EL-546XT Battery Replacement: Schritt 6, Bild 2 von 3 SHARP EL-546XT Battery Replacement: Schritt 6, Bild 3 von 3
    • Gently insert the new battery into the battery compartment.

    • Handle the new batteries with care.

  7. SHARP EL-546XT Battery Replacement: Schritt 7, Bild 1 von 2 SHARP EL-546XT Battery Replacement: Schritt 7, Bild 2 von 2
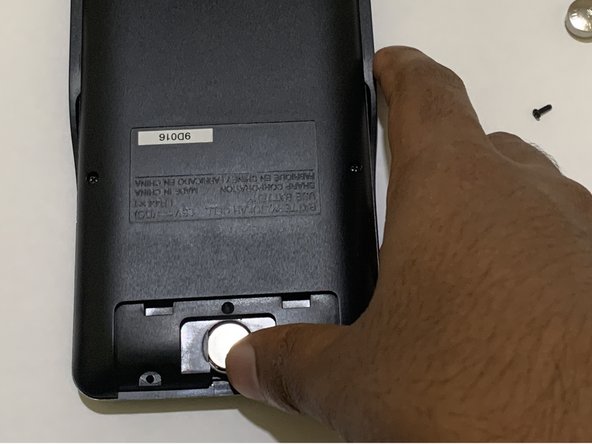
    • Ensure the battery is properly slotted in the battery compartment.

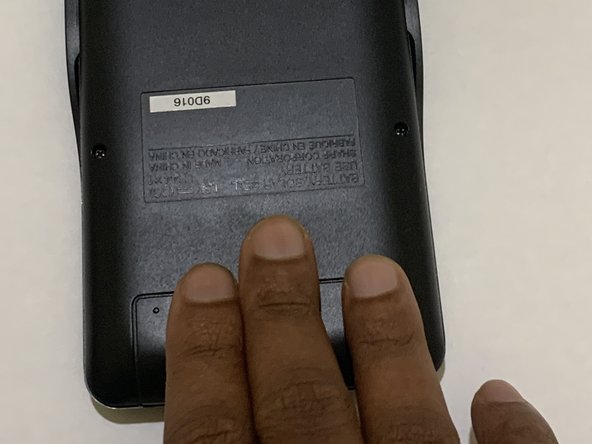
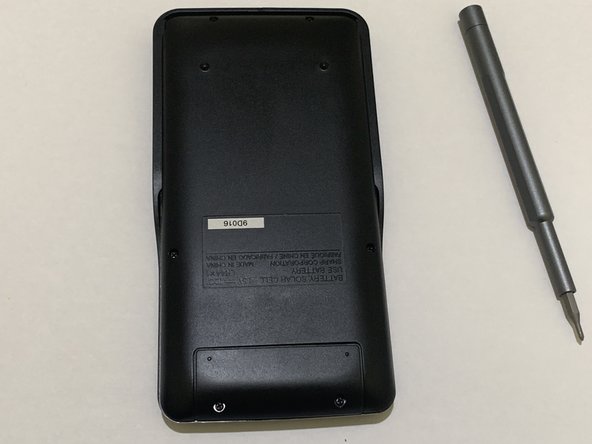
    • Close the battery compartment with the battery door.

  8. SHARP EL-546XT Battery Replacement: Schritt 8, Bild 1 von 3 SHARP EL-546XT Battery Replacement: Schritt 8, Bild 2 von 3 SHARP EL-546XT Battery Replacement: Schritt 8, Bild 3 von 3
    • Attach the screws back to the battery door.

  9. SHARP EL-546XT Battery Replacement: Schritt 9, Bild 1 von 3 SHARP EL-546XT Battery Replacement: Schritt 9, Bild 2 von 3 SHARP EL-546XT Battery Replacement: Schritt 9, Bild 3 von 3
    • Take the calculator out of the cover.

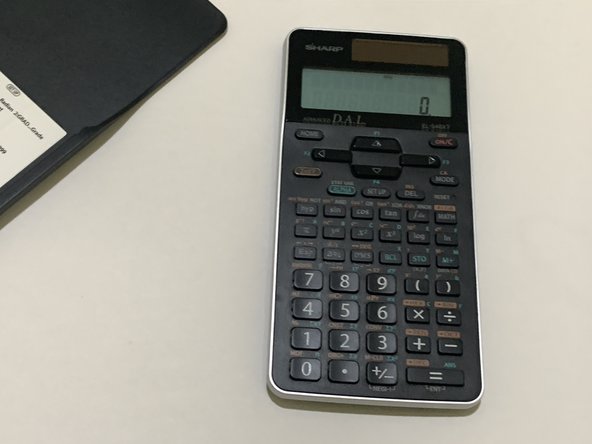
    • Turn on the calculator and test if it's functioning.

Ziellinie

Mithunan Sivagnanam

Mitglied seit: 05/22/23

169 Reputation

1 Anleitung geschrieben

Team

York University, Team A-11, Allen Summer 2023 Mitglied von York University, Team A-11, Allen Summer 2023

YORK-ALLEN-SU23SAG11

1 Mitglied

1 Anleitung geschrieben

0 Kommentare

Kommentar hinzufügen

Seitenaufrufe:

Letzte 24 Stunden: 1

Letzte 7 Tage: 8

Letzte 30 Tage: 28

Insgesamt: 448