Einleitung
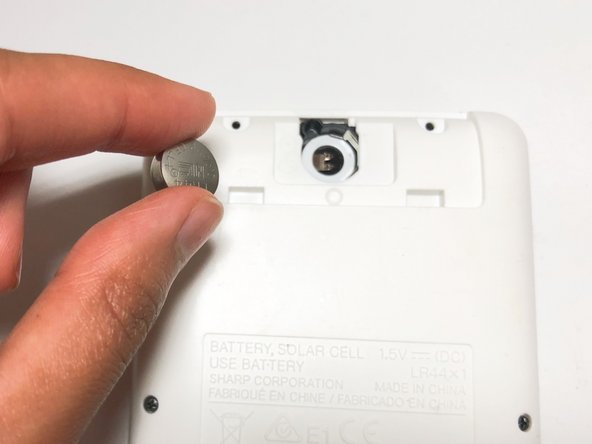
This guide is on how to replace the battery in a SHARP EL-W53XG WriteView calculator. Although this calculator is solar-powered, the battery in a SHARP EL-W53XG WriteView calculator operates the total functionality of the calculator. Therefore, when the LR44 battery dies, the whole calculator will stop working. This can become troublesome for users. Following the steps of this guide thoroughly, users with this problem can effectively replace their battery in this calculator.
Was du brauchst
-
-
Turn off the calculator by pressing both the [2NDF ] and [ON] buttons at the same time.
-
-
-
Flip the calculator so that the battery cover is facing you, and it will be easy to remove.
-
-
-
-
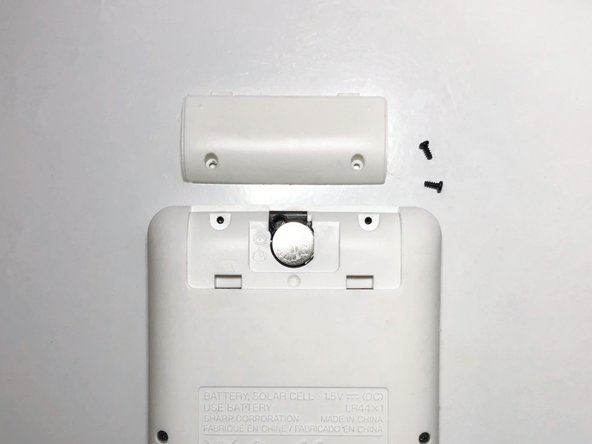
Remove the two screws securing the battery cover with the Tri-point #000 screwdriver.
-
Remove the battery cover.
-


To reassemble your device, follow these instructions in reverse order.
To reassemble your device, follow these instructions in reverse order.

Team

York University, Team 1-7, O'Regan Fall 2021 Mitglied von York University, Team 1-7, O'Regan Fall 2021
YORK-O'REGAN-F21S1G7
1 Mitglied
1 Anleitung geschrieben