Einleitung
Remotes can wear out easily, specifically the contacts between the silicon button pad and the circuit board.
To fix this, and extend the life of your device's remote, this guide will show you how to replace the circuit board.
Was du brauchst
-
-
Locate the screw behind the battery pack.
-
Use a Phillips size 1 screwdriver to remove the 5/16in screw located inside the battery port.
-
-
-
-
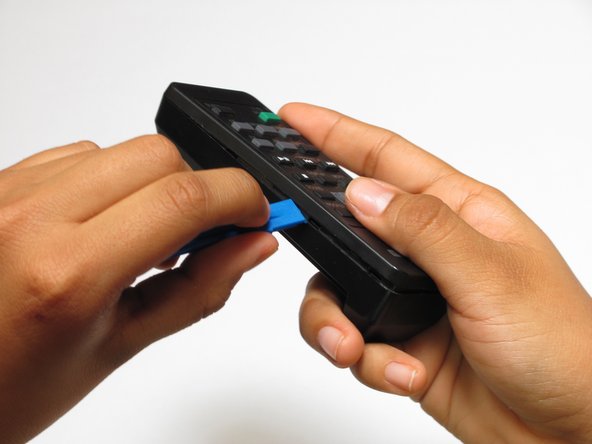
Use the plastic opening tool along the seam on the side of the remote until you hear a click. This means that the plastic tabs holding the remote together are coming loose.
-
Do this until the top half of the remote comes loose.
-
-
-
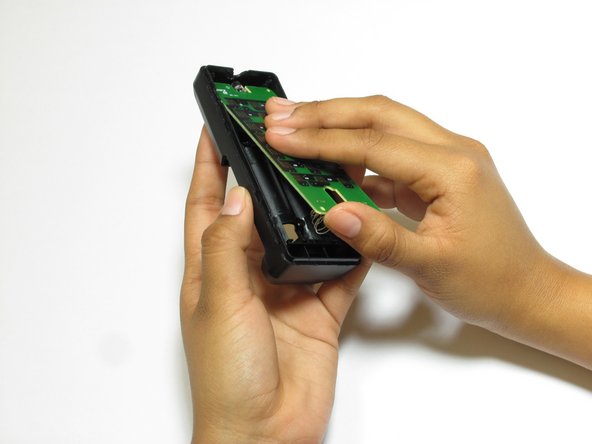
Carefully remove the top to reveal the button covers and the remote control board.
-


To reassemble your device, follow these instructions in reverse order.
To reassemble your device, follow these instructions in reverse order.
