Einleitung
This guide may be used to remove the internal speakers from the Samsung ATIV Book 9 Lite. Have a Phillips screw driver ready. Be sure to keep track of all screws and where they belong. While removing the speakers, be sure not to damage any cords connecting the speakers to the laptop. Lastly, be sure to dispose of the broken speakers properly.
Was du brauchst
-
-
Turn the laptop upside down to show the screws holding the back cover on.
-
Using the Phillips #0, remove the ten 4mm screws located around the edges and one central.
-
-
-
-
Using the Phillips #0, remove the seven 5mm screws highlighted in the image.
-
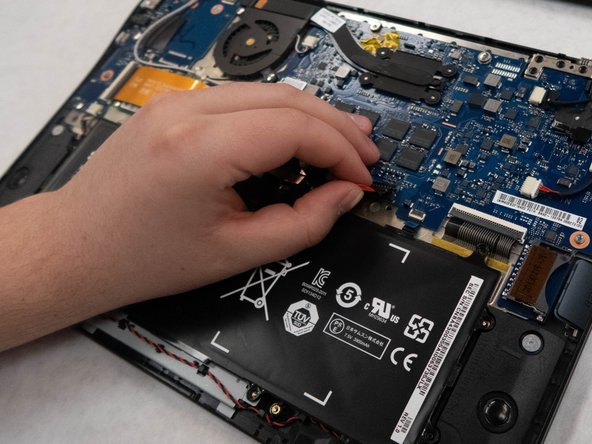
Using your hands, disconnect the battery's main cord from the main motherboard.
-
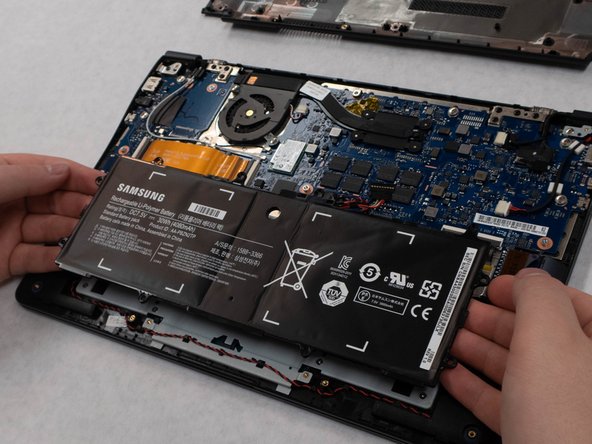
Using your hands, remove the battery from the computer.
-
-
-
Using a Phillips #1, remove the two 3mm screws, one per speaker.
-
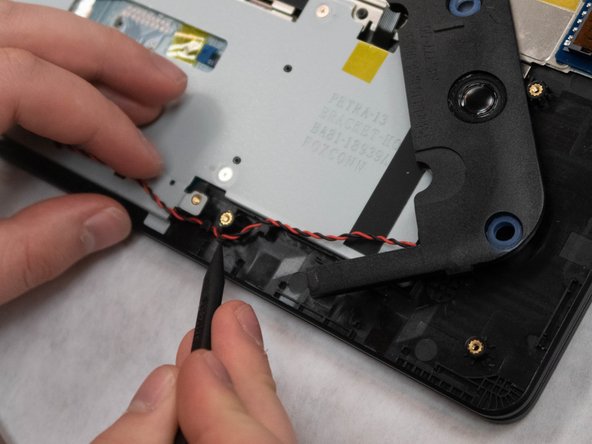
Using the nylon spudger, release the black and red wires that connect the two speakers.
-
-
-
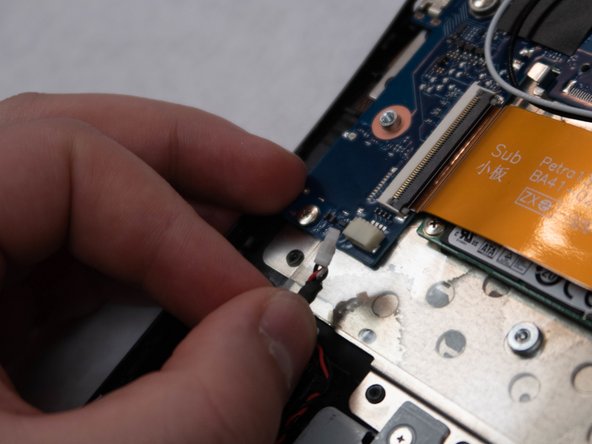
Using your hands, remove the cord that connects the speakers to the board you are removing.
-
Using your hands remove the speakers from the computer. This may require some force as they are held in place partially by double sided tape.
-


To reassemble your device, follow these instructions in reverse order.
To reassemble your device, follow these instructions in reverse order.
Team

Washington State, Team S2-G5, Hope Fall 2018 Mitglied von Washington State, Team S2-G5, Hope Fall 2018
WSU-HOPE-F18S2G5
4 Mitglieder
5 Anleitungen geschrieben