Einleitung
If your Samsung BD-D5500 drive lens is broken or dysfunctional, you may need to replace it. This guide will show you step-by-step how to remove the drive lens in order to do so. This guide will begin with the disassembly of the device and then continue into the actual removal of the lens itself. For disassembly, you will need a spudger and a Phillips head #2 screwdriver.
Was du brauchst
-
-
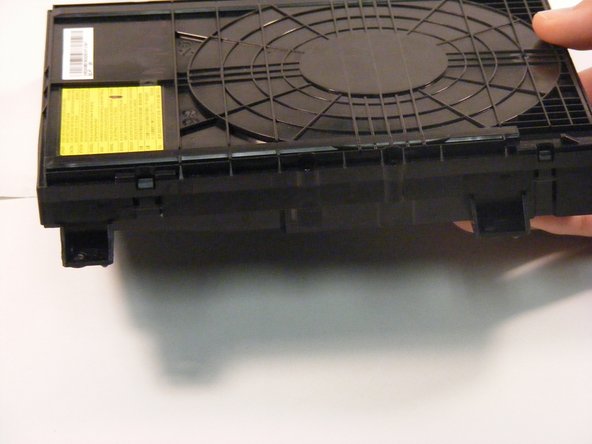
To begin, turn the device over so that the bottom is facing up. There are 9 black clips that attach the plastic body to the case. Remove these clips from the case.
-
-
-
Use a Phillips #2 screwdriver to remove the screw that attaches the top cover to the rear of the device. This will allow you to remove the cover.
-
-
-
Please locate your disc drive
-
Your disc drive should look like the one pictured. If your disc drive does not look as follows please confirm that you are looking at the right guide.
-
-
-
-
Once you have located your disc drive it is time to remove the drive
-
You will see four silver 1.1mm Phillips #2 screws located on each corner of the disc drive.
-
-
-
Once you have removed the four screws using a Phillips #2 screwdriver you are now able to take out the disc drive
-
Carefully remove the disc drive being sure not to disrupt anything else in the Blu-Ray player.
-
This is how your disc drive should look if you have removed it from the player correctly.
-
-
-
Unhook the wire from the drive lens by flipping the black piece up and pulling the wire out, at the area marked.
-
-
-
Unhook the left bar in the area circled by pushing the bar to the left, lifting up and then pushing to the right.
-
Make sure the drive lens is pushed back toward the black wheel, as indicated with the big red square.
-
-
-
Slide the Drive Lens up the little metal pole until it is released.
-
This is how the drive lens should look once it is removed.
-


To reassemble your device, follow these instructions in reverse order.
To reassemble your device, follow these instructions in reverse order.
Team

University of Alabama, Team S2-G5, Bedsole Spring 2018 Mitglied von University of Alabama, Team S2-G5, Bedsole Spring 2018
UA-BEDSOLE-S18S2G5
4 Mitglieder
6 Anleitungen geschrieben