Einleitung
This guide will demonstrate how to remove the disk reader of a Samsung BD-F5700 Blue Ray Reader correctly for replacement. This guide will be useful if the disk reader is not working. Before beginning make sure the device is unplugged and off. There are many fragile parts in the disk reader so handle with caution and avoid using metal tools on the interior.
Was du brauchst
-
-
Use Phillips 0 Screwdriver to remove two (2), 10 mm rear screws.
-
Use the iFixit opening tool to help separate the top plastic casing from the bottom metal casing.
-
-
-
Use Phillips 0 screwdriver to remove two (2), 10 mm screws from the plastic cover.
-
Remove plastic cover from board.
-
-
-
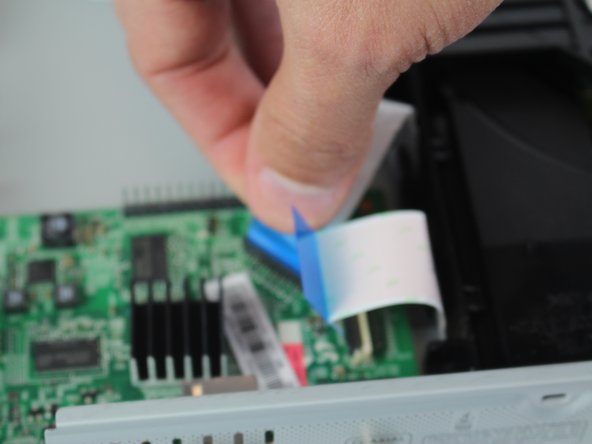
Pull upward on back of the black and white wire to dislocate the black tab piece from device.
-
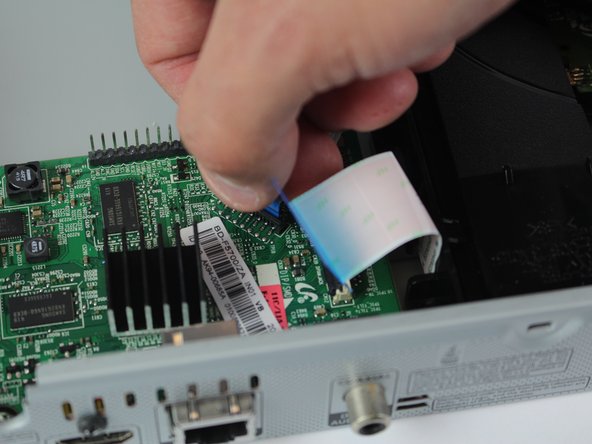
To remove the cord from the device entirely, press on the white tab in the device and gently pull.
-
-
-
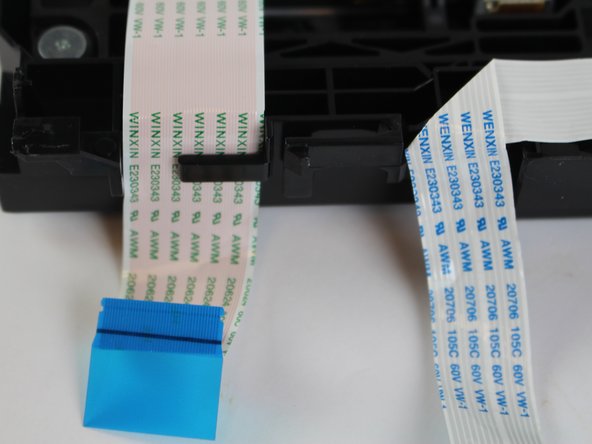
Insert the iFixit Opening tool into the black tab on the power cord, and use leverage to open the black tab.
-
Pull the tab off the wire so that it can be placed on the replacement cord.
-
-
-
-
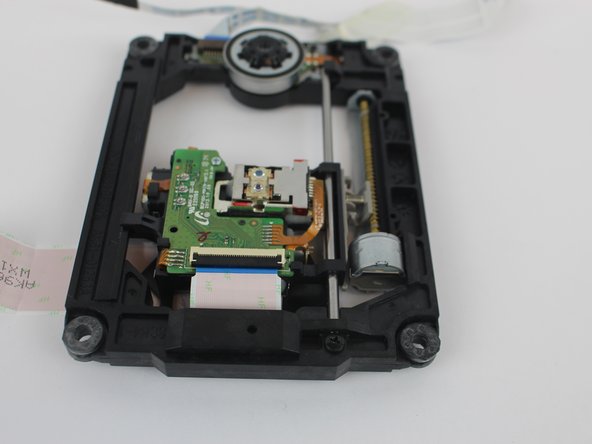
Firmly grip the hard plastic tab attached to the base and pull upwards.
-
-
-
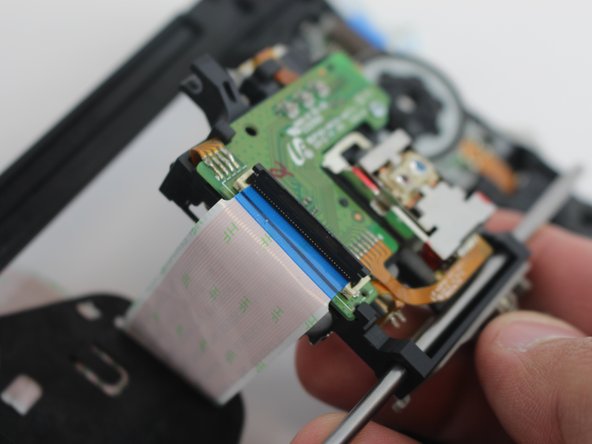
Pinch both tabs on the side of the disc tray, push towards the front, and lift the disc tray out to remove.
-
-
-
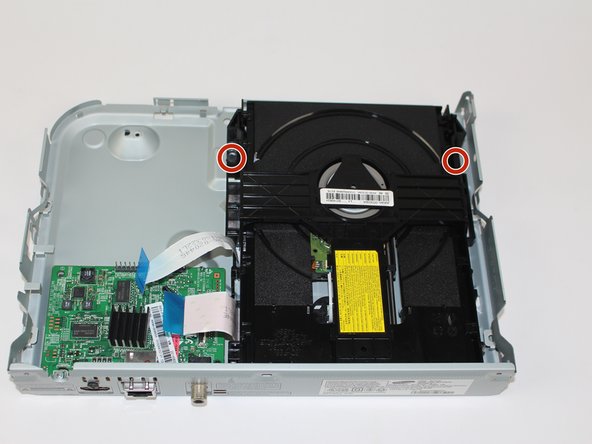
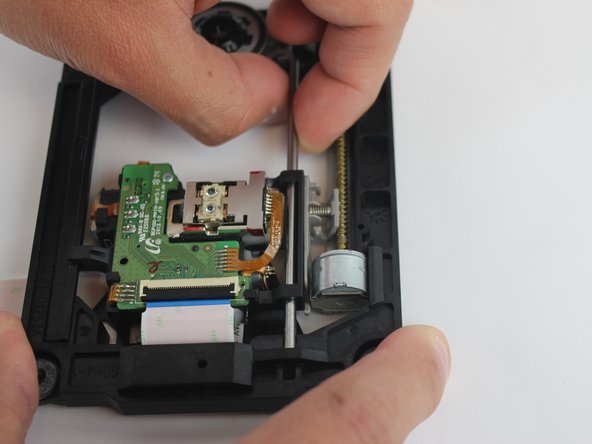
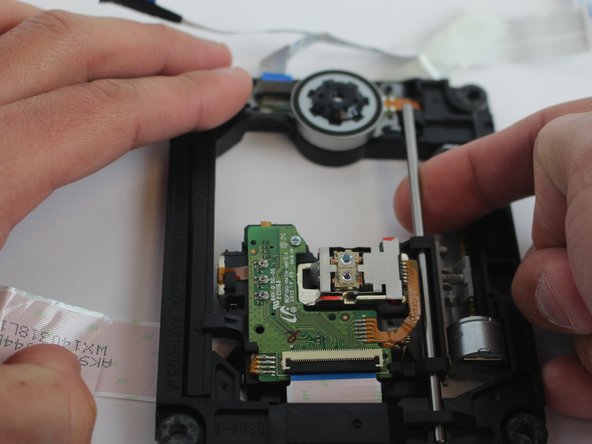
Remove the 10 mm screw using a Phillips #1 screwdriver.
-
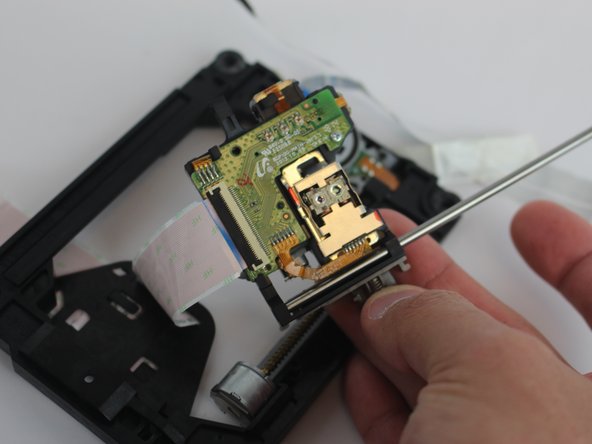
Remove the small metal bar by pulling it outwards.
-
-
-
Flip the disc tray over so the laser points downward.
-
Pull the disc reader out of the disc tray.
-


To reassemble your device, follow these instructions in reverse order.
To reassemble your device, follow these instructions in reverse order.
Rückgängig: Ich habe diese Anleitung nicht absolviert.
2 weitere Nutzer:innen haben diese Anleitung absolviert.
Team

USF Tampa, Team S16-G4, Boczar Spring 2018 Mitglied von USF Tampa, Team S16-G4, Boczar Spring 2018
USFT-BOCZAR-S18S16G4
4 Mitglieder
4 Anleitungen geschrieben