Einleitung
If your Samsung Captivate is not connecting to the network, one problem could be a faulty antenna cable. Replacing this part is very simple and can be accomplished by anyone.
Was du brauchst
-
-
Remove the back cover by pressing on the bottom section of the phone and sliding the bottom piece downward.
-
Lift up the back cover.
-
-
-
-
Insert the spudger underneath the bottom section of the phone.
-
Gently lift and push the spudger to slide the bottom section down to reveal two hidden screws.
-
-
-
Starting at a bottom corner, use the spudger to separate the rear case from the front display.
-
Move the spudger towards the top on both sides. The plastic opening tool is easier to use for this step.
-
-
-
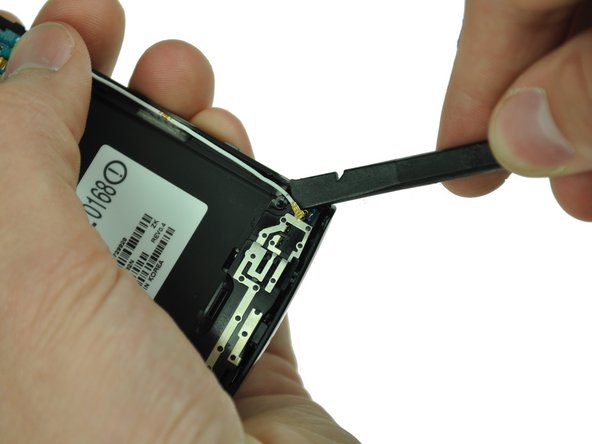
Use a spudger tool to pry up the antenna cable from the connector on the motherboard.
-
Pry up the other end of the cable from the connector on the antenna array.
-


To reassemble your device, follow these instructions in reverse order.
To reassemble your device, follow these instructions in reverse order.
Rückgängig: Ich habe diese Anleitung nicht absolviert.
7 weitere Nutzer:innen haben diese Anleitung absolviert.
Team

Cal Poly, Team 20-25, Maness Fall 2011 Mitglied von Cal Poly, Team 20-25, Maness Fall 2011
CPSU-MANESS-F11S20G25
3 Mitglieder
9 Anleitungen geschrieben
2 Kommentare
Quick question, is this the antenna for wifi or cellular network?
This is actually just the cable that connects the motherboard to the antenna array. I believe the antenna array that it connects to is for WiFi though.