Einleitung
Samsung A20e - Broken Screen Replacement
Was du brauchst
Einführungsvideo
-
-
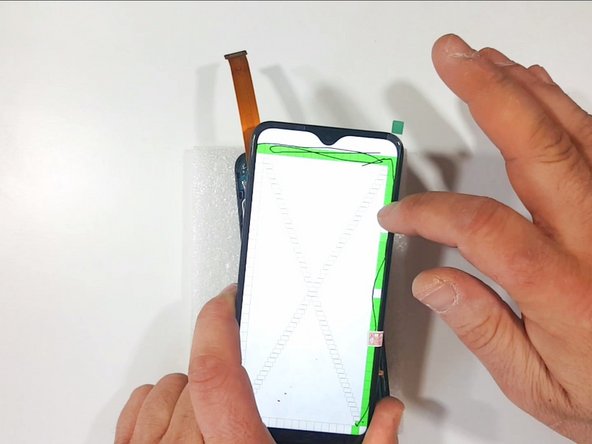
This is Display Touch Screen Assembly with Frame
-
-
-
Remove the SIM tray
-
To remove the back cover use a plastic opening tool
-
When you remove the back cover, press the Touch ID to unstick it from the back cover
-
-
-
With a Phillips Screwdriver remove all the screws
-
With a Plastic Opening Tool:
-
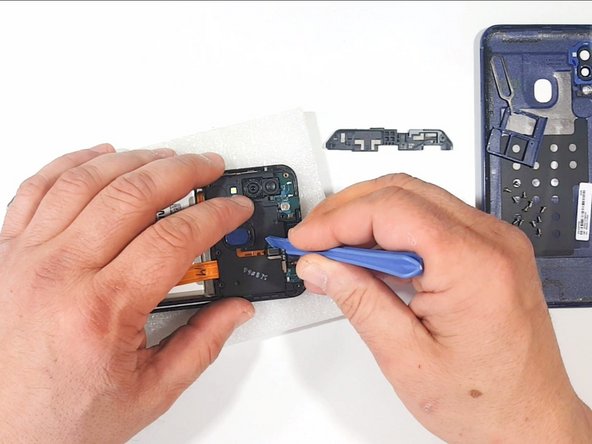
Remove the Antenna Assembly
-
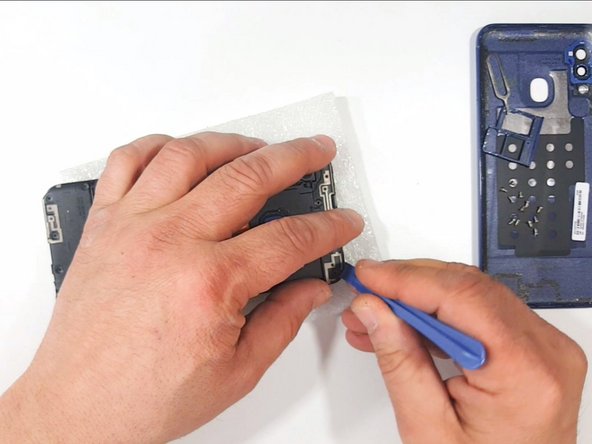
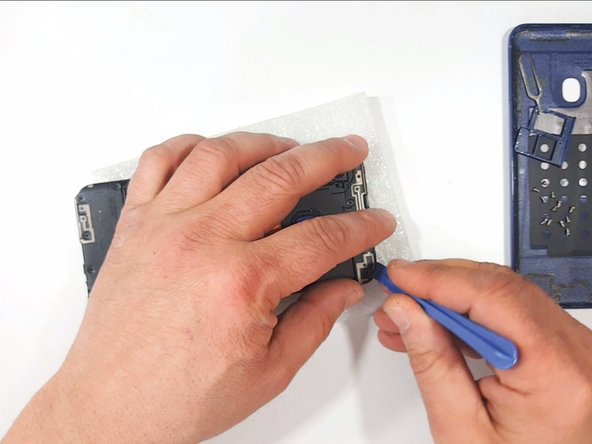
Disconnect and remove the Touch ID Fingerprint Sensor
-
-
-
Remove the Logic Board Plastic Cover
-
Remove the Sup-board Plastic Cover
-
-
-
-
Disconnect the Sup-board Flex Cable
-
Disconnect the Coaxial Antenna Cables. Do it very carefully because you can easily damage them
-
-
-
Remove the Sup-board Flex Cable
-
Disconnect the Volume buttons Flex Cable
-
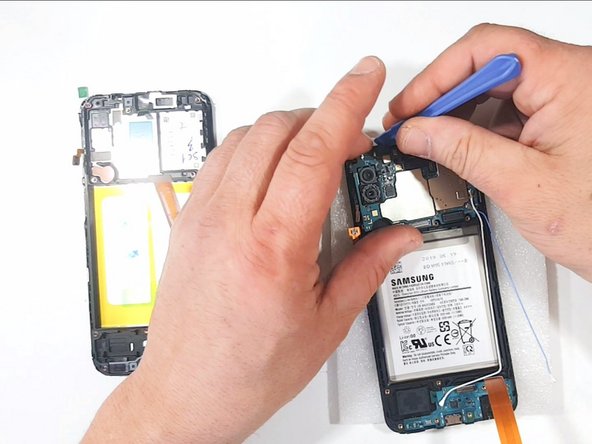
Gently remove the Logic board. Be careful for the cameras
-
-
-
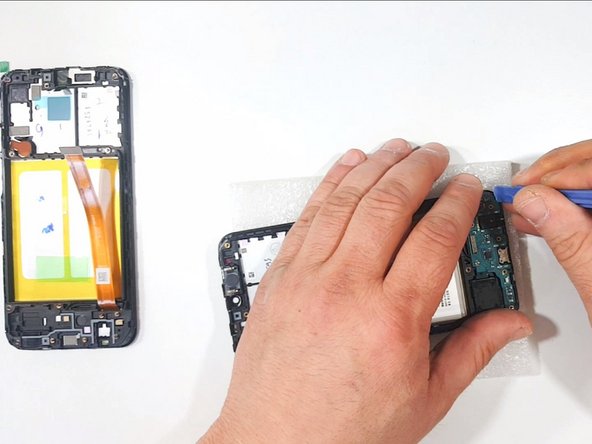
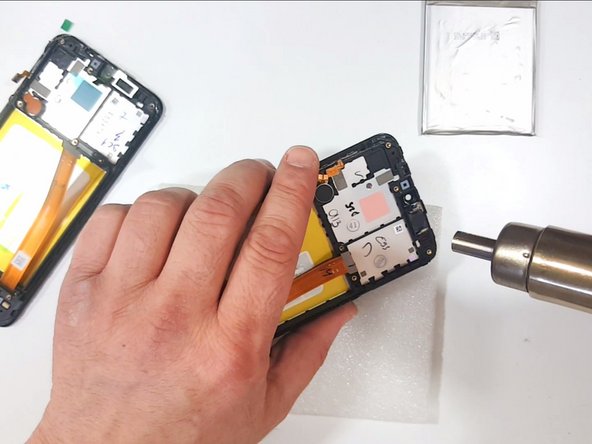
Use Hot air to soften the adhesive and gently remove the sup-bord
-
-
-
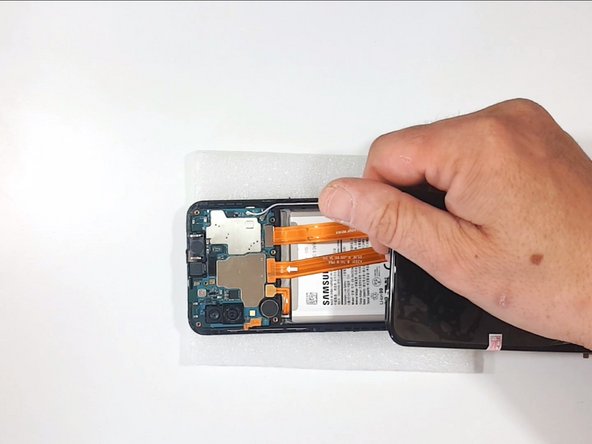
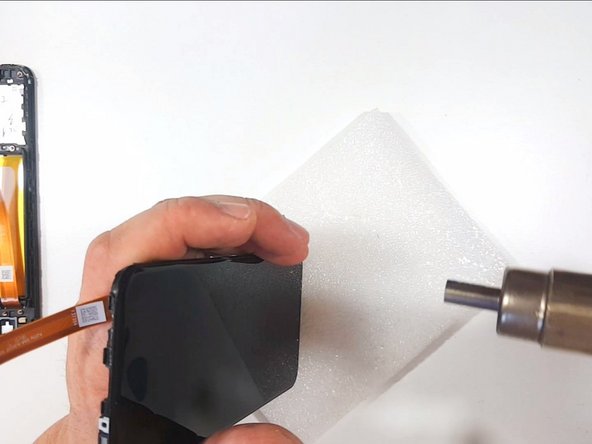
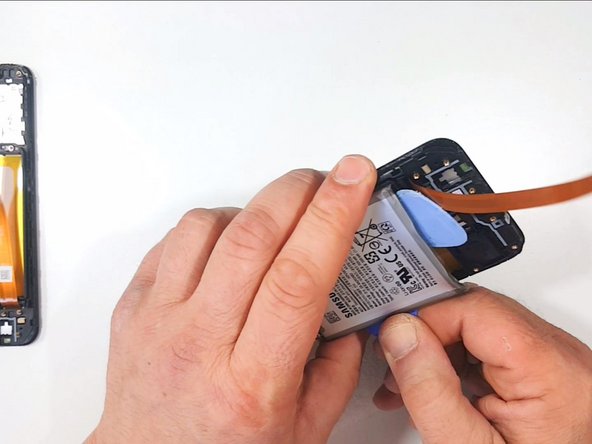
To remove the Battery use a few drops of alcohol and warm the device.
-
-
-
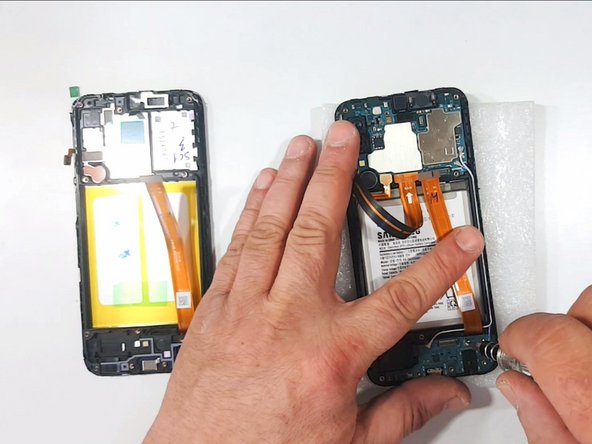
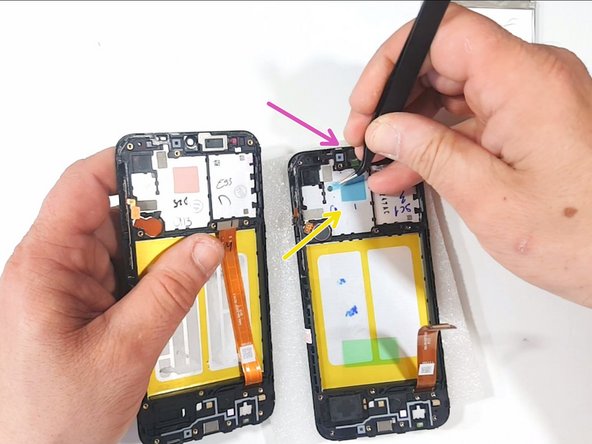
Now you have to transfer:
-
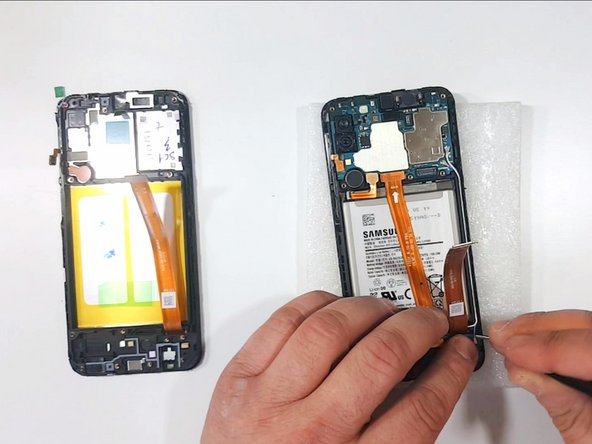
Receiber
-
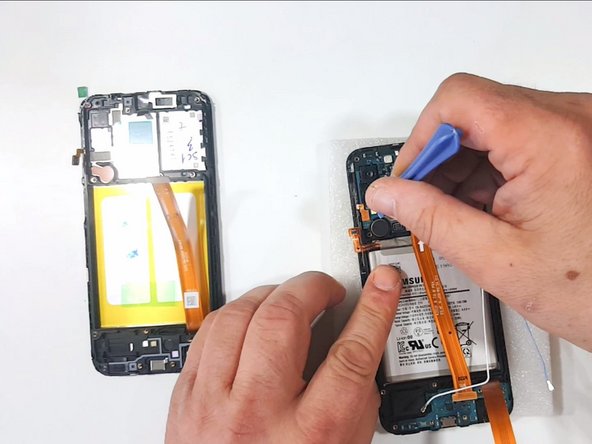
Vibromotor
-
Loudspeacker
-
Remove the transport tapes from:
-
Silicon Thermal Pad
-
Front Camera Hole
-


To reassemble your device, follow these instructions in reverse order.
To reassemble your device, follow these instructions in reverse order.
Rückgängig: Ich habe diese Anleitung nicht absolviert.
19 weitere Nutzer:innen haben diese Anleitung absolviert.

Team
