Einleitung
Use this guide to replace the back cover of your Samsung Galaxy A5 2017 smartphone.
Opening the Samsung Galaxy A5 will damage the waterproof sealing on the device. If you do not replace the adhesive seals, your phone will function normally, but will loose its water-protection.
If needed, you can use a dropper or syringe to inject isopropyl alcohol (>97%) around the edges of the back cover to weaken the adhesive.
You’ll need replacement adhesive to reattach the back cover when reassembling the device.
Was du brauchst
-
-
Power off your phone before beginning disassembly.
-
Use an iOpener to loosen the adhesive beneath the back cover. Apply the iOpener for at least two minutes. You might want to repeat this step several times during the back cover removal.
-
-
-
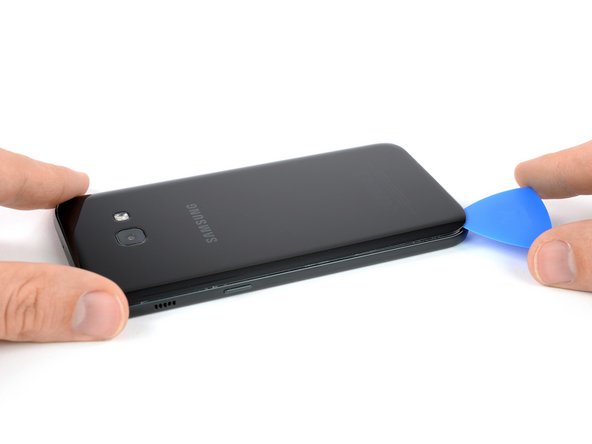
Insert an opening pick at the bottom end of your phone.
-
Start to slide the tip of the opening pick to the bottom left corner and cut the adhesive with it.
-
Leave the opening pick in the bottom left corner to prevent the adhesive from resealing. Insert a new opening pick and start to cut the adhesive on the left side of the phone.
-
-
-
-
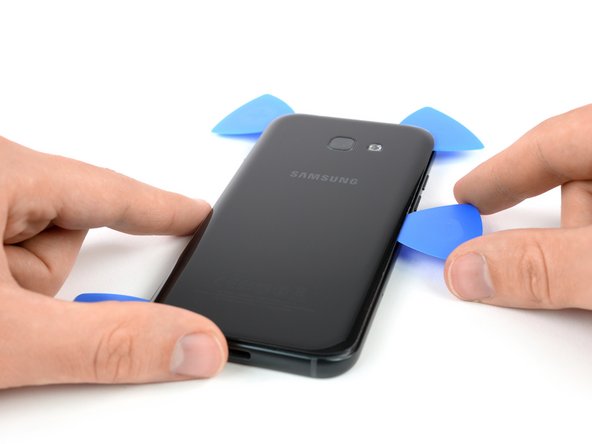
Use an opening pick to cut the adhesive on all sides of the phone. Leave one opening pick in every corner to prevent the adhesive from resealing.
-
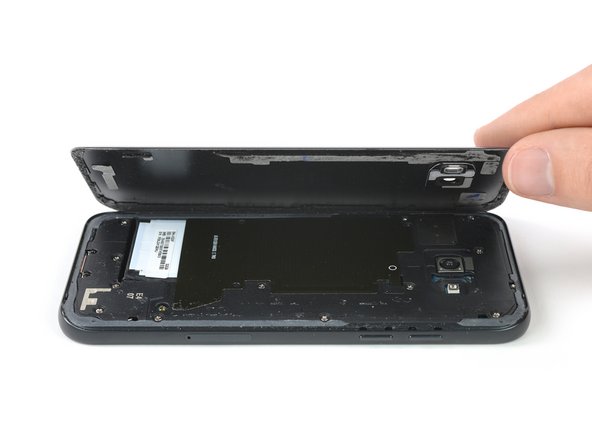
Insert an opening pick on the right side of the phone after you cut the adhesive on all sides. Flip it sideways until you can get a good grip on the back cover.
-


To reassemble your device, follow these instructions in reverse order. When reassembling your phone apply new adhesive where it is necessary.
Secure the new back cover with pre-cut adhesive or double-sided adhesive tape.
After installing the rear cover, apply strong, steady pressure to your phone for several minutes to help the adhesive form a good bond.
Rückgängig: Ich habe diese Anleitung nicht absolviert.
19 weitere Nutzer:innen haben diese Anleitung absolviert.


4 Kommentare
genial, tutorial paso a paso pregunta cual es el adhesivo que se utiliza ???
Hi Erik, you can buy precut and for the A5 optimized back cover adhesive or the precut adhesive card in our shop.