Einleitung
Herzlich willkommen! Diese Anleitung soll dir helfen, die Ladeplatine (die Platine, auf der sich der Ladeanschluss befindet) im Samsung Galaxy A71 zu ersetzen.
Was du brauchst
Einführungsvideo
Samsung A71 Charging Port Replacement
-
-
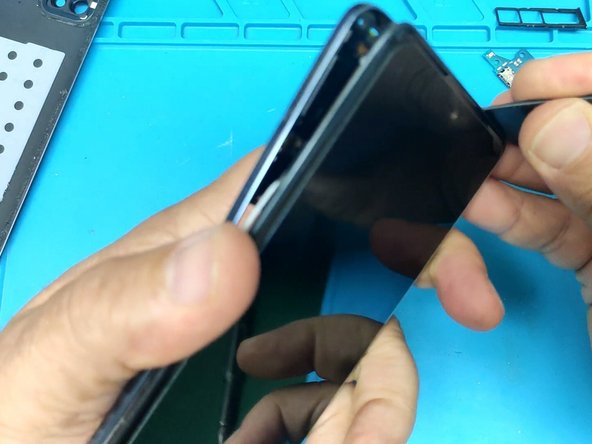
Zunächst werden wir die Rückseite entfernen. Erwärme hierfür zunächst das Gerät, damit sich der Kleber ein wenig löst, benutze dann einen Spudger, um das Gerät zu öffnen.
-
-
-
-
Entferne alle Kreuzschlitzschrauben und den SIM Karten Steckplatz.
-
-
-
Benutze den Spudger ein weiteres Mal, um den Mittelrahmen zu entfernen. Sei vorsichtig und nimm dir Zeit, damit du in diesem Schritt nichts beschädigst.
-
-
-
Trenne den Akku ab. Achte während der ganzen Reparatur darauf, dass du ihn nicht beschädigst.
-
Trenne folgende Komponenten in dieser Reihenfolge ab:
-
Display-Flachbandkabel.
-
Koaxial-Stecker für die Antenne.
-
Fingerabdruck-Sensor.
-
Haupt-Flachbandkabel.
-
Entferne die Kreuzschlitzschrauben, mit denen der Fingerabdrucksensor befestigt ist.
-
-
-
Heble vorsichtig die alte Ladeplatine heraus und setze die neue ein.
-


Um das Gerät wieder zusammenzubauen, folge einfach diesen Anweisungen in umgekehrter Reihenfolge.
Um das Gerät wieder zusammenzubauen, folge einfach diesen Anweisungen in umgekehrter Reihenfolge.
Rückgängig: Ich habe diese Anleitung nicht absolviert.
10 weitere Nutzer:innen haben diese Anleitung absolviert.
Besonderer Dank geht an diese Übersetzer:innen:
100%

Diese Übersetzer:innen helfen uns, die Welt zu reparieren! Wie kann ich mithelfen?
Hier starten ›

Team

5 Kommentare
Great guide! I recommend removing the Fingerprint Sensor as a whole. It will make it easier to remove the board, as the charging board has some adhesive, so you will need to pull a bit harder.
When screwing the sensor back, make sure to not tighten each screw all the way at first, but instead alternate between tightening one screw and the other. This will make sure that the sensor is properly aligned! This fixed the issue I was facing with reading some fingerprints after I had my screen replaced by a third party repair shop a couple of months ago. Two birds with one stone!
The guide was very excellent, however after putting the components all in place and booting back into the OS, the finger print reader refused to work anymore (both the original and a replacement one) and as far as i could tell there was no damage to where the reader connects. However, a more important issue is that with the replacement board my phone refused to recognize having the sim card inserted. If there is any software nonsense I have to go through it would be appreciated to have a pointer but at the end I had to fix the USB C port on the original board and reinstall it.
My sims no service after they made my old charger port. Is there any help please?