Einleitung
This guide will show how to remove and replace the volume and lock buttons located on the sides of the Samsung Galaxy Centura.
Was du brauchst
-
-
Locate the rectangular groove on the top side of the device.
-
Firmly press the tip of your index finger, or plastic opening tool into the groove, and pull back firmly. The device should pop open as shown.
-
-
-
With the back casing removed, the phone should appear as shown, with a clear view of the battery.
-
Gently pull the battery up with your thumb and index finger. It should come out without resistance.
-
-
-
-
Find the positions of the seven screws on the back of the device. Use the Phillips #00 screwdriver to remove these 5.0mm screws.
-
-
-
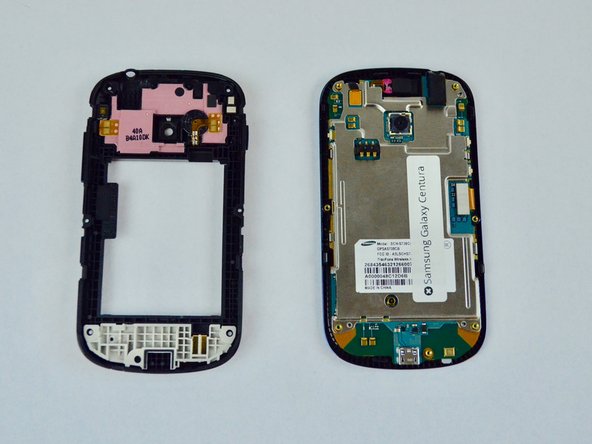
Locate the indentation on the side of the device, and gently insert the plastic opening tool into it. With a firm prying motion, the plastic should begin to come apart.
-
-
-
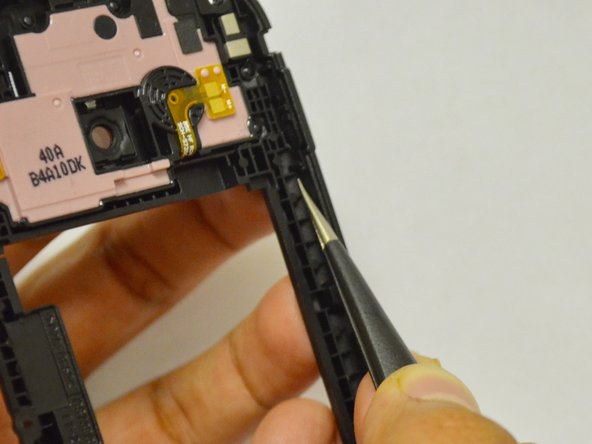
Locate the volume buttons on the plastic casing.
-
Gently pull the black tab up and out with the tweezers, then push or pull the button inward and out of the plastic casing. It should come free without resistance.
-
-
-
Locate the lock button on the opposite side of the plastic casing.
-
Using the tweezers, pull the two horizontal tabs up and out of the plastic pegs that hold them in place.
-
Push the button inward and out of the plastic casing. This may require firm pressure to free it completely.
-


To reassemble your device, follow these instructions in reverse order.
To reassemble your device, follow these instructions in reverse order.
Team

USF Tampa, Team S2-G5, Nance Spring 2017 Mitglied von USF Tampa, Team S2-G5, Nance Spring 2017
USFT-NANCE-S17S2G5
3 Mitglieder
6 Anleitungen geschrieben