Diese Version enthält möglicherweise inkorrekte Änderungen. Wechsle zur letzten geprüften Version.
Was du brauchst
-
Dieser Schritt ist noch nicht übersetzt. Hilf mit, ihn zu übersetzen!
-
Locate the small indent in the top of the device and use your nails or the plastic opening tool to separate the cover from the mid-frame.
-
-
Dieser Schritt ist noch nicht übersetzt. Hilf mit, ihn zu übersetzen!
-
Locate the indent on the bottom left corner of the battery compartment. Use your fingers or the plastic opening tool to lift the battery from the device.
-
-
-
Dieser Schritt ist noch nicht übersetzt. Hilf mit, ihn zu übersetzen!
-
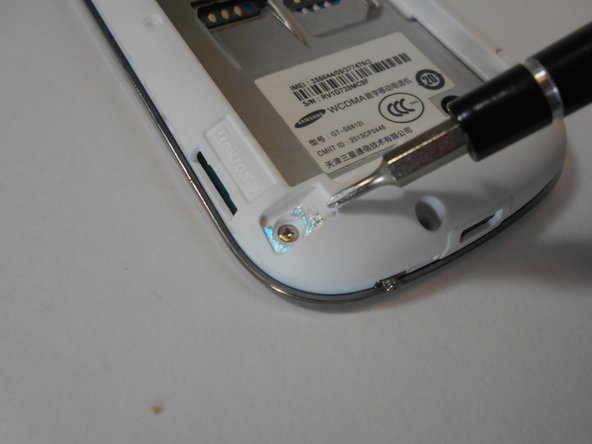
Remove the five 3mm screws along the top and bottom edges of the device with the Philips #00 screwdriver.
-
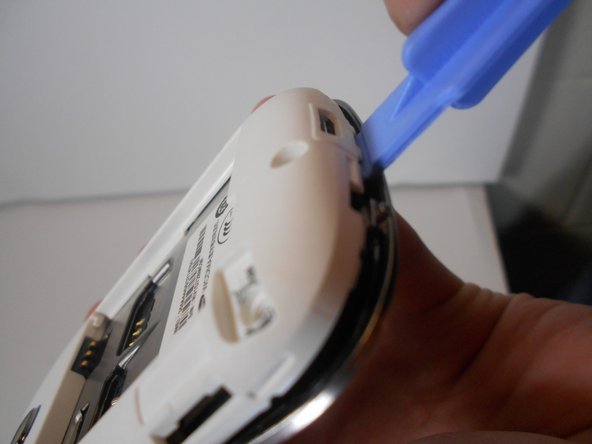
Use the plastic removal tool to work pry the mid-frame from the device.
-
-
Dieser Schritt ist noch nicht übersetzt. Hilf mit, ihn zu übersetzen!
-
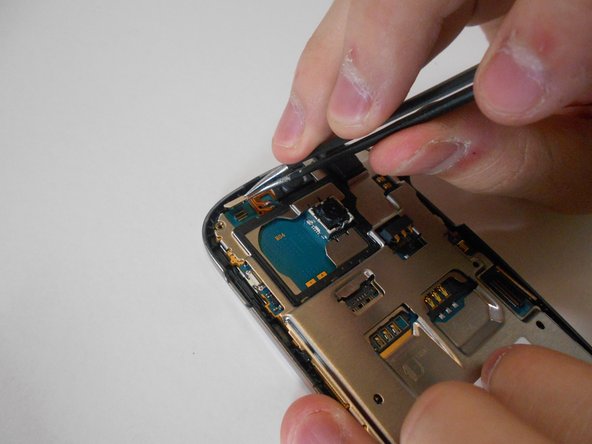
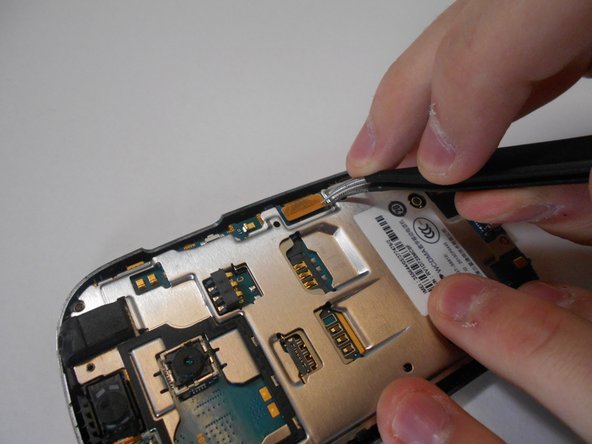
Carefully use the pointed end of the spudger to disconnect the ribbon connections on the motherboard.
-
-
Dieser Schritt ist noch nicht übersetzt. Hilf mit, ihn zu übersetzen!
-
Wedge the plastic opening tool between the motherboard and front plate to dismount the motherboard and chassis from the front plate of the phone.
-
-
Dieser Schritt ist noch nicht übersetzt. Hilf mit, ihn zu übersetzen!
-
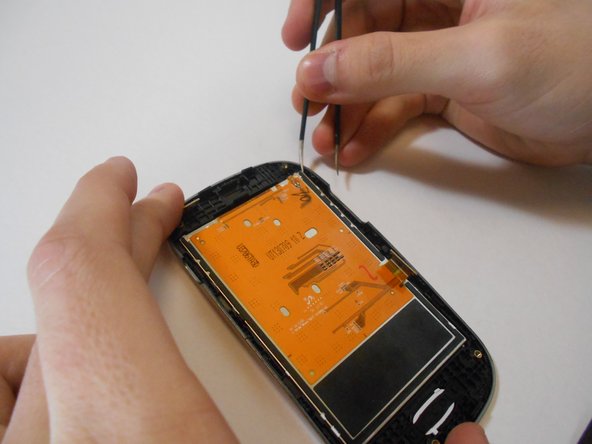
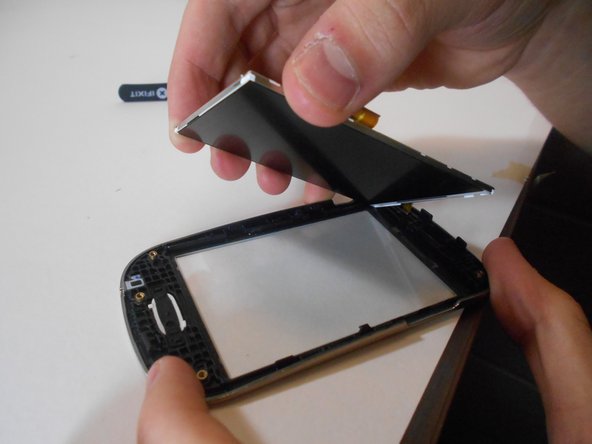
Use one side of the tweezers to pry the LCD off of the front plate of the phone.
-
Rückgängig: Ich habe diese Anleitung nicht absolviert.
7 weitere Nutzer:innen haben diese Anleitung absolviert.


