Einleitung
Note: This guide is a continuation off of the display housing removal guide. It is crucial that you follow and complete the prerequisite guide step-by-step.
Use this guide to easily replace a faulty battery or insert a fresh new battery for a longer- lasting, more reliable Samsung Galaxy Gear watch.
Was du brauchst
-
-
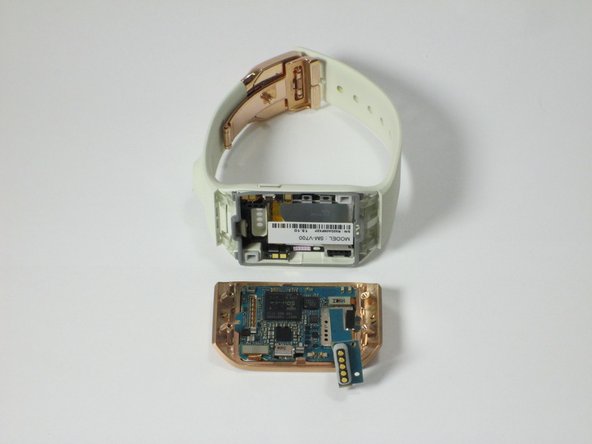
Use a T5 Torx screwdriver to remove the four 4.0 mm screws on the back of the device.
-
-
-
Use a plastic opening tool to separate the display housing from from the device.
-
-
-
-
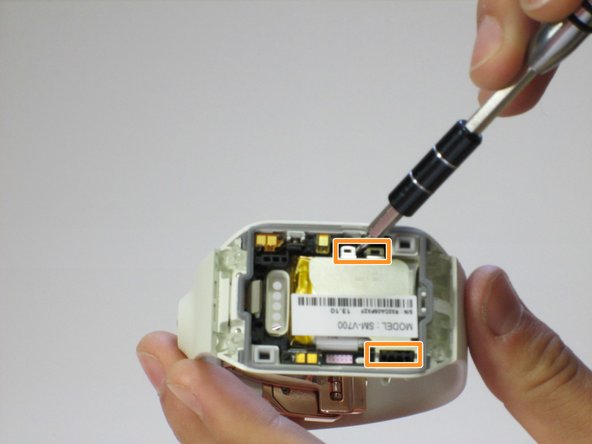
Gently pry back the metal flap on top of the connector.
-
Locate the two 2.0 mm black screws and unscrew using a Phillips PH00 bit. The connector will detach from the device.
-
-
-
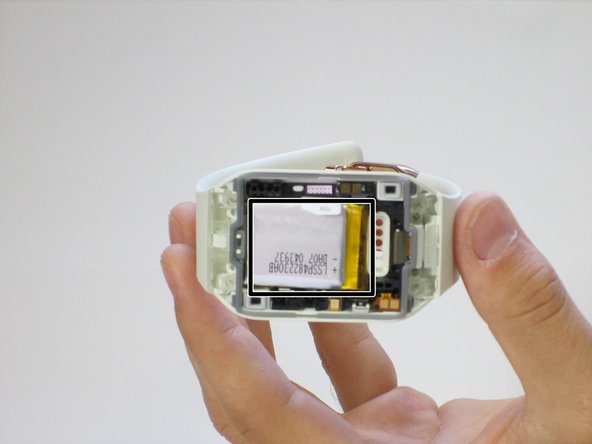
Look for the metal bracket that covers and secures the battery in place.
-
Loosen the bracket by prying underneath the metal plating with the plastic opening tool. Remove the bracket and set it to the side.
-
The battery should now be exposed.
-
-
-
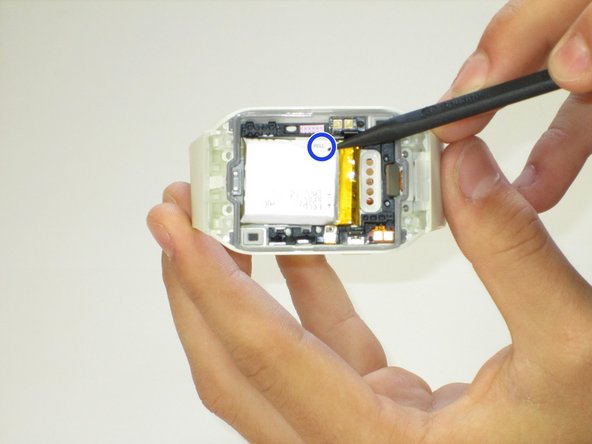
Using the plastic opening tool, pry underneath the leads and disconnect it from the back of the watch.
-
Slowly tug on the "PULL" tag and remove the battery from the watch.
-


To reassemble your device, follow these instructions in reverse order.
To reassemble your device, follow these instructions in reverse order.
Rückgängig: Ich habe diese Anleitung nicht absolviert.
11 weitere Personen haben diese Anleitung absolviert.
Team

Cal Poly, Team 1-9, Maness Spring 2016 Mitglied von Cal Poly, Team 1-9, Maness Spring 2016
CPSU-MANESS-S16S1G9
4 Mitglieder
7 Anleitungen geschrieben
4 Kommentare
where do I get the battery & tools
“Parts
No parts required.”
I think a battery is required!
Thank you very much
Adam P NYC