Diese Version enthält möglicherweise inkorrekte Änderungen. Wechsle zur letzten geprüften Version.
Was du brauchst
-
Dieser Schritt ist noch nicht übersetzt. Hilf mit, ihn zu übersetzen!
-
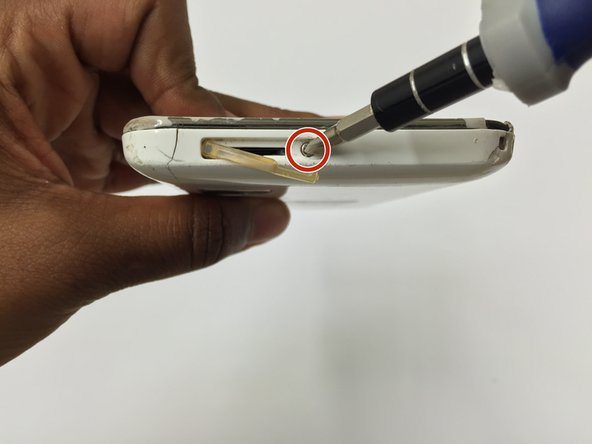
Remove the SD Memory Card before taking the device apart. Using the screwdriver, remove the 10mm Phillips screw that is near the SD Memory Card port.
-
-
Dieser Schritt ist noch nicht übersetzt. Hilf mit, ihn zu übersetzen!
-
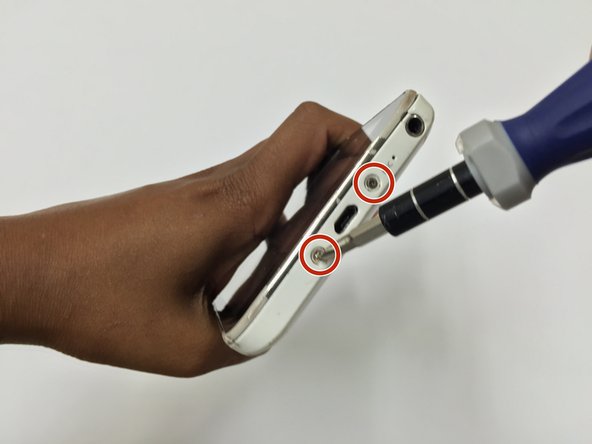
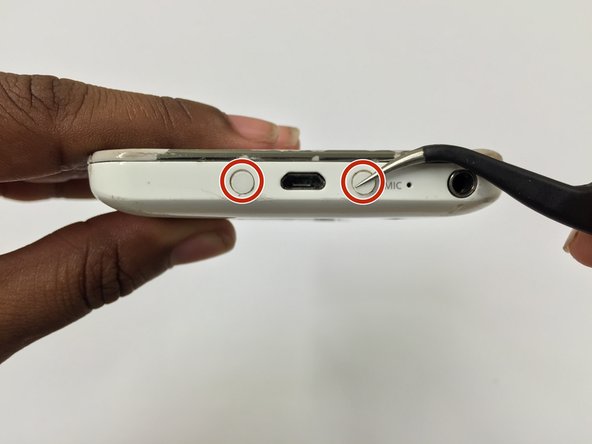
Remove the white caps which are covering the screws that are located on either side of the charging port.
-
-
Dieser Schritt ist noch nicht übersetzt. Hilf mit, ihn zu übersetzen!
-
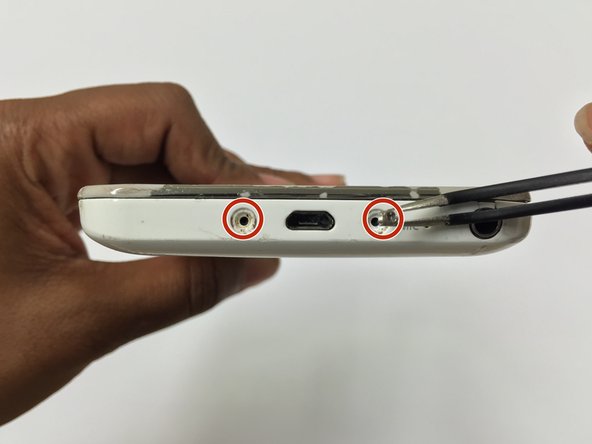
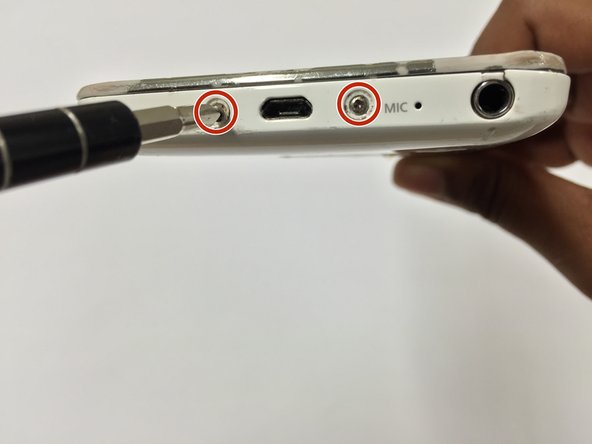
Continue to unscrew the two 10mm Phillips Screws from the bottom of the device.
-
-
Dieser Schritt ist noch nicht übersetzt. Hilf mit, ihn zu übersetzen!
-
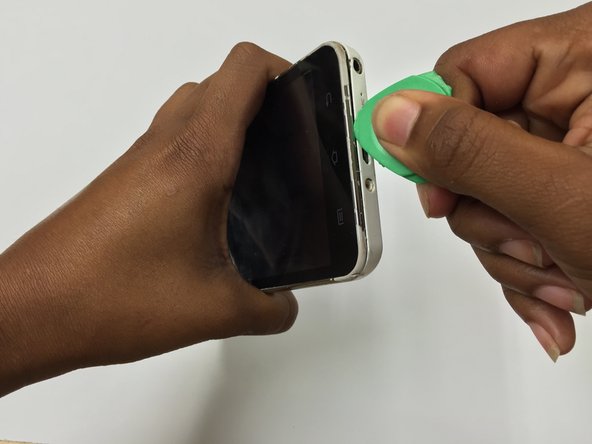
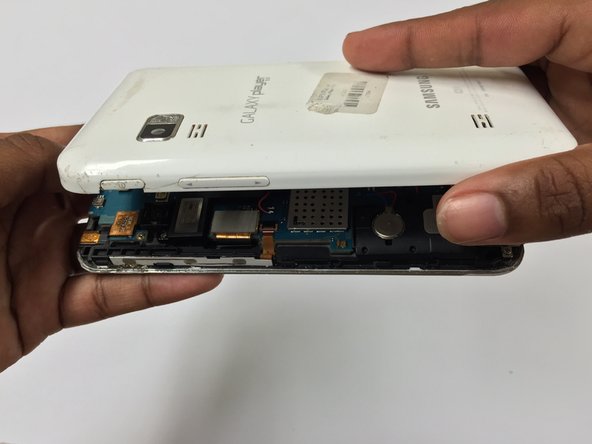
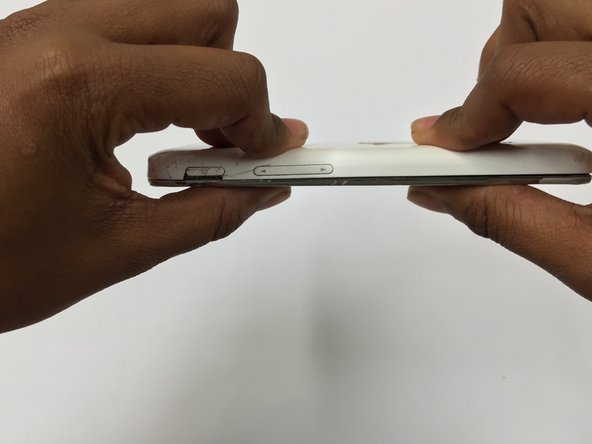
Starting from the bottom and working around, use an opening pick to separate the front cover housing from the back cover housing.
-
-
-
Dieser Schritt ist noch nicht übersetzt. Hilf mit, ihn zu übersetzen!
-
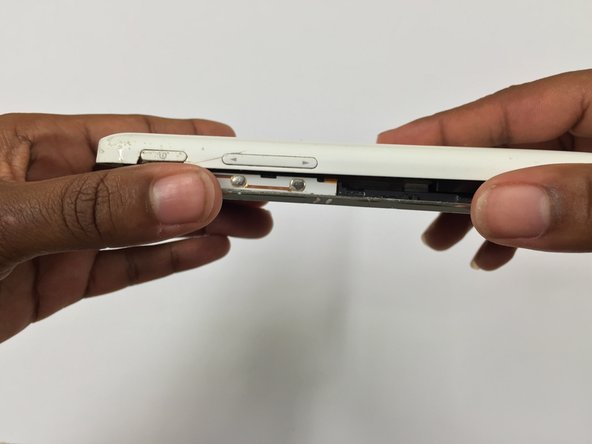
Take the back housing cover off of the device.
-
-
Dieser Schritt ist noch nicht übersetzt. Hilf mit, ihn zu übersetzen!
-
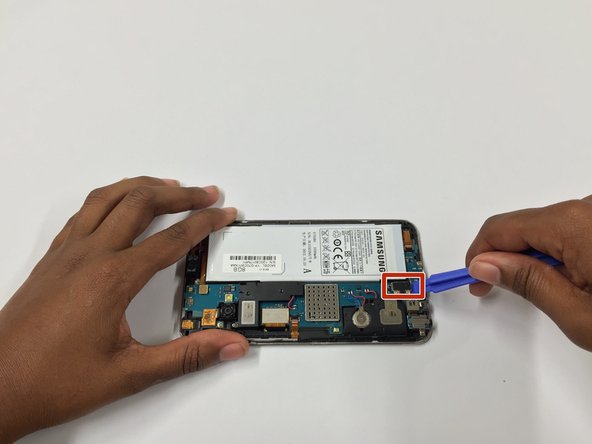
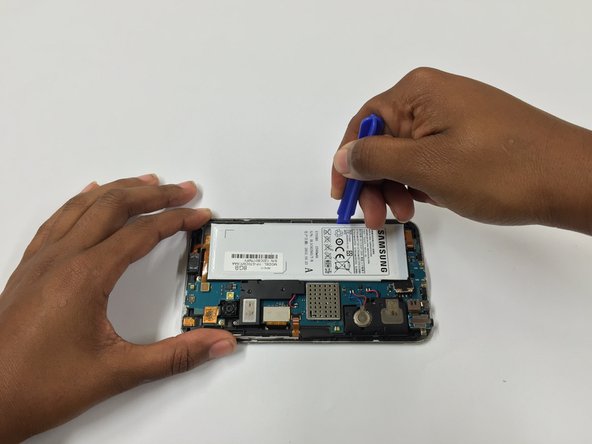
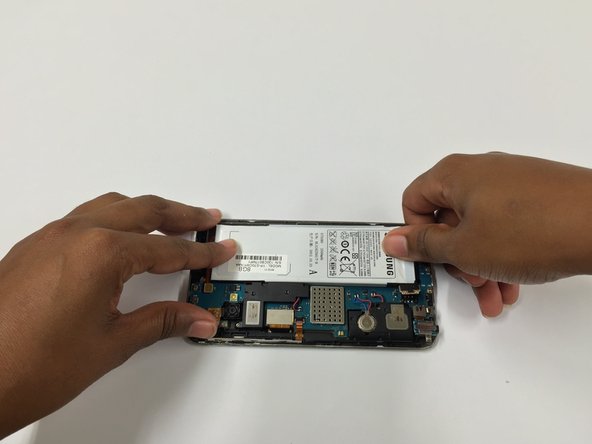
Detach the tab the battery is attached to and the battery using the prying tool in an upward motion.
-
-
Dieser Schritt ist noch nicht übersetzt. Hilf mit, ihn zu übersetzen!
-
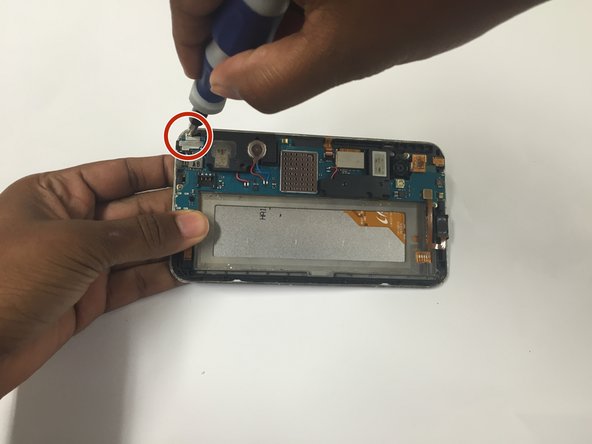
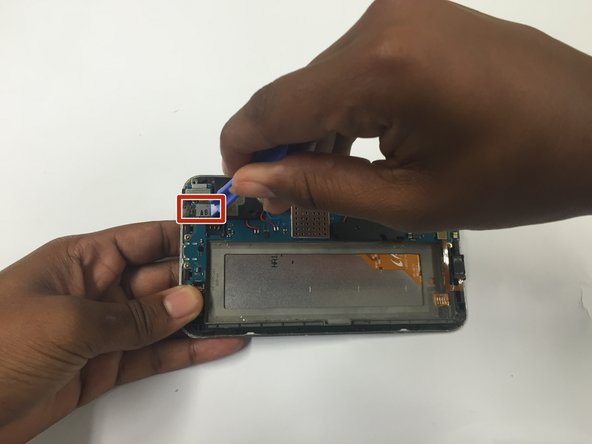
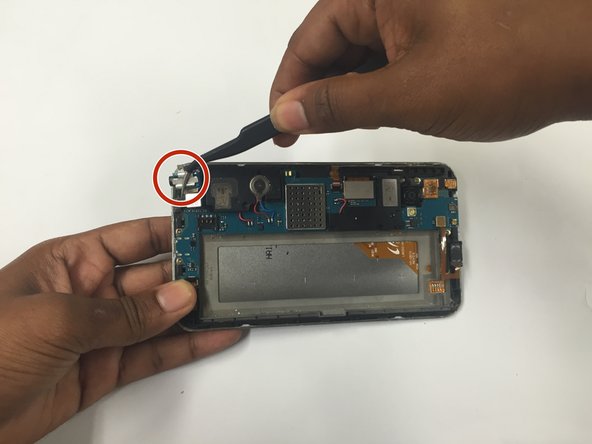
Remove the headphone jack by unscrewing the 10mm Phillips screw to its left then proceed to pry up the tab that attaches the headphone jack to the motherboard.
-
-
Dieser Schritt ist noch nicht übersetzt. Hilf mit, ihn zu übersetzen!
-
Place new the headphone jack back into its position and connect the tab, then screw it back into place.
-
-
Dieser Schritt ist noch nicht übersetzt. Hilf mit, ihn zu übersetzen!
-
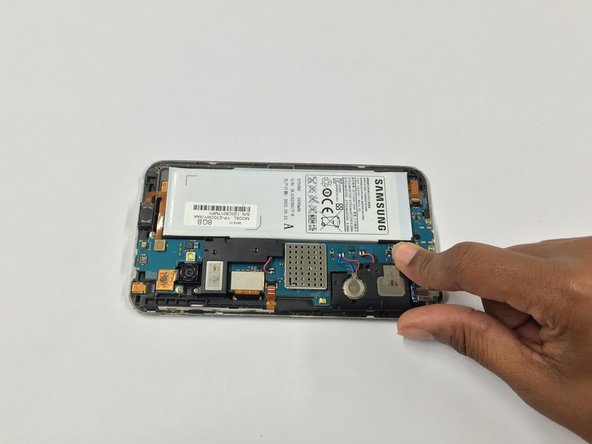
Insert the battery into its position, and reconnect its tab onto the motherboard.
-
-
Dieser Schritt ist noch nicht übersetzt. Hilf mit, ihn zu übersetzen!
-
Now put the rear housing cover on the device, starting from its bottom side, and snap the edges all the way around to close the device.
-
-
Dieser Schritt ist noch nicht übersetzt. Hilf mit, ihn zu übersetzen!
-
Lastly reinsert the screws at the bottom of the device, as well as the screw inside the SD Memory Card port.
-


Rückgängig: Ich habe diese Anleitung nicht absolviert.
4 weitere Nutzer:innen haben diese Anleitung absolviert.
Team

Sam Houston State, Team 11-7, Blackburne Winter 2015 Mitglied von Sam Houston State, Team 11-7, Blackburne Winter 2015
SHSU-BLACKBURNE-W15S11G7
3 Mitglieder
8 Anleitungen geschrieben