Zum Hauptinhalt wechseln

Samsung Galaxy Nexus Main Display Glass Replacement

Was du brauchst

  1. Samsung Galaxy Nexus Main Display Glass Replacement, Removing Back Cover: Schritt 1, Bild 1 von 1
    • Open the back cover of the phone with your fingers or use the plastic opening tools to pry the back cover off of the phone.

    • Remove the battery by prying it free from the divot at the bottom.

    • Store the back cover and the battery in a safe place, such as a bowl, until you are ready to re-install them.

  2. Samsung Galaxy Nexus Main Display Glass Replacement: Schritt 2, Bild 1 von 1
    • Remove the four 4.5 mm Phillips screws from the rear of the phone.

  3. Samsung Galaxy Nexus Main Display Glass Replacement: Schritt 3, Bild 1 von 2 Samsung Galaxy Nexus Main Display Glass Replacement: Schritt 3, Bild 2 von 2
    • Flip the phone over so that the screen faces upward.

    • Insert a plastic opening tool into the seam between the screen and the outer case. Work the plastic opening tool around the phone without removing it from the seam.

    • Slowly pry the outer case from the screen.

    • Work carefully. Excessive force can easily damage the case.

    It helps a lot to pry from the inside of the casing. After all the screws are out, the plastic is very loosely held together.

    Arvind Vasudevan - Antwort

  4. Samsung Galaxy Nexus Main Display Glass Replacement: Schritt 4, Bild 1 von 3 Samsung Galaxy Nexus Main Display Glass Replacement: Schritt 4, Bild 2 von 3 Samsung Galaxy Nexus Main Display Glass Replacement: Schritt 4, Bild 3 von 3
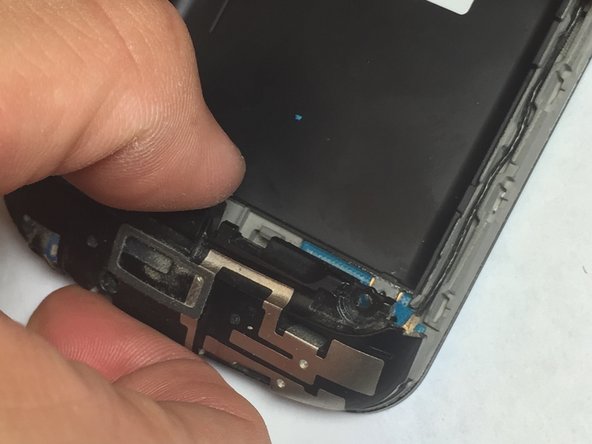
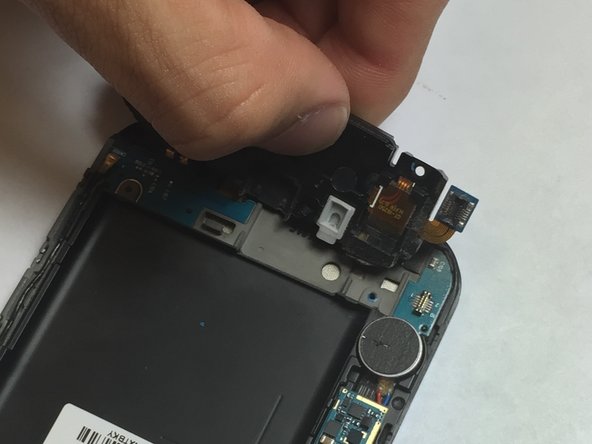
    • Remove a single 4 mm Phillips #00 screw from the bottom of the phone.

    • Lift up the flat connector from its socket on the motherboard.

    • Lift the entire headphone jack assembly from the phone.

  5. Samsung Galaxy Nexus Main Display Glass Replacement: Schritt 5, Bild 1 von 2 Samsung Galaxy Nexus Main Display Glass Replacement: Schritt 5, Bild 2 von 2
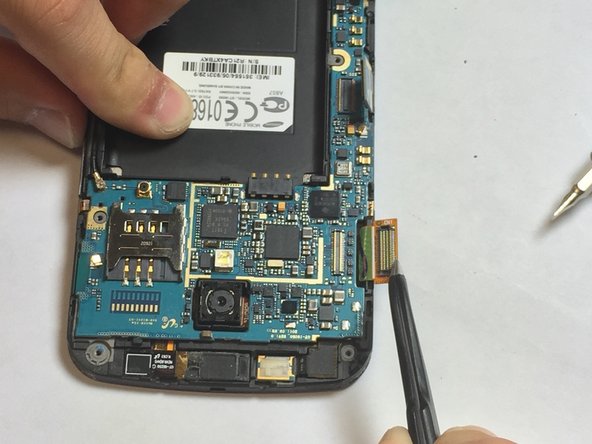
    • Disconnect the two ribbon cables from the motherboard.

  6. Samsung Galaxy Nexus Main Display Glass Replacement: Schritt 6, Bild 1 von 1
    • Using tweezers or a spudger, lift the vibrator motor from its recess in the midframe.

  7. Samsung Galaxy Nexus Main Display Glass Replacement: Schritt 7, Bild 1 von 2 Samsung Galaxy Nexus Main Display Glass Replacement: Schritt 7, Bild 2 von 2
    • Using tweezers, gently disconnect the antenna cable from its socket on the motherboard.

  8. Samsung Galaxy Nexus Main Display Glass Replacement: Schritt 8, Bild 1 von 2 Samsung Galaxy Nexus Main Display Glass Replacement: Schritt 8, Bild 2 von 2
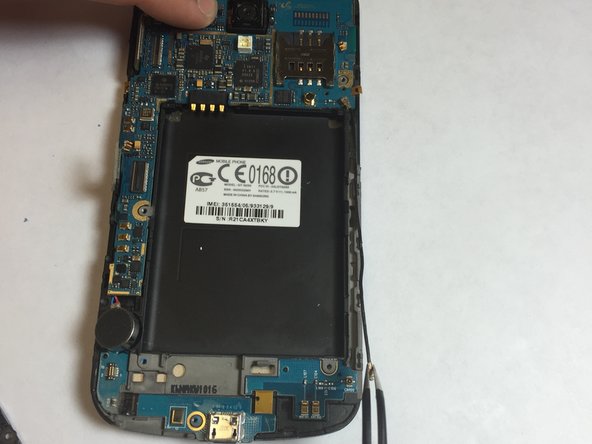
    • Use tweezers to pull the motherboard out of the phone.

    • Work carefully. Depending on the model, the underside of the motherboard may still have ribbon cables connecting it to the display assembly.

    Is this a bug that there are no images on step 5/6? the text reads "Detach the highlighted cables" so I assume there should be an image?

    Herbert - Antwort

  9. Samsung Galaxy Nexus Main Display Glass Replacement: Schritt 9, Bild 1 von 3 Samsung Galaxy Nexus Main Display Glass Replacement: Schritt 9, Bild 2 von 3 Samsung Galaxy Nexus Main Display Glass Replacement: Schritt 9, Bild 3 von 3
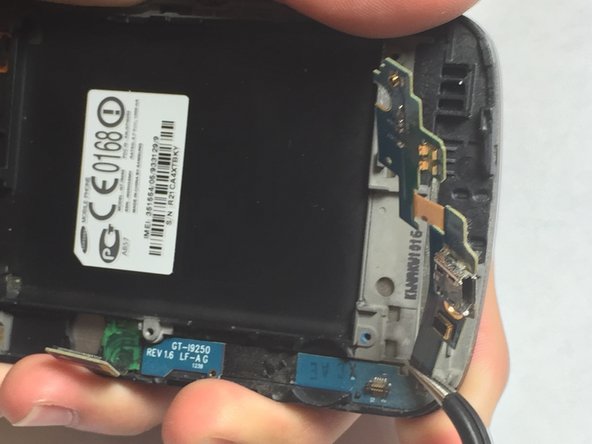
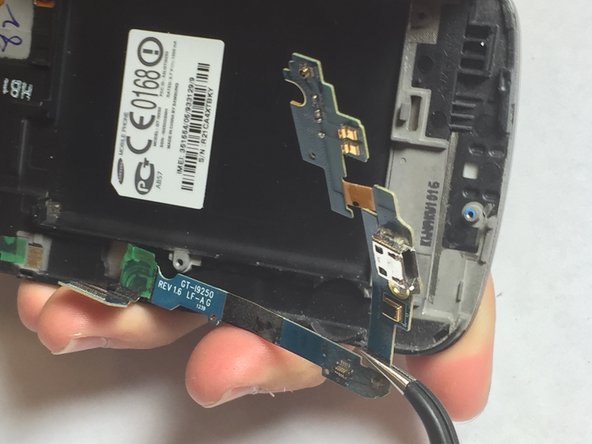
    • Starting near the USB port, use your tweezers to pull the small daughterboard from the phone.

Abschluss

To reassemble your device, follow these instructions in reverse order.

13 weitere Nutzer:innen haben diese Anleitung absolviert.

Team

Oakland University, Team 1-17, Ruszkiewicz Fall 2013 Mitglied von Oakland University, Team 1-17, Ruszkiewicz Fall 2013

OAK-RUSZKIEWICZ-F13S1G17

1 Mitglied

1 Anleitung geschrieben

2 Kommentare

with this guide , I found this repair easy to do. Thank you Tom G.

Thomas Giles - Antwort

Deberían d3 poner los diagramas eléctricos para reparar gracias

manchadoshow - Antwort

Kommentar hinzufügen

Seitenaufrufe:

Letzte 24 Stunden: 0

Letzte 7 Tage: 0

Letzte 30 Tage: 0

Insgesamt: 20,671