Einleitung
The Samsung Galaxy On5 comes with two cameras, one front-facing and one rear-facing camera. This guide will walk you through replacing both.
Was du brauchst
-
-
Use a plastic prying tool or your fingernail to pop the back cover off of the phone.
-
-
-
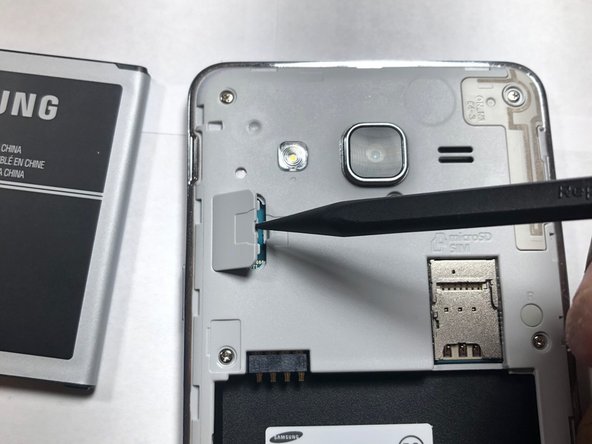
Locate the battery notch and remove the battery, using either your finger or a plastic prying tool.
-
-
-
-
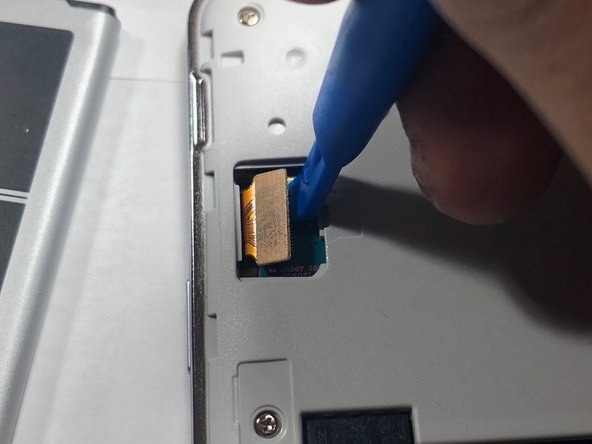
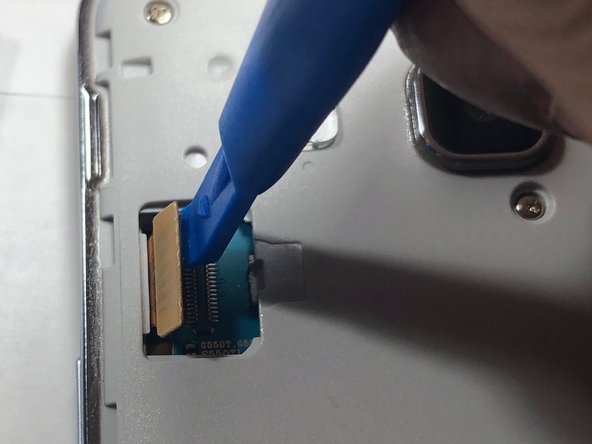
Using a plastic pry tool, carefully pry the LCD ribbon cable from the logic board.
-
-
-
Take a Phillips #00 head and remove all 9 screws. Once done place them aside where you won't lose them.
-
-
-
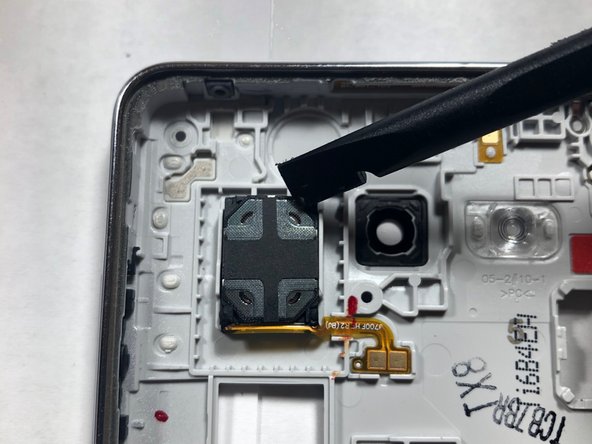
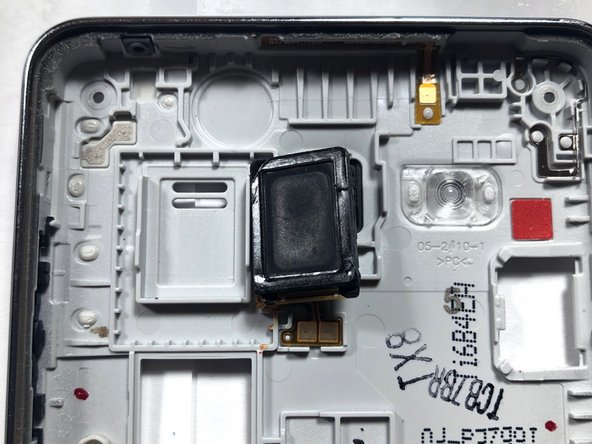
Once both the LCD and back assembly come apart, look at the back assembly where the speaker is located.
-
Once located, take the plastic pry tool to remove the speaker from its housing and replace it with a new one.
-
-
-
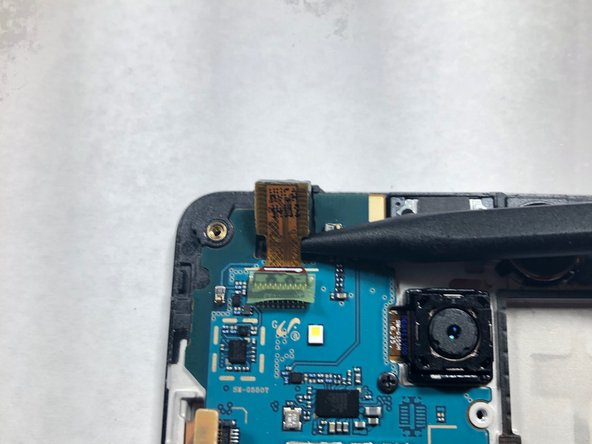
Use a plastic pry tool to lift the front-facing camera from its housing.
-
-
-
Once the camera is out of the housing, disconnect the camera from the logic board.
-
-
-
Using a Phillips #00 screwdriver, remove the screw securing the rear-facing camera.
-
-
-
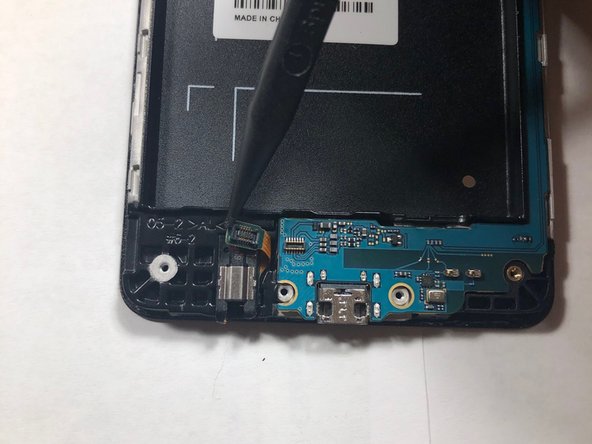
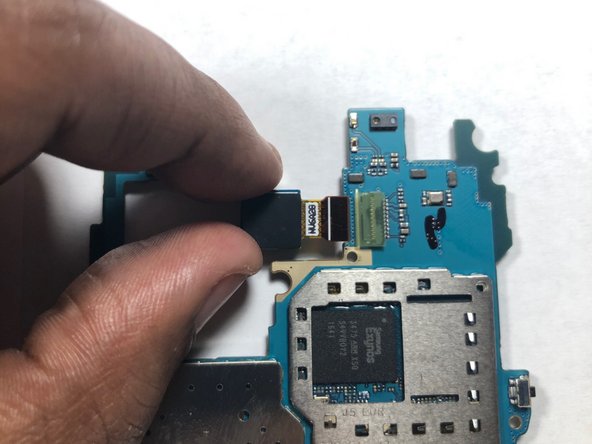
Use a plastic pry tool to disconnect the headphone ribbon from the motherboard.
-
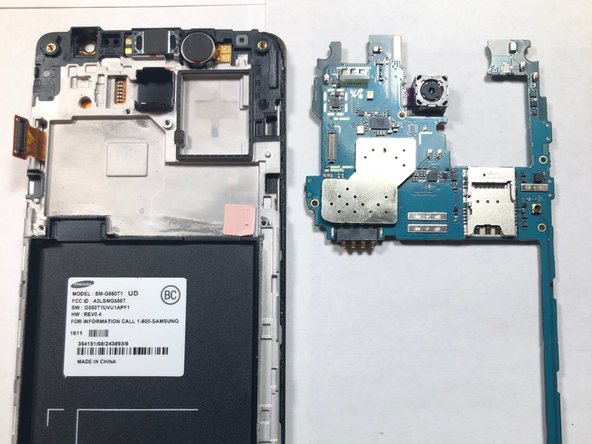
Remove the motherboard from the LCD housing by lifting up from the ends of the logic board.
-
-
-
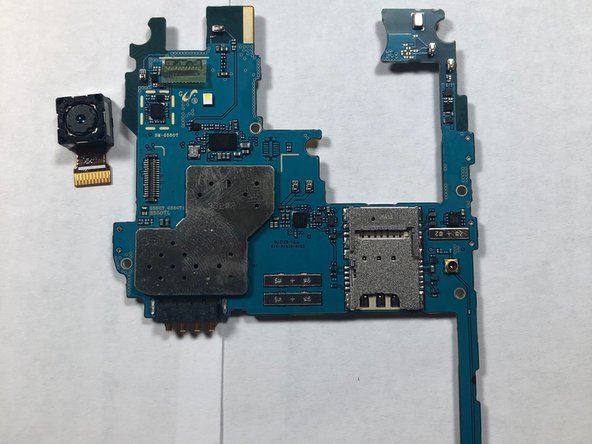
Flip the logic board so the camera lens is facing down rather than at you.
-
Use your finger to remove the camera from its connection on the logic board.
-


That's it, now you've removed both the front and rear facing cameras on your device! To reassemble your device, follow these instructions in reverse order.
That's it, now you've removed both the front and rear facing cameras on your device! To reassemble your device, follow these instructions in reverse order.
Rückgängig: Ich habe diese Anleitung nicht absolviert.
Eine weitere Person hat diese Anleitung absolviert.

Team

Gateway, Team S1-G5, Luster Fall 2018 Mitglied von Gateway, Team S1-G5, Luster Fall 2018
GCC-LUSTER-F18S1G5
1 Mitglied
5 Anleitungen geschrieben