Zum Hauptinhalt wechseln

Samsung Galaxy Rush Rear Facing Camera Replacement

Was du brauchst

  1. Samsung Galaxy Rush Rear Facing Camera Replacement, Rear Facing Camera: Schritt 1, Bild 1 von 2 Samsung Galaxy Rush Rear Facing Camera Replacement, Rear Facing Camera: Schritt 1, Bild 2 von 2
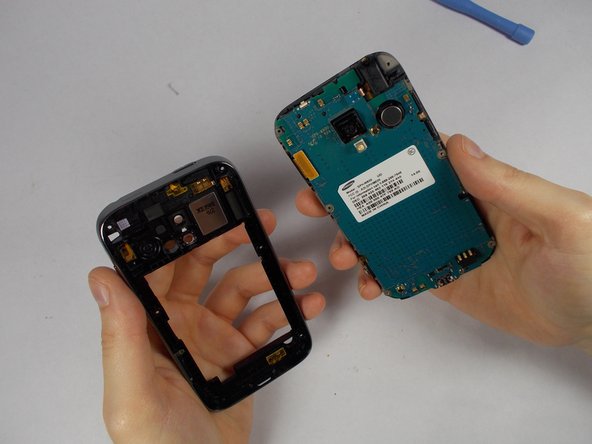
    • Looking at the back of your phone, use your finger to remove the back cover

  2. Samsung Galaxy Rush Rear Facing Camera Replacement: Schritt 2, Bild 1 von 2 Samsung Galaxy Rush Rear Facing Camera Replacement: Schritt 2, Bild 2 von 2
    • Remove the battery.

  3. Samsung Galaxy Rush Rear Facing Camera Replacement: Schritt 3, Bild 1 von 1
    • With a small phillips-head screw driver, remove the six screws holding the back panel in place.

  4. Samsung Galaxy Rush Rear Facing Camera Replacement: Schritt 4, Bild 1 von 2 Samsung Galaxy Rush Rear Facing Camera Replacement: Schritt 4, Bild 2 von 2
    • Use the pry tool to pry the back panel from the rest of the phone. Pry from the edge closest to the screen for simplicity.

  5. Samsung Galaxy Rush Rear Facing Camera Replacement: Schritt 5, Bild 1 von 2 Samsung Galaxy Rush Rear Facing Camera Replacement: Schritt 5, Bild 2 von 2
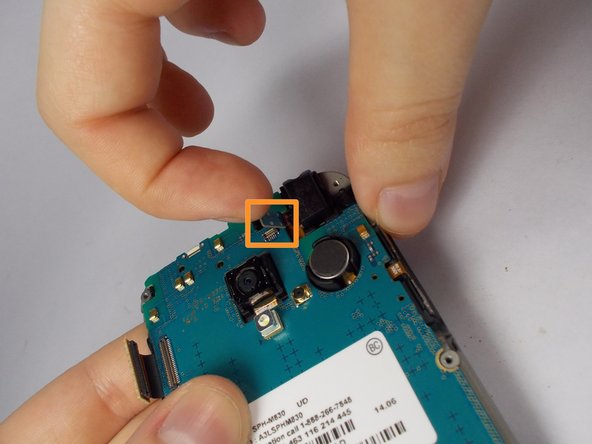
    • Using tweezers, gently lift connectors from motherboard.

    • A connector will be on the upper left

    • The second connector is located towards the top of the phone. Above the camera. It comes off with ease.

  6. Samsung Galaxy Rush Rear Facing Camera Replacement: Schritt 6, Bild 1 von 2 Samsung Galaxy Rush Rear Facing Camera Replacement: Schritt 6, Bild 2 von 2
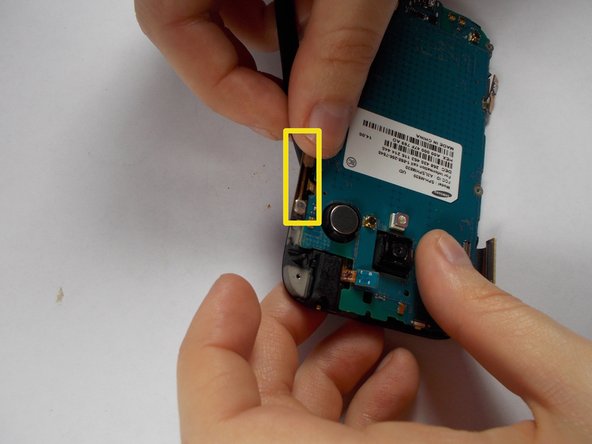
    • Use the tweezers to carefully remove the 2 adhesive orange ribbons.

    • These stay attached to the motherboard so be careful not to break them.

    • They are on the side of the phone.

  7. Samsung Galaxy Rush Rear Facing Camera Replacement: Schritt 7, Bild 1 von 1
    • Use a philips-head screwdriver to remove the single screw on the bottom of the phone. Located to the right of the charging port.

  8. Samsung Galaxy Rush Rear Facing Camera Replacement: Schritt 8, Bild 1 von 1
    • Lift the motherboard upwards separating it from your screen.

  9. Samsung Galaxy Rush Rear Facing Camera Replacement: Schritt 9, Bild 1 von 3 Samsung Galaxy Rush Rear Facing Camera Replacement: Schritt 9, Bild 2 von 3 Samsung Galaxy Rush Rear Facing Camera Replacement: Schritt 9, Bild 3 von 3
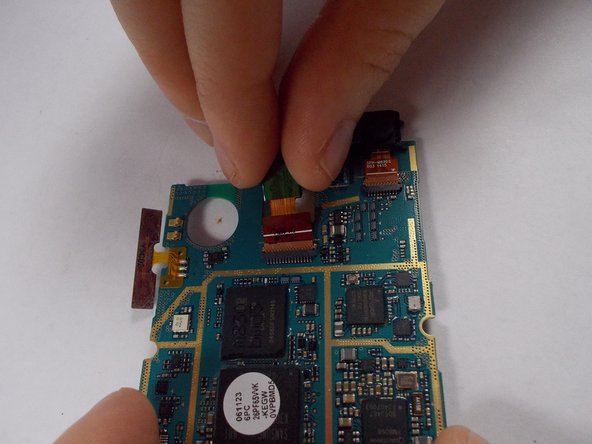
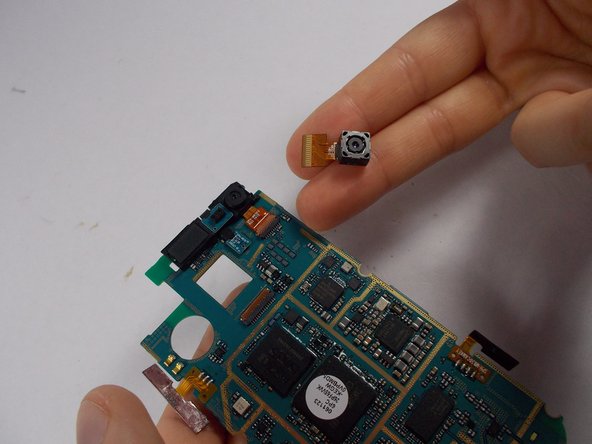
    • Hold the motherboard with the circuits facing towards you

    • Gently take the back camera with two fingers and pull up-wards. A wiggle may help.

Abschluss

To reassemble your device, follow these instructions in reverse order.

Matthew

Mitglied seit: 10/22/14

1 Reputation

2 Anleitungen geschrieben

Team

UMass Dartmouth, Team 6-4, Vijaybhaskar Fall 2014 Mitglied von UMass Dartmouth, Team 6-4, Vijaybhaskar Fall 2014

UMASSD-VIJAYBHASKAR-F14S6G4

3 Mitglieder

5 Anleitungen geschrieben

0 Kommentare

Kommentar hinzufügen

Seitenaufrufe:

Letzte 24 Stunden: 0

Letzte 7 Tage: 0

Letzte 30 Tage: 0

Insgesamt: 175