Diese Version enthält möglicherweise inkorrekte Änderungen. Wechsle zur letzten geprüften Version.
Was du brauchst
-
Dieser Schritt ist noch nicht übersetzt. Hilf mit, ihn zu übersetzen!
-
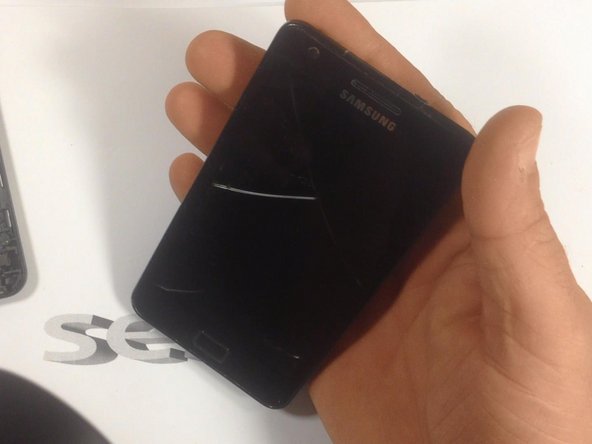
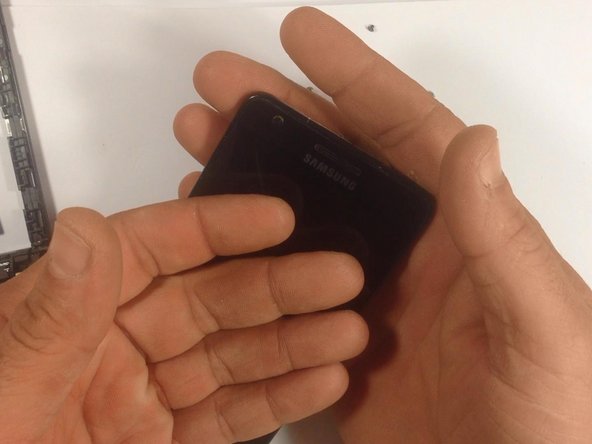
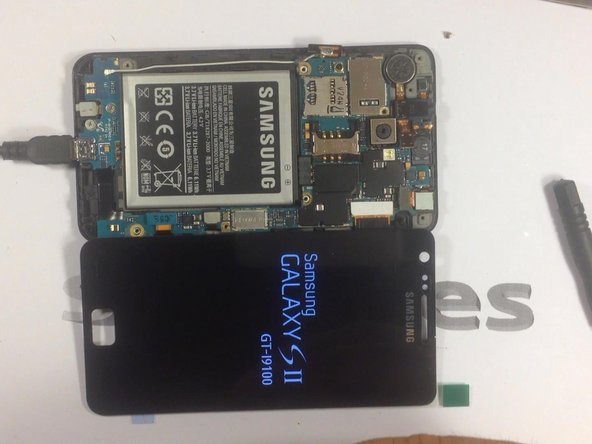
We have a Samsung Galaxy S II with broken screen.
-
-
Dieser Schritt ist noch nicht übersetzt. Hilf mit, ihn zu übersetzen!
-
Remove your battery, the SIM card and the SD card.
-
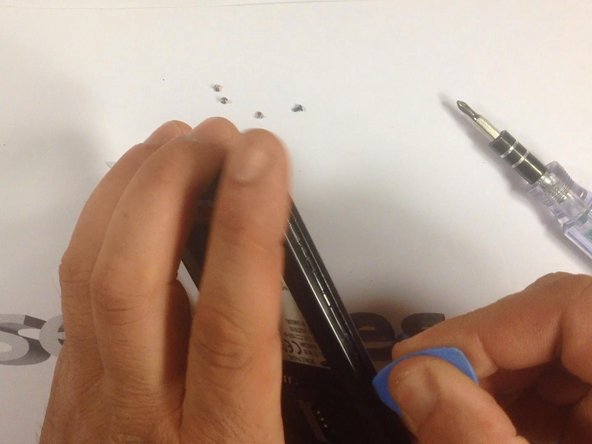
Remove the 7 screws highlighted in red.
-
-
Dieser Schritt ist noch nicht übersetzt. Hilf mit, ihn zu übersetzen!
-
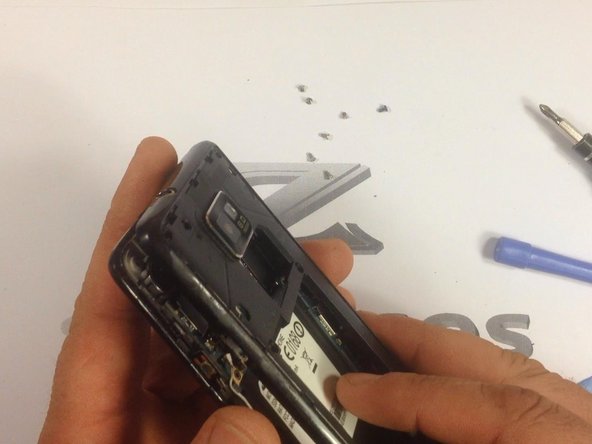
Use a plastic tool to remove the rear housing.
-
-
Dieser Schritt ist noch nicht übersetzt. Hilf mit, ihn zu übersetzen!
-
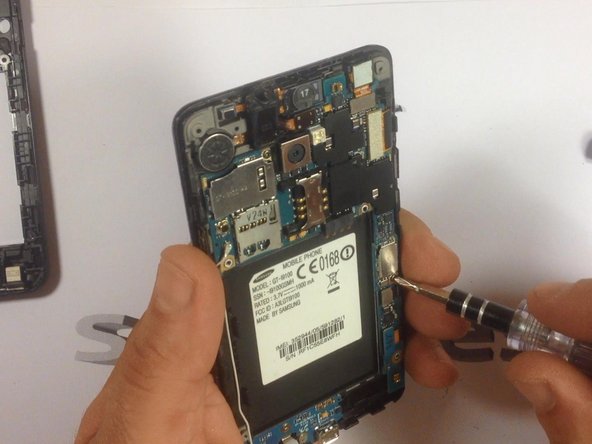
The mother board is held by 2x screws. Remove them.
-
-
Dieser Schritt ist noch nicht übersetzt. Hilf mit, ihn zu übersetzen!
-
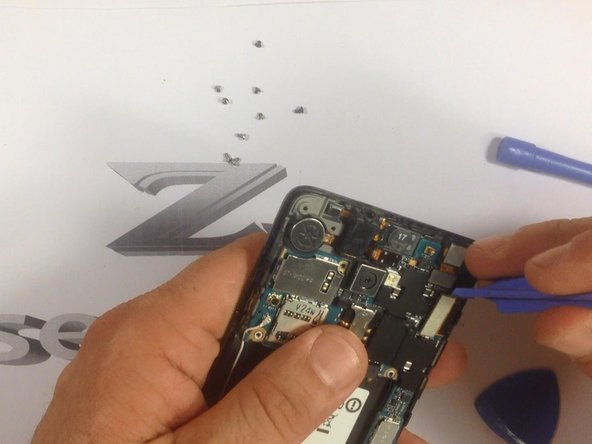
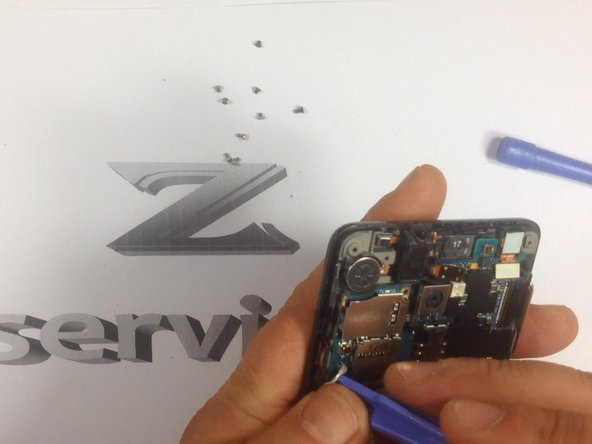
Remove the cables that are highlighted in red, before continuing to the screen.
-
-
-
Dieser Schritt ist noch nicht übersetzt. Hilf mit, ihn zu übersetzen!
-
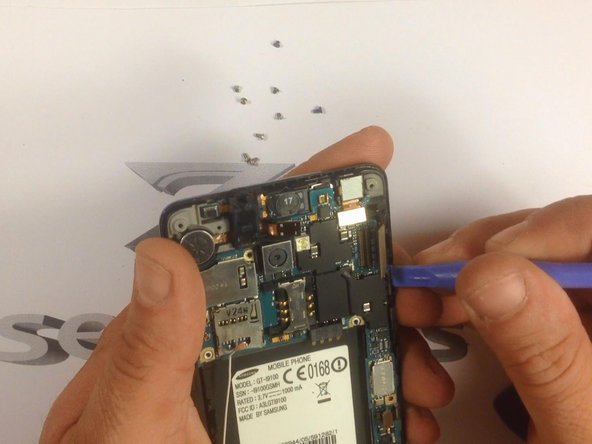
Release the side buttons. The arrow will point you to where they are.
-
-
Dieser Schritt ist noch nicht übersetzt. Hilf mit, ihn zu übersetzen!
-
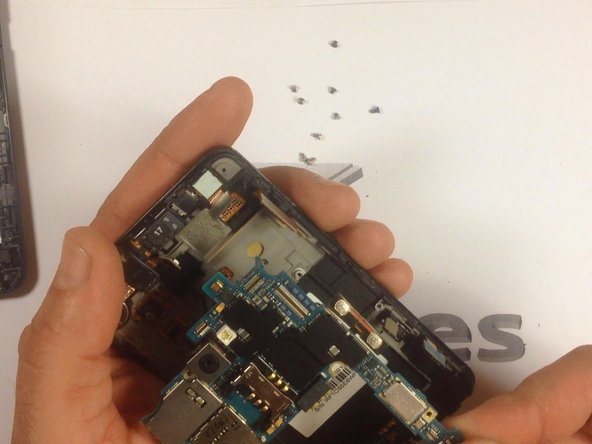
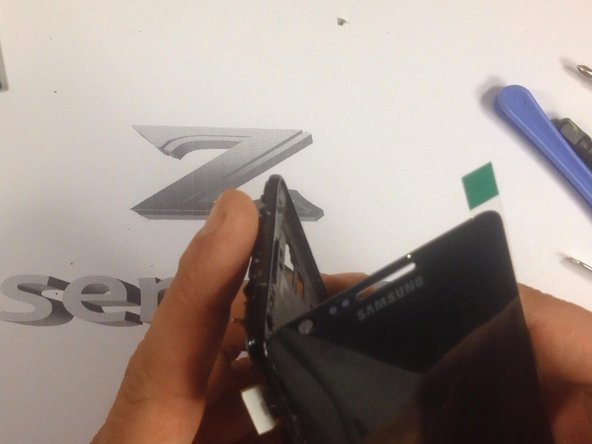
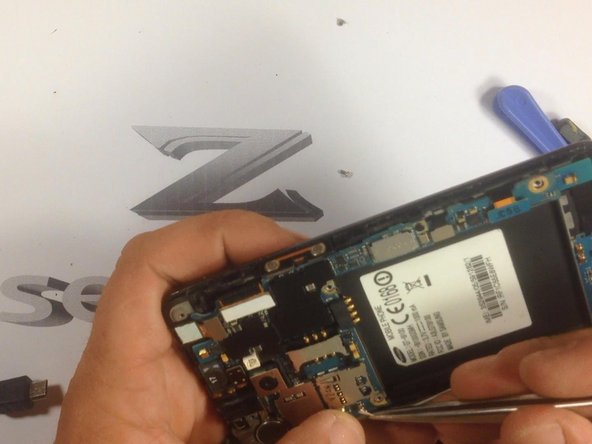
Careful release the motherboard from it's housing.
-
-
Dieser Schritt ist noch nicht übersetzt. Hilf mit, ihn zu übersetzen!
-
At this moment if you have touch screen with LCD and frame like spare part you are ready for replacing.
-
We will continue with disassembling LCD and Touch from the frame. Now preheat it before removing!
-
Use a hot air to soften the adhesive enough to remove the glass.
How can we preheat without damaging the digitizer. Especially if all we need to replace is the front glass only?
Thank you.
I have to fix my daughters SII and I would also like to know how to preheat the glass? There's nothing in the video either - please help?
If you haven't experience don't try this. You can buy complected part - Touch screen+ Display+Frame. I reheat it until is hard to hold it. There isn't problem if you preheat the screen because this is the broken part. You must take care for the frame.
ZFix -
-
-
Dieser Schritt ist noch nicht übersetzt. Hilf mit, ihn zu übersetzen!
-
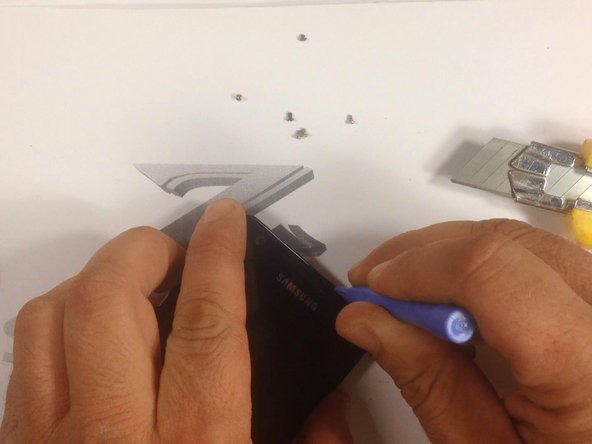
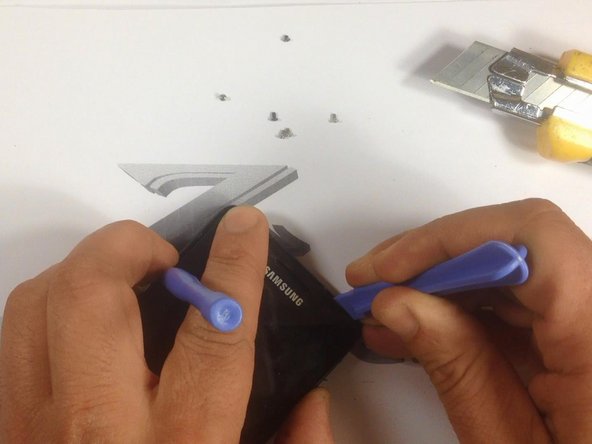
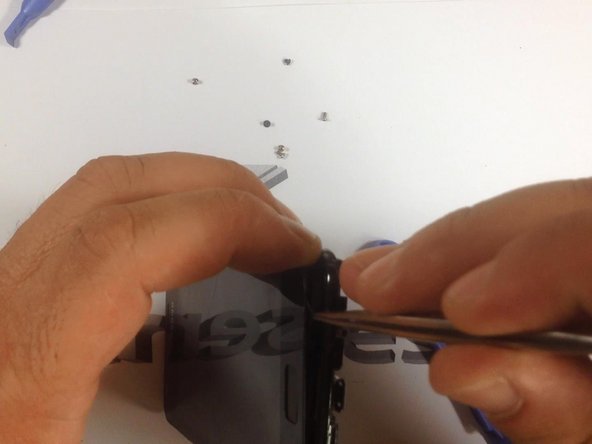
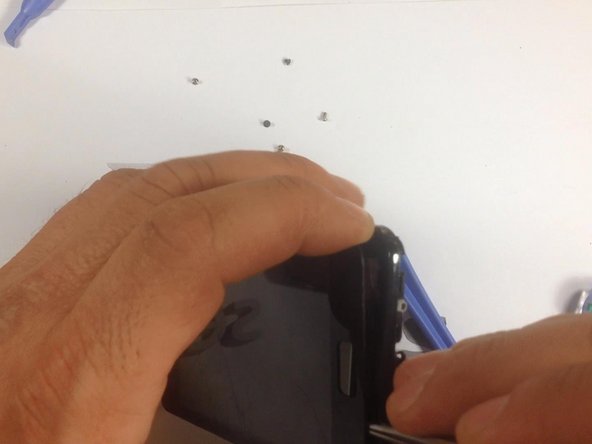
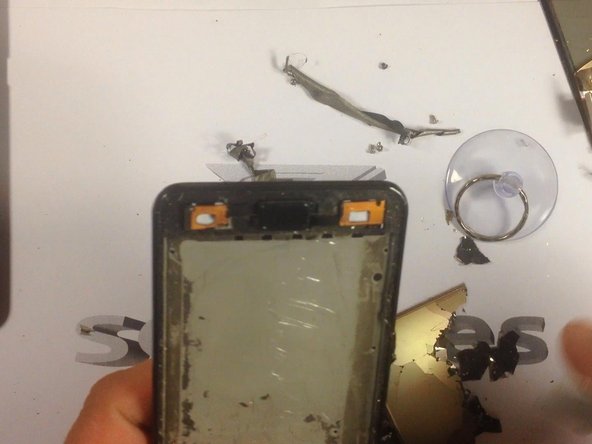
With a cutter, make a room for a plastic tool, then continue with separating the Touchscreen & LCD Display from the frame.
-
-
Dieser Schritt ist noch nicht übersetzt. Hilf mit, ihn zu übersetzen!
-
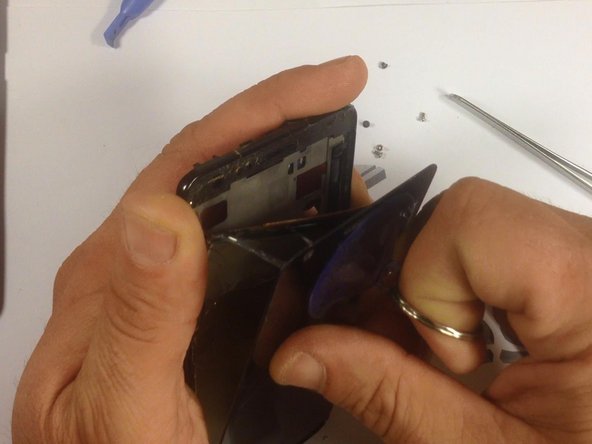
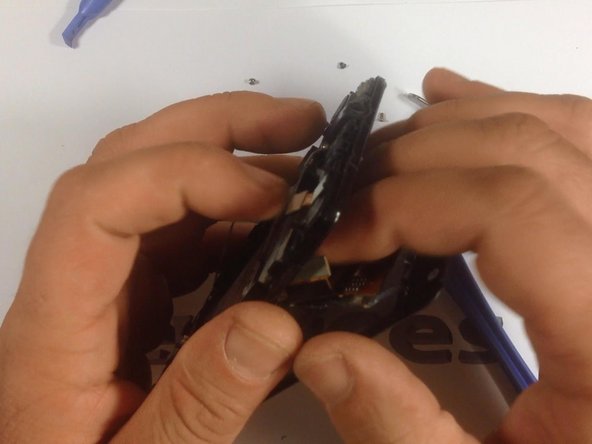
Now, use a suction tool to remove the screen from it's housing. Be careful when doing this, to prevent possible injury.
-
-
Dieser Schritt ist noch nicht übersetzt. Hilf mit, ihn zu übersetzen!
-
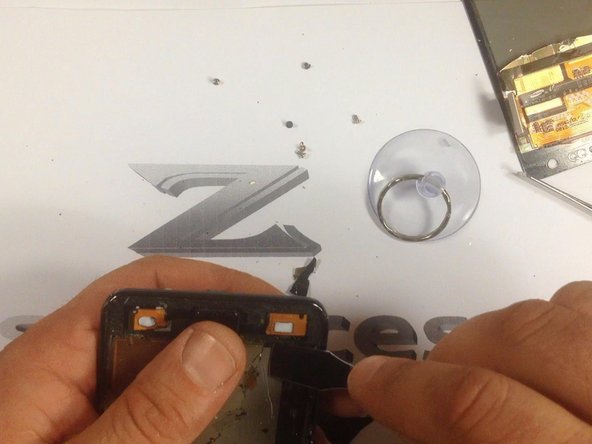
Clean the frame from the remains of tape.
-
-
Dieser Schritt ist noch nicht übersetzt. Hilf mit, ihn zu übersetzen!
-
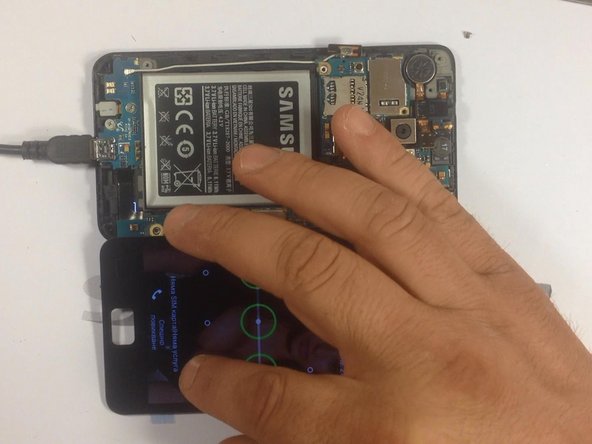
Test the new spare part before reassembling.
-
-
Dieser Schritt ist noch nicht übersetzt. Hilf mit, ihn zu übersetzen!
-
Install the LCD&Digitiser on it's housing.
-
Many times the spare parts come without adhesive tape. In this situation you'll need to install double sided adhesive tape yourself. Also you can easy find adhesive sticker exactly for the model.
-
-
Dieser Schritt ist noch nicht übersetzt. Hilf mit, ihn zu übersetzen!
-
To reassemble your device, follow these instructions in reverse order.
-


Rückgängig: Ich habe diese Anleitung nicht absolviert.
32 weitere Nutzer:innen haben diese Anleitung absolviert.

Team

9 Kommentare
I attempted to replace the display glass alone on a Virgin Mobile Galaxy SII, and was unsuccessful. Removing the Glass from the Digitizer proved to be extremely difficult. It seems as if the Virgin Mobile version of the SII is not meant for repair, so easily.
To moderators :
please there is a photo of a babe in the video tutorial and in the photo tutorial, not for children.
how much the cost in replacement display with fame.....samsung galaxy s2
I tried replacing only the glass. I had two Samsung S2 phones:
Phone 1: Samsung Galaxy S2 with broken LCD only
Phone 2: Another Samsung Galaxy S2 with broken glass only
So I tried to swap the glass from phone 1 to phone 2. I heated the glass with a hairdryer for a few minutes. The glue is stronger than other phones, it was hard to get started. I used a tiny flathead screwdriver to lift the corner enough to push a plastic guitar pick under. Use plastic not metal to avoid scratching the glass or LCD. Slowly working the pick around the edge, reheating every 30 seconds, using more picks to keep the glass separate, I got the whole piece of glass off phone 1 intact. I repeated this process with phone 2 and removed the shattered glass, but unfortunately I internally cracked the good LCD while cleaning the screen and edges with some spirits. I would try this again, being more careful not to put pressure on the exposed LCD. I believe this can be completed by any patient and careful amateur like myself. Good Luck!
i have two s2's, im keeping the working digitizer and placing it onto the phone with the broken screen because of my motherboard, this guide is wrong in how it says its really hard and it only takes about ten minutes not 35
I can not open the back of my phone.
Is the A11 that i was sent as a replacement phone 3 days ago..the same as an S11..which i located with directions. These directions state..how to dissemble entire phone! All i need to do is find directions on.. how to take the back panel Off.Sad.