Einleitung
If you need to replace the speaker on your Samsung Galaxy S4 Active because it no longer works, follow this guide.
Was du brauchst
-
-
Pry the rear case off with a plastic opening tool starting at the divot to the left of the rear-facing camera, near the power button.
-
Lift the rear case with your hands by the corner nearest the divot and remove it from the phone.
-
-
-
Use the flat end of a spudger to press the microSD card deeper into its slot until you hear a click.
-
The MicroSD card will pop out of the slot.
-
Remove the card with your hand.
-
-
-
Use a plastic opening tool to press the SIM card deeper into its slot until you hear a click
-
The card will pop out.
-
Remove the card with your hands.
-
-
-
-
Insert the plastic opening tool into the notch of the battery compartment near the bottom right corner and lift the battery up.
-
Remove the battery with your hand.
-
-
-
Using the provided screwdriver, remove the (8) 4.0 mm Phillips #00 screws that hold the midframe in place.
-
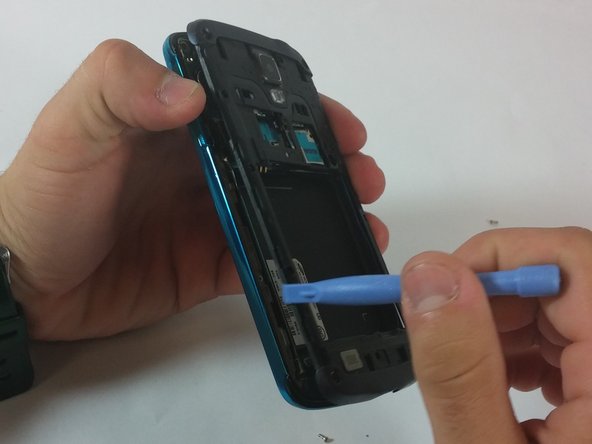
Starting on the volume button side of the phone, insert your plastic opening tool into the seam between the display glass and the larger chrome border piece
-
Slide the opening tool along the seam in either direction. Plastic clips will become separated.
-
Once you have pried off all of the plastic clips around the perimeter of the phone, you may remove the midframe from the display.
-
-
-
Hold the midframe in one hand and the speaker enclosure in your other hand.
-
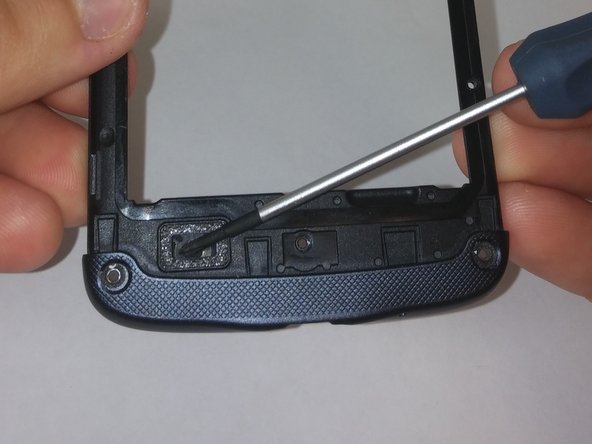
Use the prying tool to pry off the silver screen side of the speaker.
-
Use a sharp tool to poke out the speaker enclosure.
-
-
-
Insert your new speaker, in its enclosure, back onto the midframe.
-


To reassemble your device, follow these instructions in reverse order.
To reassemble your device, follow these instructions in reverse order.
Rückgängig: Ich habe diese Anleitung nicht absolviert.
8 weitere Nutzer:innen haben diese Anleitung absolviert.
Team

USF Tampa, Team 12-3, Blackwell Fall 2014 Mitglied von USF Tampa, Team 12-3, Blackwell Fall 2014
USFT-BLACKWELL-F14S12G3
3 Mitglieder
3 Anleitungen geschrieben