Zum Hauptinhalt wechseln

Samsung Galaxy Tab 3 8.0 Display Assembly - Touch screen & LCD Display Replacement

Was du brauchst

Einführungsvideo

  1. Samsung Galaxy Tab 3 8.0 Display Assembly - Touch screen & LCD Display Replacement, Display Assembly - Touch screen & LCD Display: Schritt 1, Bild 1 von 3 Samsung Galaxy Tab 3 8.0 Display Assembly - Touch screen & LCD Display Replacement, Display Assembly - Touch screen & LCD Display: Schritt 1, Bild 2 von 3 Samsung Galaxy Tab 3 8.0 Display Assembly - Touch screen & LCD Display Replacement, Display Assembly - Touch screen & LCD Display: Schritt 1, Bild 3 von 3
    • Put the scotch tape in order not to scatter pieces of glass.

    • Remove any memory card and SIM card (if the tablet is 3G version).

  2. Samsung Galaxy Tab 3 8.0 Display Assembly - Touch screen & LCD Display Replacement, Battery / Back Cover: Schritt 2, Bild 1 von 3 Samsung Galaxy Tab 3 8.0 Display Assembly - Touch screen & LCD Display Replacement, Battery / Back Cover: Schritt 2, Bild 2 von 3 Samsung Galaxy Tab 3 8.0 Display Assembly - Touch screen & LCD Display Replacement, Battery / Back Cover: Schritt 2, Bild 3 von 3
    • Using plastic tools remove the back / battery cover.

    • Be careful with the Power and Volume buttons.

  3. Samsung Galaxy Tab 3 8.0 Display Assembly - Touch screen & LCD Display Replacement: Schritt 3, Bild 1 von 1
    • Before doing anything, disconnect the battery.

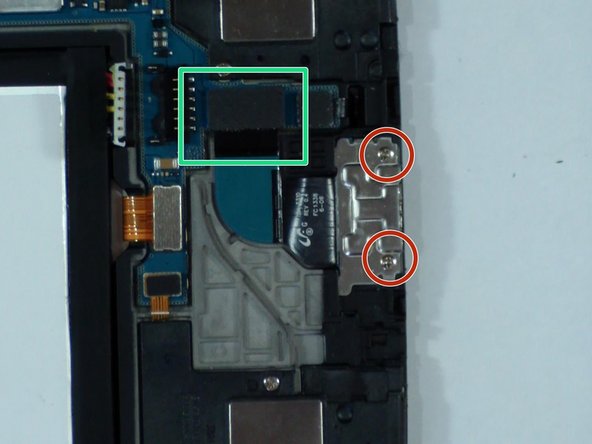
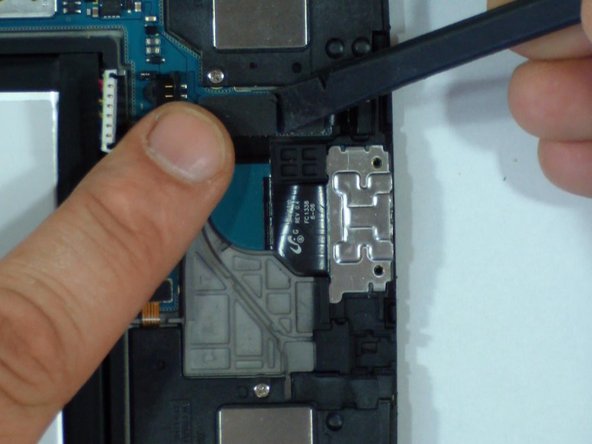
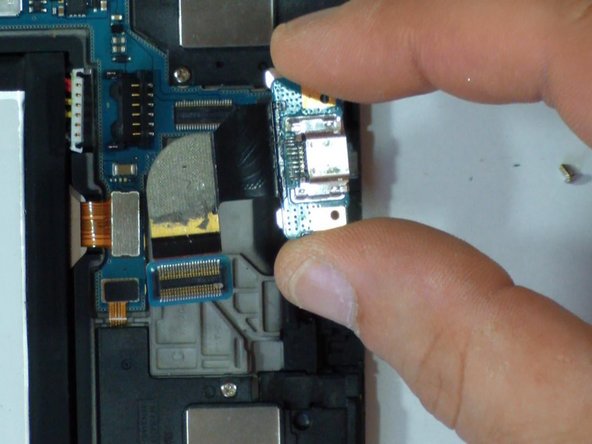
  4. Samsung Galaxy Tab 3 8.0 Display Assembly - Touch screen & LCD Display Replacement, Micro USB Charging Port / Dock with Flex Cable: Schritt 4, Bild 1 von 3 Samsung Galaxy Tab 3 8.0 Display Assembly - Touch screen & LCD Display Replacement, Micro USB Charging Port / Dock with Flex Cable: Schritt 4, Bild 2 von 3 Samsung Galaxy Tab 3 8.0 Display Assembly - Touch screen & LCD Display Replacement, Micro USB Charging Port / Dock with Flex Cable: Schritt 4, Bild 3 von 3
    • This step is only if you want to replace the micro USB port flex cable.

    • Remove the two screws and disconnect the charging port flex cable from the main board.

    • Use a plastic tool to unstick the flex cable from the middle frame.

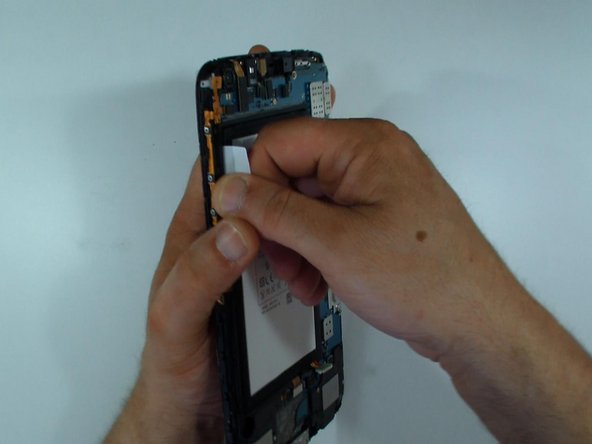
  5. Samsung Galaxy Tab 3 8.0 Display Assembly - Touch screen & LCD Display Replacement, Battery: Schritt 5, Bild 1 von 3 Samsung Galaxy Tab 3 8.0 Display Assembly - Touch screen & LCD Display Replacement, Battery: Schritt 5, Bild 2 von 3 Samsung Galaxy Tab 3 8.0 Display Assembly - Touch screen & LCD Display Replacement, Battery: Schritt 5, Bild 3 von 3
    • This step is for only if you want to change the battery.

    • The battery is stuck to the middle panel.

    • Use the white sticker to remove it.

  6. Samsung Galaxy Tab 3 8.0 Display Assembly - Touch screen & LCD Display Replacement, Components 1: Schritt 6, Bild 1 von 3 Samsung Galaxy Tab 3 8.0 Display Assembly - Touch screen & LCD Display Replacement, Components 1: Schritt 6, Bild 2 von 3 Samsung Galaxy Tab 3 8.0 Display Assembly - Touch screen & LCD Display Replacement, Components 1: Schritt 6, Bild 3 von 3
    • 2x loudspeackers

    • Power & Volume buttons flex cable

    • Audio jack flex cable

  7. Samsung Galaxy Tab 3 8.0 Display Assembly - Touch screen & LCD Display Replacement, Components 2: Schritt 7, Bild 1 von 2 Samsung Galaxy Tab 3 8.0 Display Assembly - Touch screen & LCD Display Replacement, Components 2: Schritt 7, Bild 2 von 2
    • Front camera

    • Wi-Fi antenna

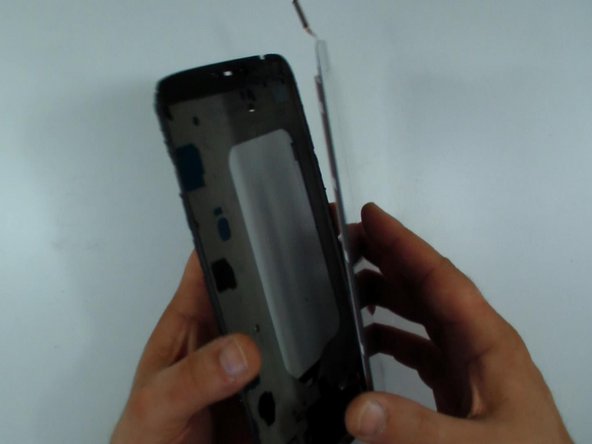
  8. Samsung Galaxy Tab 3 8.0 Display Assembly - Touch screen & LCD Display Replacement: Schritt 8, Bild 1 von 3 Samsung Galaxy Tab 3 8.0 Display Assembly - Touch screen & LCD Display Replacement: Schritt 8, Bild 2 von 3 Samsung Galaxy Tab 3 8.0 Display Assembly - Touch screen & LCD Display Replacement: Schritt 8, Bild 3 von 3
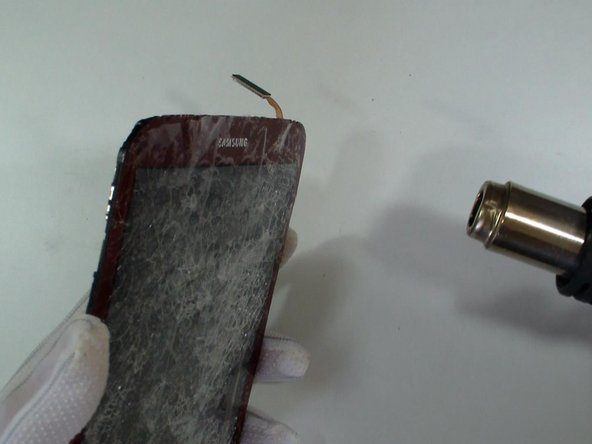
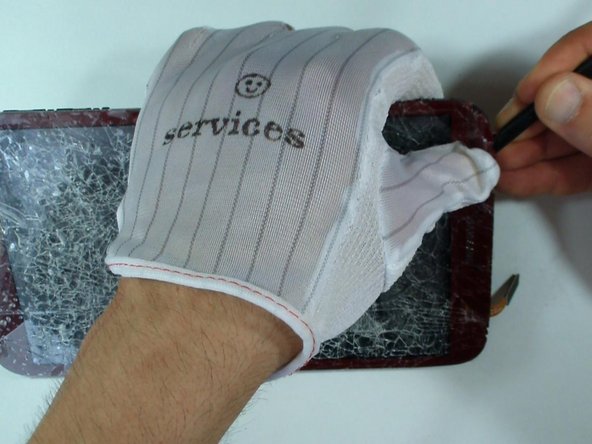
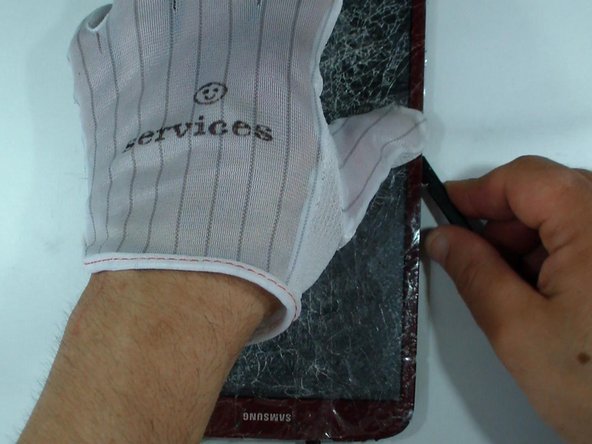
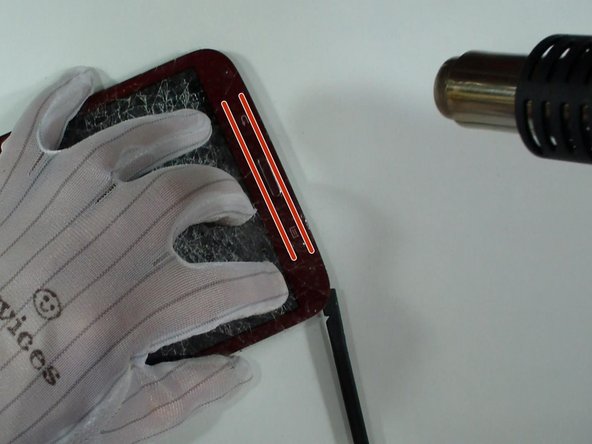
    • Use a heat gun or hair dryer and warm the touch screen glass. This will make the adhesive more flexible and the separation easier.

    • Use a gloves to avoid any injurys from glass.

    • Do not rush.

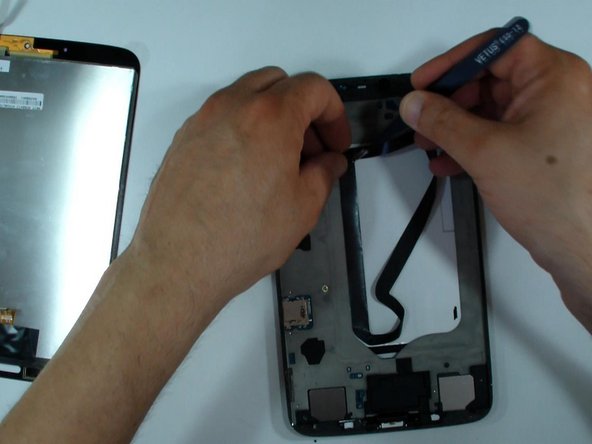
  9. Samsung Galaxy Tab 3 8.0 Display Assembly - Touch screen & LCD Display Replacement: Schritt 9, Bild 1 von 3 Samsung Galaxy Tab 3 8.0 Display Assembly - Touch screen & LCD Display Replacement: Schritt 9, Bild 2 von 3 Samsung Galaxy Tab 3 8.0 Display Assembly - Touch screen & LCD Display Replacement: Schritt 9, Bild 3 von 3
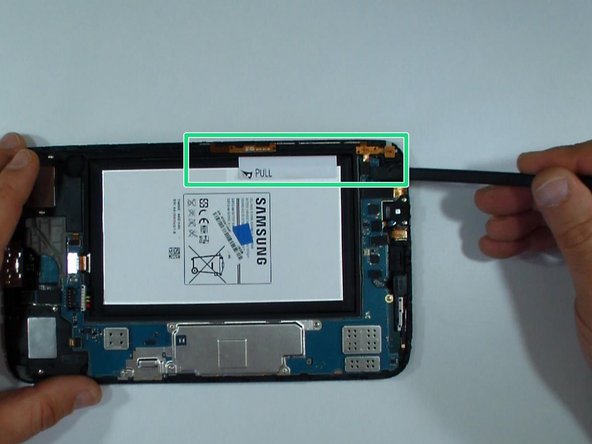
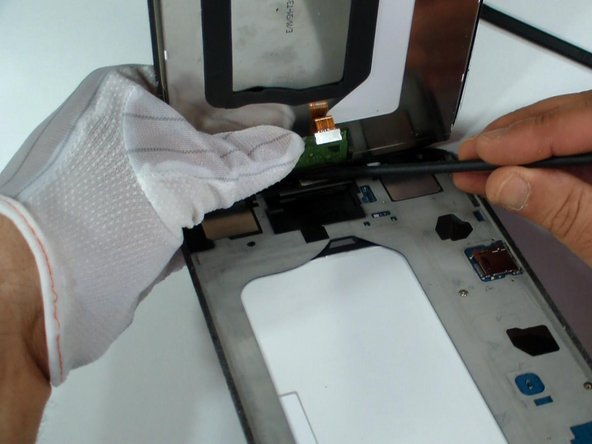
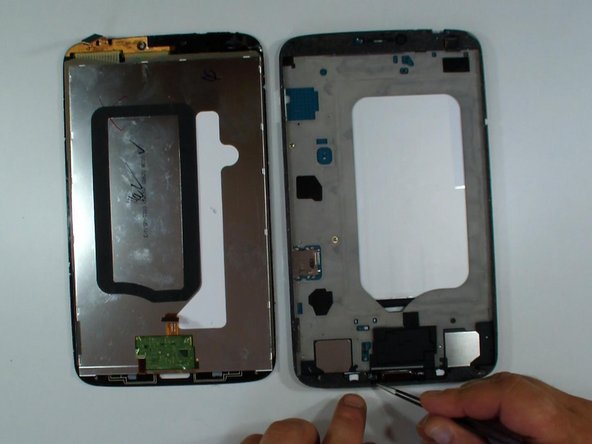
    • Beware for the menu buttons flex cable.

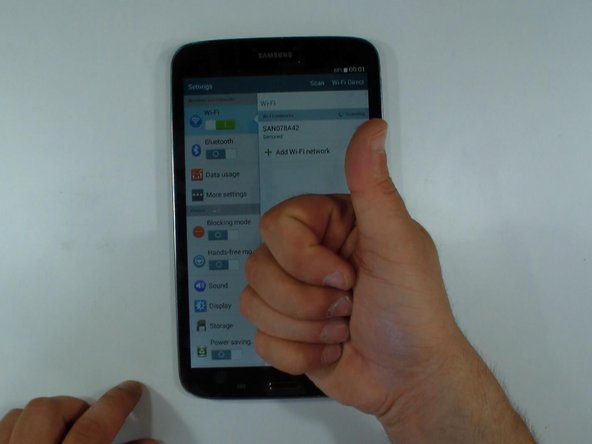
  10. Samsung Galaxy Tab 3 8.0 Display Assembly - Touch screen & LCD Display Replacement: Schritt 10, Bild 1 von 2 Samsung Galaxy Tab 3 8.0 Display Assembly - Touch screen & LCD Display Replacement: Schritt 10, Bild 2 von 2
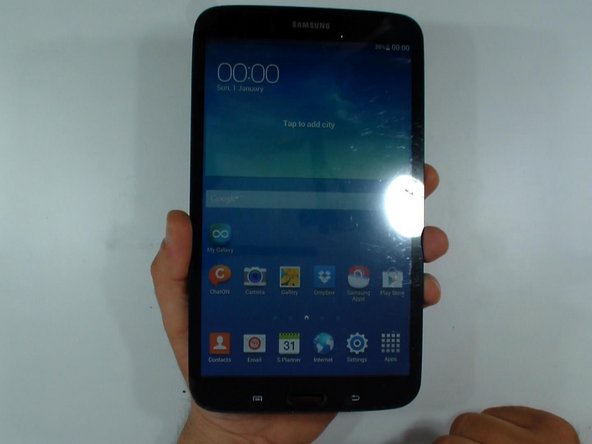
    • Always test the new spare part before final installation.

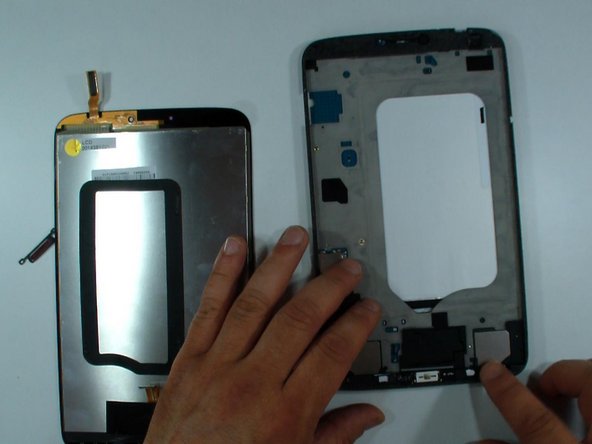
  11. Samsung Galaxy Tab 3 8.0 Display Assembly - Touch screen & LCD Display Replacement: Schritt 11, Bild 1 von 3 Samsung Galaxy Tab 3 8.0 Display Assembly - Touch screen & LCD Display Replacement: Schritt 11, Bild 2 von 3 Samsung Galaxy Tab 3 8.0 Display Assembly - Touch screen & LCD Display Replacement: Schritt 11, Bild 3 von 3
    • Transfer the black tape from the old display. It keeps the distance the display from the battery and protects it from overheat.

    • If the adhesive tape is not in good condition you must install a new one.

  12. Samsung Galaxy Tab 3 8.0 Display Assembly - Touch screen & LCD Display Replacement: Schritt 12, Bild 1 von 2 Samsung Galaxy Tab 3 8.0 Display Assembly - Touch screen & LCD Display Replacement: Schritt 12, Bild 2 von 2
    • Start with reassembling.

    • .

    • .

    • .

    • .

    • .

    • .

    • Did you do it successfully.

Abschluss

To reassemble your device, follow these instructions in reverse order.

18 weitere Nutzer:innen haben diese Anleitung absolviert.

ZFix

Mitglied seit: 12/09/13

191.278 Reputation

330 Anleitungen geschrieben

Team

Master Techs Mitglied von Master Techs

Community

322 Mitglieder

2.528 Anleitungen geschrieben

Ein Kommentar

Awesome guide, was so easy to replace complete LCD digitiser and glass all in one unit.

capinneemo - Antwort

Kommentar hinzufügen

Seitenaufrufe:

Letzte 24 Stunden: 1

Letzte 7 Tage: 7

Letzte 30 Tage: 23

Insgesamt: 25,170